Can Rice Paper Be Laser Engraved?

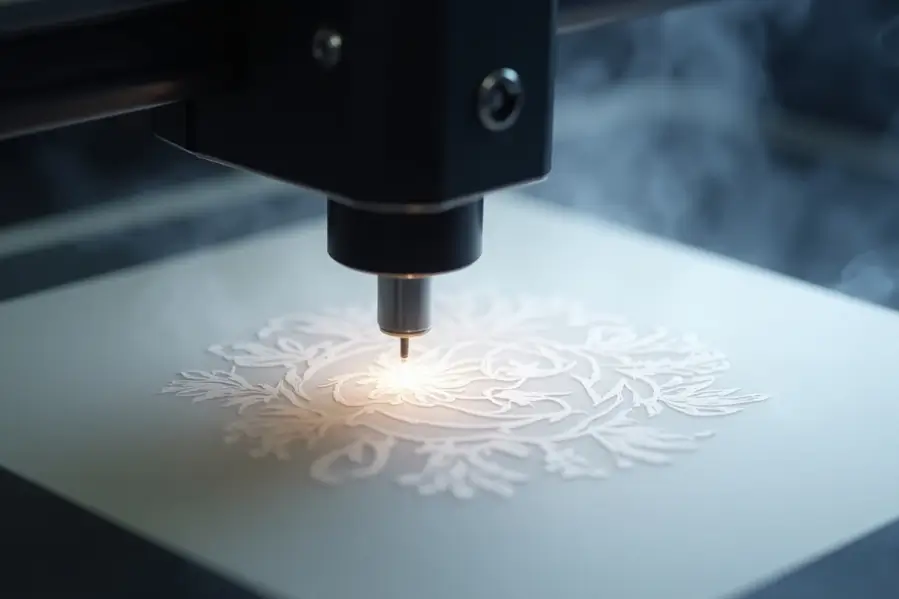
Yes, rice paper can be laser engraved, but it requires very delicate handling. This thin, fragile material is known for its softness and transparency, making it highly sensitive to heat and pressure. However, with the right laser settings and techniques, rice paper can be engraved with intricate and beautiful results.
Rice paper laser engraving refers to the process of using a low-power laser to etch designs onto rice paper, a thin and highly sensitive material, using precise settings and proper airflow to prevent damage.
In this guide, you’ll learn how laser engraving works on rice paper, what type of laser to use, which settings are best, and how to avoid common mistakes.
What Is Rice Paper?
Rice paper is a lightweight and semi-transparent material made from the inner bark of the paper mulberry tree, not actual rice. It’s commonly used in calligraphy, artwork, and packaging. Because of its thin, fibrous structure, it is very easy to burn or tear — which is why careful laser settings are essential.
Is It Safe to Laser Engrave Rice Paper?
Yes, but only with very low power settings and precise control. Laser engraving generates heat, and rice paper is highly flammable. A powerful laser or too much exposure can cause scorching, tearing, or complete disintegration of the material.
For best results, always start with test runs and use a CO₂ laser with fine-tuned settings.
Best Type of Laser for Rice Paper
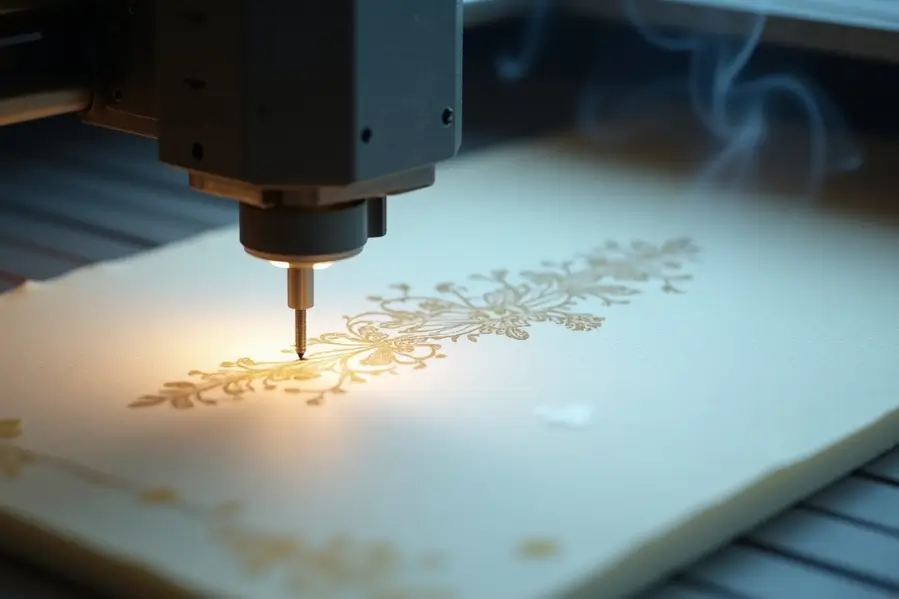
A CO₂ laser engraver is the most suitable option for rice paper. It provides a clean, contactless way to engrave without physically touching the paper. However, not all CO₂ lasers are the same. Look for one with:
- Fine resolution control
- Adjustable low-power output
- Clean and consistent beam focus
- Compatibility with lightweight materials
Thunder Laser machines, such as the Nova series, offer precision and flexibility to work safely with fragile substrates like rice paper.
Recommended Laser Settings for Rice Paper
Every machine and material is slightly different, but here are general starting points:
- Power: 5% to 10%
- Speed: 300 mm/s or higher
- Frequency (if applicable): Low
- DPI: 250 to 500 for light shading
It’s important to do multiple test passes to avoid burning. Some designs may benefit from engraving in multiple light layers instead of one strong pass.
Design Tips for Engraving on Rice Paper
When working with rice paper, design choices play a major role in the final result. Follow these tips:
- Use vector graphics with thin strokes for precise control
- Avoid filled areas to prevent overburn
- Keep spacing generous to reduce heat concentration
- Use grayscale shading if needed, but keep contrast minimal
- Convert text to outlines to ensure clean engraving
Soft, minimal designs tend to work better than bold or dark-filled artwork.
Test Before Engraving the Final Piece
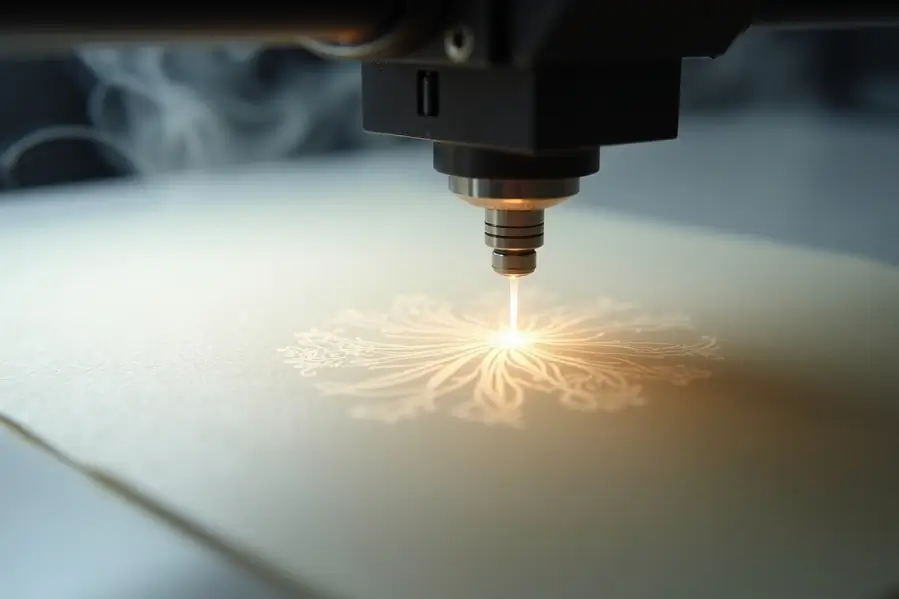
Due to the delicate nature of rice paper, always test your settings on a spare piece or a similar material first.
Check for:
- Burn marks or discoloration
- Tears or warping
- Alignment and scale accuracy
- Any signs of smudging or residue
Even a slight change in humidity or paper thickness can affect the results, so ongoing testing is key.
Troubleshooting Rice Paper Engraving Issues
Even with careful setup, issues can happen when working with such delicate material. Here’s how to identify and fix the most common problems:
- Paper burns or discolors easily: Lower the laser power and increase the speed. Start at 5% power and run a test pass.
- Design looks warped or wavy: Avoid large filled areas. Keep your artwork light with thin strokes or outlines only.
- Edges curl or shift during engraving: Tape down the corners of the paper and use a honeycomb bed for support.
- Engraving produces smoke or residue: Turn on your fume extractor or ventilation system. Smoke buildup can damage the paper and lens.
- Inconsistent engraving across sheets: Always test on the same batch or thickness of rice paper before running your final job.
Best Practices for Engraving on Fragile Paper
To get the cleanest results, use these best practices when engraving rice paper:
- Work with thin, lightweight vector designs
- Test settings regularly, especially with different paper types
- Apply masking tape to prevent movement during engraving
- Run multiple light passes instead of one high-power pass
- Keep your laser lens and mirrors clean for consistent performance
- Store rice paper in a cool, dry place to avoid humidity-related warping
Final Thoughts
Laser engraving on rice paper is possible, but it demands patience and precision. With the right laser, settings, and design approach, you can achieve delicate and artistic results without damaging the paper. Whether you’re working on calligraphy, custom packaging, or intricate designs, a carefully prepared engraving process will make your rice paper project stand out beautifully.
Ready to Get Started?
Thunder Laser machines offer the precision and low-power control needed for fragile materials like rice paper. Explore our laser machines to see how we can help bring your delicate designs to life.
Frequently Asked Questions
1. Can rice paper be safely laser engraved?
Yes, it can, but only with low laser power, high speed, and careful control. A CO₂ laser is recommended for best results.
2. What is the best laser setting for rice paper?
Start with 5% to 10% power, high speed (300 mm/s or more), and low DPI. Always test on a sample first.
3. Will laser engraving burn through rice paper?
If the power is too high or the speed is too slow, yes. Rice paper is extremely thin and flammable, so precise settings are key.
4. Can I engrave photos on rice paper?
You can, but keep the image very light and avoid solid black areas. Vector artwork generally performs better.
5. Do Thunder Laser machines work with rice paper?
Yes, Thunder Laser systems like the Nova and Bolt offer precise control for delicate materials, including rice paper.