
Head Mounted LightBurn Camera
answer
Guide to the LightBurn Head Mount Camera feature (beta, v1.2.00+), covering camera selection, installation, mounting, calibration, and known issues.
Note: All of the data below was on an older version and we are in the process of updating as we test the head cam functions. All info below is considered legacy beta data. We are leaving it here for reference. There is no timeline on article updates, please check back often.
Warning: The Head Mount Camera Feature referenced in this document is in beta release and is not implemented before 1.2.00 although there is a menu selection for the calibration tool in 1.1.04. None of this information has been validated nor verified by LightBurn Dev unless specifically noted and cited in this documentation. For educational use only. Please do not contact LightBurn about this feature until/unless it is in the public release. This is a living document and we are not responsible for any inaccuracies, issues, or failure in any way.
LB Head Mount Cam Overview
The LightBurn Head Mount Camera functions like the expensive, bulky, complicated vision system by Ruida (see below) that requires a controller swap. BUT all you need is LightBurn (1.2.00 and above), an inexpensive and quickly-sourced endoscopic camera, a mount (see below), and about 30 minutes to an hour to get everything ready to go.
This is the Ruida Vision system that has been around awhile:
https://www.cloudraylaser.com/products/cloudray-ruida-rdv6442g-ccd-vision-laser-controller

The Camera
The type of camera ideally suited for this function, as implemented in this doc, is a typical endoscopic camera found all over amazon, ebay, etc... for $20–$50
Camera Selection
Below is a screenshot and a link to the one we chose pretty much at random. We wanted it cost-effective and fast for rapid prototyping.
We got the 10 Meter one on purpose to see if it would support the bandwidth necessary at those distances and other things.
https://www.amazon.com/dp/B092M7N8KQ
Info: The 10 Meter one is WAY too long. See the cabling routing info in this document and take a few measurements and always add a bit of fudge factor to get a reasonable idea of the length needed for your specific installation.

Cam Installation
coming soon
Routing Cabling
more to follow
Mounting The Camera
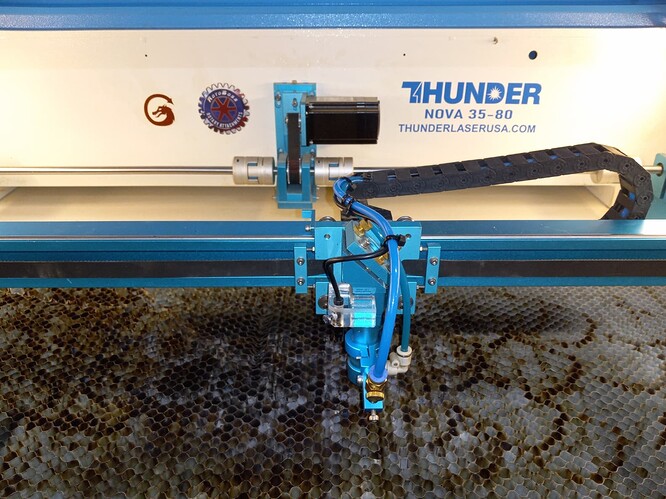
This is the mount we came up with just to get right down to it. nothing special here and its not necessarily representative of the production mount.

The LightBurn File for this mount is attached to this article.
Email [email protected] to request the password to open the zip file.

Setup & Calibration
check back often
More Info & Notes
Beta Release 1.2.00 Notes
1. Once the head mount cam alignment procedure in LB was completed, we could not revert to the preexisting overhead LB cam. Dev provided the following:
https://forum.lightburnsoftware.com/t/lightburn-1-1-00-posted/49815/185?u=techbravotn

and this is the workaround:
Do Not Click 'Align Head-Mounted Camera' under Laser Tools
The Head Mount Camera Feature referenced in this document is in beta release and is not implemented before 1.2.00 although there is a menu selection for the calibration tool in 1.1.04
Warning: If you click to calibrate a head-mounted camera with your ThunderCAM, it will require some code altering in the preferences file to correct.

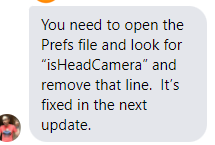
here is how to fix it if you clicked it already:
UPDATE: we found that changing isHeadCamera to 'false', instead of removing the line, was the solution.
isHeadCamera
if you need assistance, email [email protected] and we can assist.
Still stuck?
No bots, no runaround. Talk to a U.S.-based laser tech who knows your machine inside out.