How to Remove Laser Engraving from Metal
Which marks come off easily, which ones cannot be removed without reshaping the part, and the two things that go wrong afterwards.

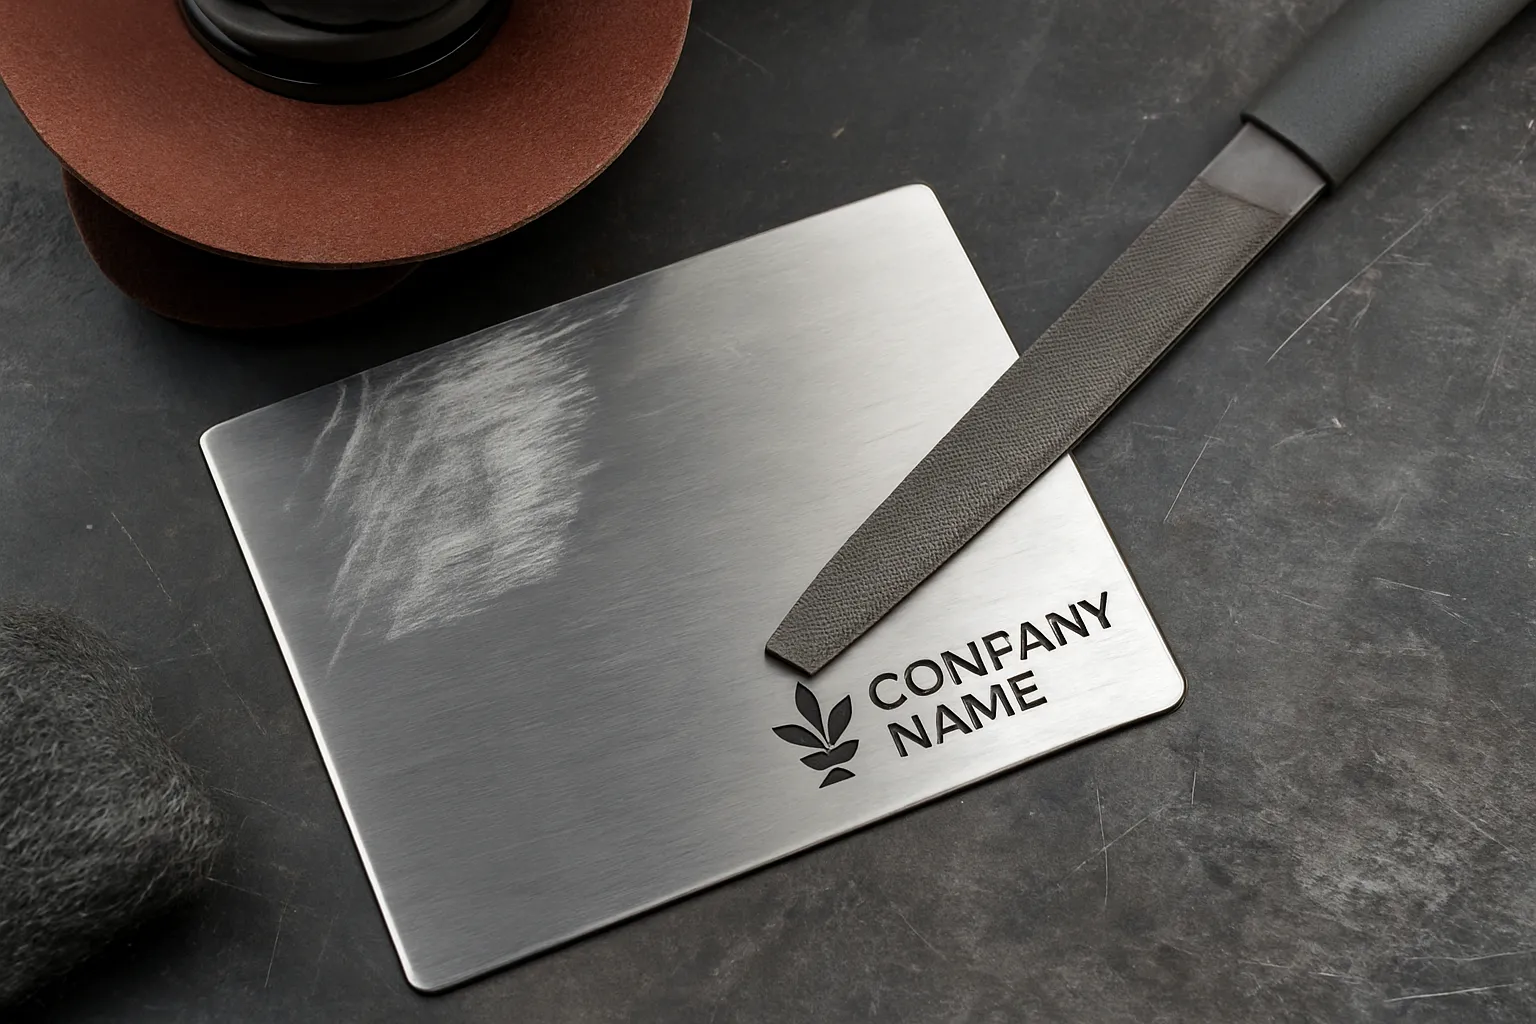
Whether laser engraving can be removed depends entirely on what kind of mark it is. An annealed or color mark sits on the surface with no material removed, and polishing or a light abrasive takes it off in minutes. An engraved cavity is a hole in the metal, typically 0.01 to 0.075 inches deep, and the only way to make it disappear is to remove that much metal from the entire surface around it. On stainless steel, any abrasive work breaks the passive layer and the part will rust unless you repassivate it. And matching the original finish afterwards is usually harder than removing the mark.
Key takeaways
- Identify the mark before you touch it. Run a fingernail across it. If you cannot feel it, it is a surface mark and will polish off. If you can, it is a cavity and the job is far bigger.
- You do not remove an engraving. You remove everything around it. A 0.01 inch engrave on a 2 by 4 inch face means taking 0.08 cubic inches of metal off the whole face to level it.
- Sanding stainless steel makes it rust. Abrasive work strips the chromium oxide passive layer and exposes free iron. Repassivate afterwards or the part will corrode where you cleaned it.
- Anodized aluminum cannot be fixed by sanding. The laser removed the anodizing, not the metal. Sanding removes more anodizing. The only real repair is stripping and re-anodizing the whole part.
- Some marks are illegal to remove. Firearm serial numbers are a federal offense under 18 U.S.C. 922(k). Hallmarks, pressure vessel stamps and certification marks carry their own rules.
Laser engraving on metal is designed to be permanent, and mostly it is. But people arrive at this question for good reasons: a misspelled name on an otherwise finished product, a batch run with the wrong logo, a company rebrand across inventory, or a piece of equipment being repurposed.
The useful answer is not a list of abrasives. It is working out which of two very different problems you have, because one takes ten minutes and the other usually is not worth attempting.
First, Work Out What Kind of Mark You Have
Laser marks on metal fall into categories that behave completely differently, and almost every guide on this subject treats them as one thing.
Mark Type | How It Was Made | Depth | Can You Remove It? |
|---|---|---|---|
Annealed / color mark | Heat changes the oxide layer; no metal removed | None measurable | Yes, easily. Polishes off |
Etched | A thin surface layer melted and resolidified | 0.001 to 0.005 in | Yes, with effort |
Engraved | Metal vaporized into a cavity | 0.01 to 0.075 in | Only by removing that depth everywhere |
Ablated coating | Anodizing, paint or plating removed to show substrate | Coating thickness | No. Needs refinishing, not removal |
The fingernail test settles it in two seconds. Run a nail across the mark. If you feel nothing, it is annealed or etched and your job is straightforward. If the nail catches, you have a cavity and the rest of this article explains why that matters.
If you are unsure which process produced the mark, our guide to laser marking, engraving and etching covers how each one works and what it leaves behind.
Why an Engraved Cavity Is a Different Problem
You cannot remove an engraving. You can only remove everything around it. A cavity is missing metal. Nothing puts it back. To make the surface flat again you have to take the surrounding metal down to the bottom of the cavity, across the whole face, or you are left with a polished dish where the mark used to be. On a 2 by 4 inch face with a 0.01 inch engrave, that is 0.08 cubic inches of steel to remove evenly by hand. |
This is why so much advice on this subject fails in practice. Sanding works beautifully on a mark with no depth and poorly on one with depth, and most guides do not distinguish between them.
The practical consequences of removing real depth are worth spelling out. The part gets thinner, which matters on anything with a tolerance or a load. Flat surfaces go slightly dished unless you work very carefully with a backing block. The original surface finish is destroyed across the whole area, not just where the mark was. And on plated or coated parts you will go through the coating long before you reach the bottom of the engraving.
Removing a Surface Mark
If the fingernail test says there is no depth, this is a twenty minute job on most metals.
1. Clean and degrease. Warm soapy water or isopropyl alcohol, then dry with a lint-free cloth. Abrasive over a dirty surface drags grit across the finish.
2. Mask the area around the mark. Painter's tape over everything you are not working on. This keeps the work contained and makes finish blending easier later.
3. Start with the finest abrasive that does anything. For an annealed mark, metal polish on a soft cloth is often enough. If not, step up to 1200 grit wet and dry paper, then 800, then 600, only going coarser when the previous grade has clearly stalled. Starting coarse is the most common mistake and it creates a second problem to fix.
4. Work in one direction, not circles. Circular motion leaves swirl marks that are visible under any directional light and are difficult to blend out. Follow the existing grain of the part.
5. Step back down through the grits. Once the mark is gone, work back up through finer grades to restore the surface. Skipping this leaves a dull patch that is as obvious as the engraving was.
6. Clean, then inspect under angled light. Marks that look gone under overhead light reappear under a raking light. Check before you call it finished.
Methods Compared
Hand sanding and polishing. The right choice for surface marks and small areas. Slow, controllable, minimal risk of making things worse. Needs patience and a methodical approach to grits.
A rotary tool with an abrasive or polishing head is faster, and far easier to overdo. A rotary tool removes metal quickly in a small spot, which produces a visible dish. Keep it moving, keep the pressure light, and do not use it on anything where flatness matters.
An angle grinder or belt sander is only for heavy work on robust parts where appearance is secondary. It will remove an engraving and it will also remove far more than you intended, generate heat that can discolor the metal, and destroy any factory finish.
Abrasive blasting with glass bead or fine aluminum oxide gives an even matte finish across the whole surface, which can be an advantage: rather than trying to blend a patch, you refinish everything uniformly. It will not remove a deep cavity, but it removes surface marks and hides shallow ones well.
Chemical etching uses acids to dissolve a thin layer of metal. It works on very shallow marks, requires the correct acid for the specific alloy, and carries real handling, ventilation and disposal obligations. For most people the abrasive route is both safer and more predictable.
Laser ablation. A fiber laser can clear an annealed mark or an oxide layer cleanly, which is genuinely the neatest method when it applies. What it cannot do is fill a cavity. A laser removes material; it never adds it. Anyone offering to laser an engraving out of a part is describing surface mark removal, not cavity repair. Our guide to laser rust removal and cleaning covers how that process works.
What Changes by Metal
Stainless steel. Physically the most forgiving to abrade and the one with the biggest trap afterwards, covered in the next section. Marks on stainless are frequently annealed rather than engraved, which is good news, because annealing is the standard for anything that gets cleaned or sterilized.
Anodized aluminum. The laser removed the anodized layer, not the aluminum. Sanding removes more anodizing and exposes bare, soft aluminum that looks nothing like the rest of the part. There is no sanding solution here. The only genuine repair is stripping and re-anodizing the whole piece, which is a commercial process.
Bare aluminum is soft and easy to abrade, which cuts both ways. It removes quickly and it dishes quickly. Use a backing block behind the paper and light pressure.
Brass and copper are soft, polish beautifully, and will tarnish differently where you have worked them. Expect to polish the whole visible face rather than a patch, then lacquer if the original was lacquered.
Gold, silver and precious metals. Take these to a jeweler. The metal is valuable by weight, the finishes are specialized, and a hallmark removed by accident is a legal problem. A jeweler will also tell you honestly whether the piece is worth the work.
Titanium is often marked by heat coloring, which is an oxide layer with no depth and polishes off readily. Harder than stainless to abrade, and the color will come back if it gets hot again.
Plated parts, meaning chrome, nickel and zinc, behave differently again. If the engraving went through the plating, abrasive work removes more plating and exposes the substrate. Refinishing means replating.
Stainless Steel: You Have to Repassivate
Sanding stainless steel will make it rust. Stainless resists corrosion because chromium forms a continuous invisible oxide film across the surface. Abrasive work strips that film and exposes free iron at the surface, which is why a carefully sanded stainless part develops rust spots weeks later in exactly the area you cleaned up. It is the most common complaint after this job and almost no guide on the subject mentions it. |
There is a second way to cause the same problem. Using an abrasive, wire wheel or grinding disc that has previously touched carbon steel embeds iron particles into the stainless surface. Those particles rust and the corrosion spreads. Keep a dedicated set of abrasives for stainless and never share them.
The fix is passivation: a citric acid or nitric acid treatment that dissolves free iron and lets the chromium oxide film reform. Citric acid passivation kits are available for shop use and are considerably safer to handle than nitric. The surface also repassivates slowly on its own in clean dry air, but slowly is the operative word, and not reliably in a humid workshop.
This is also the reason good practice marks corrosion-critical stainless by annealing rather than engraving in the first place. Our guide to laser engraving stainless steel covers the three marking processes and when each is appropriate.
Matching the Original Finish
This is the part people underestimate, and on a visible surface it is usually harder than removing the mark.
Removing an engraving leaves a polished area. The rest of the part is brushed, bead blasted, anodized or mill finished. A mirror patch in the middle of a brushed panel draws more attention than the engraving did.
Brushed finishes can be recreated with a scotch-brite pad or fine abrasive worked in straight lines along the original grain. Match the direction exactly and work the full length of the panel rather than the patch, so the transition falls at an edge rather than in the middle.
Bead blasted finishes are effectively impossible to blend by hand. Blast the whole face and you get a uniform result; try to blend a patch and you will not.
Mirror polish is the easiest to match, because the end state is the same everywhere. Work the full face through progressive grits and finish with polishing compound.
Anodized and plated finishes cannot be matched at all without refinishing the part. Accept that from the start.
The practical rule: refinish the whole face or the whole part, not the patch. It is more work and it is the only approach that looks deliberate.
Marks You Must Not Remove
Removing a firearm serial number is a federal crime. Under 18 U.S.C. 922(k) it is unlawful to possess, transport or transfer a firearm whose serial number has been removed, obliterated or altered. This applies regardless of intent and regardless of whether the firearm is otherwise legally held. If a laser mark on a firearm is a serial number or any other required marking, do not attempt to remove it. |
Other markings carry their own obligations. Hallmarks and assay marks on precious metals are legally regulated in most jurisdictions. Pressure vessel, lifting equipment and pipeline stamps certify that an item passed inspection. Medical device UDI codes are a regulatory requirement. Aerospace and automotive part markings support traceability that exists for safety reasons.
On resale items, think about what the mark is for. Removing a previous owner's engraved name from a watch is unremarkable. Removing a serial number, an asset tag or a certification mark from equipment you intend to sell is a different thing entirely, whatever your reason. If you are unsure whether a mark is decorative or regulatory, assume it is regulatory until you confirm otherwise.
When It Is Not Worth Doing
If the engraving is deeper than about 0.01 inches on a visible face, the amount of metal you need to remove will change the part's appearance more than the mark does.
If the part is anodized, plated or coated, you are not removing a mark, you are refinishing a part, and that is a commercial job.
If flatness or dimension matters, leave it alone. Sealing faces, bearing surfaces, mating parts and anything with a tolerance. Removing material changes fit.
If the item is valuable, the risk is not worth it. Precious metal, an antique, a collectible firearm or a branded product whose resale value depends on condition. A bad removal attempt costs more than the mark did.
And if it would be cheaper to replace the blank, replace it. This is the honest answer for most production mistakes. If a tumbler, tag or plate costs a few dollars, an hour of careful hand work is not economic. Scrap it and run the job again.
Alternatives to Removal
Engrave over it. A larger design, a deeper pass or a filled block can absorb a small error. This works best when the new mark fully contains the old one and is deeper than it.
Darken or fill the engraving. Metal-filled epoxy or a color fill turns a mistake into a deliberate-looking feature on some parts. Not invisible, but often acceptable.
Refinish the whole surface. Bead blasting or brushing the entire face produces a uniform result that hides shallow marks without any attempt at spot removal.
Relocate the part. On an assembly, turning a component so the marked face is inside or underneath solves the problem in minutes.
The Short Version
Check the mark with a fingernail first. No depth means a straightforward polish. Depth means you are removing metal from the whole surface, and on most parts that is more damage than the engraving.
If you do go ahead on stainless, passivate afterwards. If the part is anodized or plated, accept that you are refinishing rather than removing. And refinish the whole face rather than trying to blend a patch, because a mirror spot on a brushed panel is more conspicuous than the mark you started with.
The best answer to this question is usually upstream of it: get the file right, run a test on scrap, and mark a sample before committing a batch. Our free materials library has tested settings across 22 materials, which is a good deal cheaper than learning this lesson a second time.
Frequently asked questions
Can laser engraving be removed from metal?
It depends on the mark. An annealed or color mark has no depth and polishes off easily. An engraved cavity is missing metal, and the only way to level it is to remove the same depth from the whole surrounding surface. Run a fingernail across the mark: if you cannot feel it, removal is straightforward.
Will sanding remove laser engraving from stainless steel?
It removes surface marks well. It also strips the chromium oxide passive layer, which is why sanded stainless often develops rust spots weeks later. Passivate with a citric acid treatment afterwards, and never use abrasives that have previously touched carbon steel, because embedded iron particles cause the same problem.
Can a laser remove laser engraving?
It can remove an annealed mark or an oxide layer cleanly, which is the neatest method where it applies. It cannot fill a cavity, because a laser removes material and never adds it. Anyone describing laser removal of an engraving is describing surface mark removal.
How do I remove engraving from anodized aluminum?
You generally cannot, not by removal. The laser took off the anodized layer rather than the aluminum, and sanding removes more anodizing while exposing bare, soft aluminum that will not match. The only real repair is stripping and re-anodizing the whole part commercially.
Can I remove laser engraving with vinegar or household chemicals?
No. Vinegar, baking soda and similar household products will not touch a laser mark on metal. Chemical removal requires specific acids matched to the alloy, with the handling, ventilation and disposal obligations that come with them.
What grit sandpaper should I use?
Start with the finest that makes any progress, usually 1200, and step coarser only when the current grade has clearly stalled. Going coarse first is the most common mistake, because it creates deep scratches that take longer to remove than the engraving did. Work back up through the grits afterwards to restore the finish.
How do I match the original finish afterwards?
Refinish the whole face rather than the patch. Brushed finishes can be recreated with a scotch-brite pad worked along the original grain direction. Bead blasted finishes cannot be blended by hand and need the whole face reblasting. Anodized and plated finishes cannot be matched without refinishing the part.
Is it legal to remove engraving from metal?
Usually, but not always. Removing a firearm serial number is a federal offense under 18 U.S.C. 922(k). Hallmarks on precious metals, pressure vessel stamps, medical device identifiers and certification markings all carry their own legal requirements. If a mark might be regulatory rather than decorative, confirm before touching it.
How deep is laser engraving on metal?
Annealed marks have no measurable depth. Etched marks run roughly 0.001 to 0.005 inches. True engraving runs from about 0.01 inches up to 0.075 inches on industrial work. That depth is the single number that determines whether removal is practical.
Should I just buy a new blank instead?
For most production mistakes, yes. If the item costs a few dollars, an hour of careful hand work and a finish that does not quite match is poor economics. Removal makes sense for valuable, irreplaceable or customer-owned items, not for a misengraved tumbler.