Laser Engraving Stainless Steel: Processes, Grades & Clean Marks
How annealing, etching and deep engraving differ, why that choice affects corrosion resistance, and how stainless grade and finish change your results.

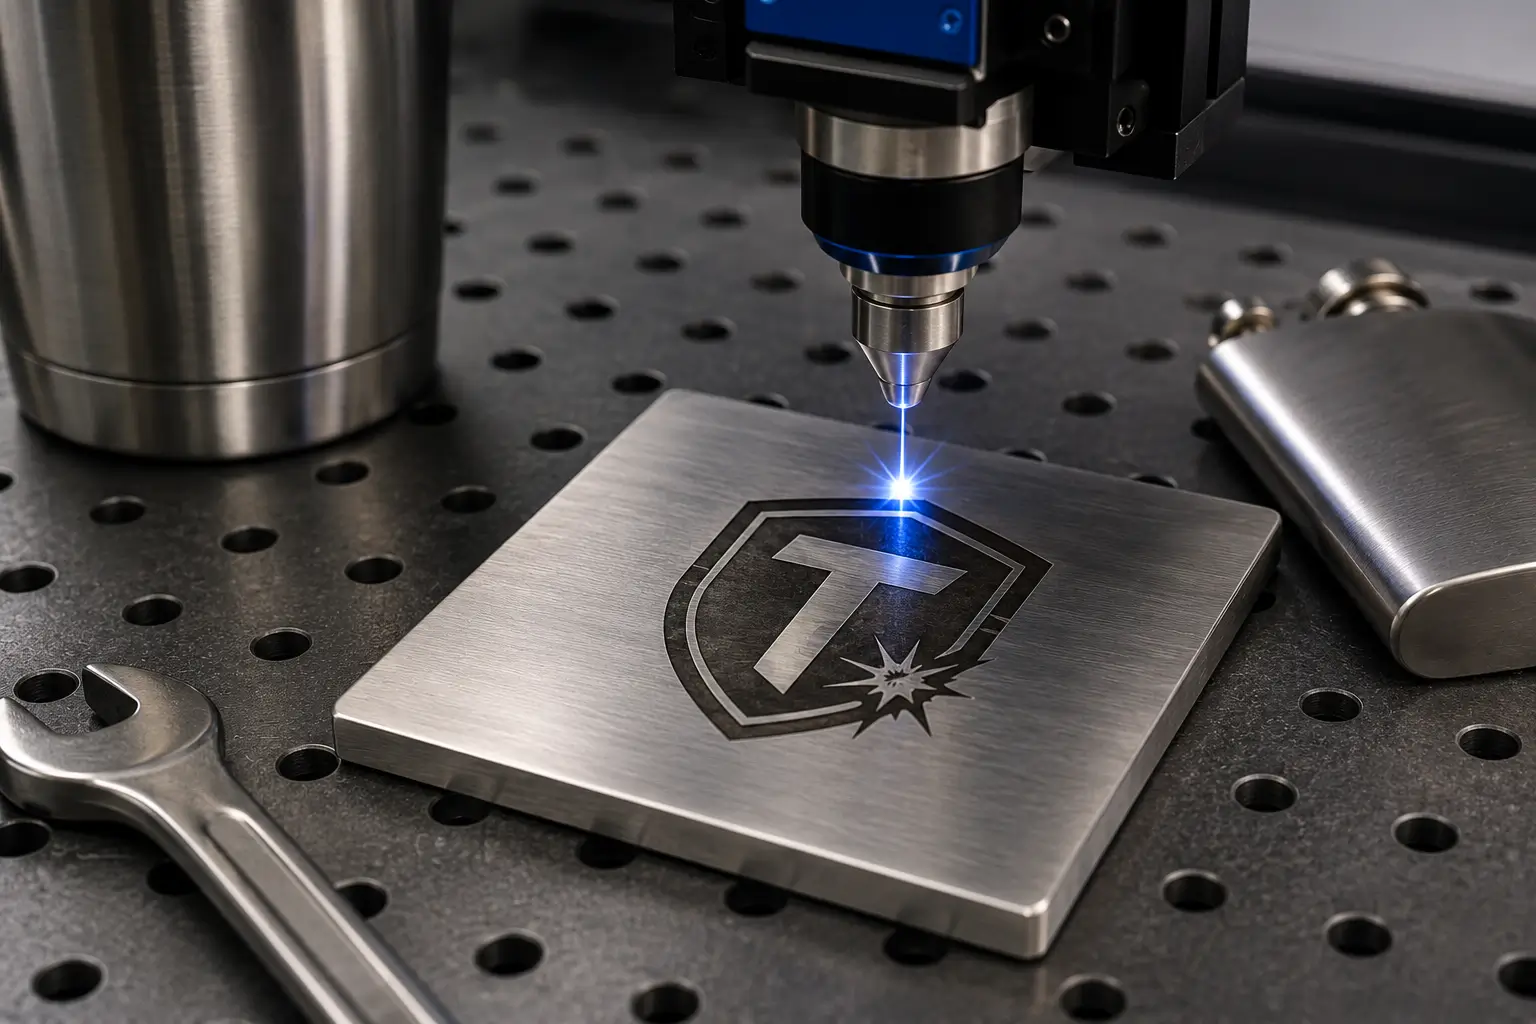
Stainless steel is marked with a fiber laser at 1064nm, which the metal absorbs efficiently. There are three distinct processes, and choosing correctly matters more than any parameter you set. Annealing heats the surface to grow a dark oxide layer without removing material, leaving the corrosion-resistant passive layer intact. Etching vaporises a shallow surface layer for a fast, high-contrast mark. Deep engraving removes measurable depth for wear-resistant identification. A CO2 laser cannot mark bare stainless at all without a marking compound, though it engraves powder-coated tumblers well because it is removing the coating rather than marking the metal.
Key takeaways
- Fiber is the right laser for bare stainless. At 1064nm the metal absorbs the beam efficiently. CO2 at 10.6 microns is largely reflected and needs a marking compound to work at all.
- Pick the process before you pick the settings. Annealing, etching and deep engraving are three different outcomes with different tooling and different consequences, not three power levels of the same thing.
- Removing material can compromise corrosion resistance. Etching and deep engraving breach the chromium oxide passive layer. On food contact, medical and marine parts, anneal instead or passivate afterward.
- Grade and finish change everything. 304, 316 and 430 respond differently, and a mirror polish behaves nothing like a brushed finish. Settings are not transferable between them.
- Coated tumblers are a different job entirely. You are removing powder coat to expose bare steel underneath, which is why a CO2 laser handles them but cannot touch bare stainless.
Stainless steel is the material most people buy a fiber laser for. Drinkware, tools, jewellery, industrial nameplates, medical instruments and traceability marking all run on it, and a good mark on stainless looks permanent because it is.
Most guides to the subject jump straight to power and speed. That skips the decision that actually determines whether your mark is right: which of the three marking processes you are using, and whether that process is compatible with what the part has to survive. A perfectly executed deep engrave on a surgical instrument is a defect. This guide starts there.
The Three Ways to Mark Stainless Steel
These are genuinely different processes, not intensity settings. Each produces a different physical result and suits a different application.
Process | What Happens | Depth | Look | Best For |
|---|---|---|---|---|
Annealing | Localised heating grows an oxide layer beneath the surface | None; surface stays flat | Black, grey or coloured; smooth to the touch | Medical, food contact, marine, hygienic parts |
Etching | Shallow surface layer is melted and vaporised | Very shallow, typically under 0.01mm | High contrast, slight texture | Drinkware, jewellery, general branding |
Deep engraving | Repeated passes remove measurable material | 0.05mm and beyond | Recessed, tactile | Tooling, dies, parts exposed to abrasion |
Polishing | Surface is melted smooth rather than removed | None | Bright, reflective mark on a dull ground | Contrast effects, decorative work |
Annealing
The laser heats the steel enough to drive a controlled oxidation reaction below the surface without vaporising anything. The mark forms as an oxide layer within the metal rather than as a cavity in it. Run your fingernail across a properly annealed mark and you will not feel it.
This is the process for anything that has to stay hygienic or corrosion resistant, because the surface remains continuous. It is slower than etching and it demands tighter control, since you are working in a narrow temperature window. Too little heat gives a weak grey; too much tips over into etching.
Etching
The workhorse for most commercial marking. The beam vaporises a very shallow layer, producing strong contrast quickly. This is what most tumblers, keychains, pet tags and jewellery marks are.
It is fast and forgiving, and for the majority of consumer products it is the right answer. The trade-off is that it does break the surface, which matters for the applications covered below and does not matter at all for a keychain.
Deep Engraving
Multiple passes remove real depth, producing a recessed mark you can feel. Used where a mark has to survive abrasion, heat or heavy handling: tool and die identification, industrial nameplates, parts that will be tumbled or blasted.
It is by far the slowest of the three and puts the most heat into the part, so distortion becomes a genuine consideration on thin sections.
Why the Process Choice Affects Corrosion Resistance
Stainless steel is not inherently rust proof. It resists corrosion because chromium in the alloy reacts with oxygen to form a thin, continuous chromium oxide film across the surface, called the passive layer. That film is what does the work.
Breaching the passive layer creates a corrosion site. Etching and deep engraving remove material, which breaks the passive film and exposes free iron at the mark. On parts that will meet moisture, salt, cleaning chemicals or repeated sterilisation, that mark can become the point where corrosion starts. Annealing avoids the problem entirely because no material is removed.
The practical consequences depend on the part.
Food contact and commercial kitchen. Repeated washing and sanitiser exposure. Anneal, or passivate after etching.
Medical and surgical instruments. Autoclave cycles are aggressive. Annealing is standard practice for exactly this reason, and it is also why device marking specifications frequently call for it.
Marine and outdoor. Salt exposure finds every weak point. Use 316 rather than 304 where you can, and prefer annealing.
Consumer drinkware, keychains, jewellery. Etching is fine. These parts are not living in a corrosive environment and the trade-off does not apply.
Where etching or engraving is unavoidable on a part that needs corrosion resistance, passivation afterwards restores the film. That is a chemical process — degrease, treat with nitric or citric acid, rinse thoroughly with deionised water, dry — and it should be specified as part of the job rather than treated as optional cleanup.
Which Laser Type Actually Works
Laser | Wavelength | On Bare Stainless | Notes |
|---|---|---|---|
Fiber | 1064 nm | Excellent | Absorbed efficiently by metal. The standard choice. |
MOPA fiber | 1064 nm, adjustable pulse | Excellent, most control | Pulse width control enables colour and reduces heat on thin parts |
IR / DPSS | 1064 nm | Good | Diode-pumped solid state. Same useful wavelength as fiber, usually lower power; common on compact dual-source machines |
CO2 | 10.6 microns | No, not without a compound | Largely reflected by bare metal; works with marking spray or on coatings |
Diode | 450 to 455 nm | Limited but workable | Blue light is partially absorbed by steel. Expect multiple passes or a marking compound for good contrast |
Green / UV | 532 / 355 nm | Specialist | Very low heat input for delicate or reflective work |
Why Fiber Works and CO2 Does Not
Absorption is wavelength dependent. Metals absorb near-infrared energy around 1064nm reasonably well, which is the fiber laser band. At 10.6 microns, where a CO2 laser operates, bare stainless reflects most of the beam. The energy does not couple into the material, so there is nothing to mark with.
Marking compounds get around this. Products such as CerMark and Thermark are applied to the surface, and the CO2 beam heats the compound, which bonds a permanent mark onto the steel. It works, it is a legitimate technique, and it is slower and more consumable-dependent than fiber. For occasional metal work on a CO2 machine it is a reasonable bridge. For production metal marking it is not the right tool.
Diode lasers sit somewhere in between. At 450 to 455nm, blue light is absorbed by steel to a useful degree, so a diode can etch stainless. The practical limits are contrast and speed: expect several passes for a dark mark, and many operators still use a marking compound to get there. It is a viable entry point rather than a production solution.
Infrared or DPSS sources are worth knowing about separately. They are diode-pumped solid state lasers operating at the same 1064nm as fiber, so the absorption behaves the same way. They typically run at lower power and appear on compact machines that pair an IR source with a diode module, which makes them capable on small metal parts even though they will not match a dedicated fiber system on throughput.
Standard Fiber vs MOPA
A standard fiber laser has a fixed pulse width. A MOPA source lets you vary it, typically from a few nanoseconds up to a few hundred. That control matters in two situations.
Colour marking. Reliable colour on stainless depends on precise, repeatable heat input. Short pulses give the necessary control, which is why colour work is a MOPA capability rather than a standard fiber one.
Thin or heat-sensitive parts. Short pulses deposit energy fast and let it dissipate, reducing heat build-up. On thin sheet that is the difference between a clean mark and a warped part.
Stainless Grades and How They Behave
Stainless is a family of alloys, not one material. Chromium, nickel and molybdenum content vary, and so does the response to a laser. Settings developed on one grade will not transfer cleanly to another.
Grade | Common Use | Marking Behaviour |
|---|---|---|
304 | Kitchen, food service, general fabrication | The baseline. Marks predictably, good contrast, most published settings assume it |
316 | Marine, medical, chemical processing | Higher molybdenum. Slightly different oxide response; usually needs its own test |
430 | Appliance panels, trim, low-cost drinkware | Ferritic and magnetic. Lower chromium, so contrast can be weaker |
17-4 PH | Aerospace, tooling, high-strength parts | Hardened. Deep engraving is slower and more heat-intensive |
Mirror polished | Decorative, architectural | Highly reflective. Needs careful power control; defects are very visible |
Brushed / satin | Appliances, signage, drinkware | The grain direction affects how the mark reads. Orient artwork deliberately |
Bead blasted | Industrial parts, medical | Matte surface takes annealing well and gives even contrast |
Finish matters as much as alloy. A mirror-polished 304 sheet and a brushed 304 sheet are the same metal and will not take the same settings. Test on the actual stock you are running, not on something nominally similar.
Bare Stainless vs Coated Products
This distinction causes more confusion than anything else in the subject, and it explains an apparent contradiction people run into constantly.
A powder-coated tumbler is not a metal marking job. The laser removes the coating to expose the bare stainless underneath, and the contrast comes from that colour difference. You are processing paint, not steel. That is why a CO2 laser engraves coated tumblers beautifully while being unable to touch a bare stainless plate.
The practical implications follow from that. Coated work needs much lower power, since you only have to clear a thin layer without damaging the steel beneath. Overpowering it discolours the exposed metal and leaves a scorched halo around the artwork. And because the exposed steel is now bare and unprotected, a coated tumbler that will be washed frequently benefits from the mark being kept clean and dry, the same as any exposed stainless.
Preparing the Part
Surface preparation is the step most often skipped and one of the more common causes of an inconsistent mark. It takes a minute and it removes a whole class of problems.
Degrease the surface. Fingerprints, machining oil, packaging residue and polishing compound all interfere with how energy couples into the steel, and they can leave visible artefacts in the mark. Isopropyl alcohol and a lint-free cloth is enough for most parts.
Check for scratches and dents first. Surface defects show through the finished mark, and they are far more visible on a mirror or polished finish. This matters most for photo engraving, where the eye reads any flaw as part of the image.
Clean the focus lens. A contaminated lens scatters the beam and commonly produces faint lines or banding through the engraving. If a mark that used to work has started looking inconsistent, check the lens before you change any settings.
Fixture the part properly. The surface needs to sit at a consistent height under the beam. Use a rotary for cylinders, and make sure flat stock is genuinely flat rather than slightly bowed.
The Parameters That Matter, and Why
Specific numbers depend on your machine, source wattage, lens, grade and finish, so published figures are a starting point rather than a recipe. What is worth understanding is what each control actually does.
Power. Sets energy delivered. More is not better on stainless. Excess power tips annealing into etching, burns through coatings, and introduces heat distortion.
Speed. Controls dwell time. Slower means more heat into a given spot, which is how you move from a light grey annealed mark toward a dark one, and eventually into material removal.
Frequency. Pulses per second. Higher frequency delivers more overlapping, lower-energy pulses, generally giving smoother annealed marks. Lower frequency concentrates energy per pulse, which suits removal.
Line interval or hatch spacing. How closely the fill lines sit. Tighter spacing gives denser, darker coverage and takes longer. This is often the control people should be adjusting when they reach for more power.
Passes. Multiple lighter passes give better control and less cumulative heat than one heavy pass, particularly for annealing and deep engraving.
Focus. Fiber marking has a short depth of field. Being slightly out of focus is one of the most common causes of a weak or inconsistent mark, and it is the first thing to check.
Rather than working from generic published numbers, run a parameter grid on a sample of your actual stock. Thunder Laser also offers material testing if you would rather have verified settings for a specific material before committing to production.
Colour Marking on Stainless
Colour on stainless is annealing taken further. The oxide layer that forms on the surface behaves like a thin film, and its thickness determines which wavelengths of light interfere and therefore what colour you see. Different heat inputs produce different oxide thicknesses, and so different colours: browns, blues, golds, purples and greens are all achievable.
It requires precise, repeatable heat control, which is why it is realistically a MOPA capability. It is also genuinely finicky. Colour shifts with grade, surface finish, ambient temperature and even how recently the part was cleaned, so expect a real testing session rather than a settings table you can transfer between jobs. Once dialled in for a specific stock, it repeats well.
Troubleshooting
Problem | Likely Cause | Fix |
|---|---|---|
Mark too faint or grey | Insufficient energy density, or out of focus | Check focus first, then tighten hatch spacing before raising power |
Mark looks burnt or blown out | Too much power or too slow | Reduce power, increase speed, add passes instead |
Inconsistent across the part | Uneven focus over a curved or warped surface | Use a rotary for cylinders; check the part sits flat and level |
Faint lines or banding through the mark | Contaminated focus lens scattering the beam | Clean the lens with a microfibre cloth before adjusting any settings |
Patchy or blotchy contrast | Oils, fingerprints or residue on the surface | Degrease with isopropyl alcohol before marking |
Annealed mark keeps turning into an etch | Energy input above the annealing window | Lower power, raise frequency, increase speed |
Part warps or discolours around the mark | Cumulative heat, common on thin sheet | Multiple lighter passes; MOPA short pulses; allow cooling between passes |
Rust appears at the mark later | Passive layer breached and not restored | Anneal instead of etch, or passivate after marking |
Coated tumbler shows a scorched halo | Too much power for a thin coating | Reduce power substantially; you are only clearing paint |
Colour marking will not repeat | Grade, finish or surface cleanliness varying | Standardise stock and cleaning; retest per batch |
Poor contrast on mirror finish | Reflectivity and visible defects | Lower power, tighter hatch; consider annealing rather than etching |
Compliance and Traceability Marking
A large share of US stainless marking is regulatory rather than decorative, and the requirements shape the process.
Medical devices. FDA Unique Device Identification rules require durable, machine-readable marking on many reusable devices. Marks must survive the full reprocessing cycle, which means repeated cleaning and autoclaving. Annealing is the usual answer, because it survives sterilisation without creating a corrosion site or a crevice where contamination can sit.
Aerospace and defence. Part marking standards govern permanence, placement and legibility, and specifications often restrict how much material may be removed on structural parts. Deep engraving may be prohibited outright on load-bearing components.
Food equipment. Hygienic design standards discourage crevices where bacteria can accumulate. A flat annealed mark is preferable to a recessed engraved one.
Industrial traceability. Serial numbers, data matrix codes and barcodes for asset tracking. The main requirement here is legibility to a scanner after wear, which usually means good contrast rather than depth.
If you are marking to a specification, get the process requirement from the specification rather than deciding it at the machine. Whether the standard requires annealing or permits etching is a compliance question, not a settings question.
Common Applications
Drinkware and Personalisation
Tumblers, flasks and bottles are the highest-volume consumer application. Coated products can be run on a CO2 machine; bare stainless needs fiber. A rotary attachment is essential for anything cylindrical, since a flat mark wrapped around a curve goes out of focus at the edges.
Tools and Industrial Parts
Asset tags, tool identification, nameplates and machine plates. Usually etched or deep engraved because durability matters more than surface continuity, and these parts are rarely in corrosive service.
Medical Instruments
Annealed marks for identification and UDI compliance. This is the application where process choice is least negotiable and where the corrosion argument is decisive.
Jewellery and Small Goods
Rings, pendants, tags and small parts. Fine detail and low heat input matter, and MOPA sources give better results on thin sections. Interior ring engraving needs appropriate fixturing.
Signage and Architectural
Plaques, wayfinding, elevator panels and door hardware. Often brushed or mirror finish, where surface preparation and grain orientation affect the result as much as the settings do.
After Marking
Clean the part. Marking leaves residue and handling leaves oils. Isopropyl alcohol and a lint-free cloth is usually enough.
Passivate if material was removed. Any etched or engraved part destined for a corrosive environment should be passivated to restore the chromium oxide film. Citric acid processes are increasingly preferred over nitric on handling and environmental grounds.
Do not use abrasive cleaners. They damage both the mark and the passive layer. Mild detergent and water is the correct maintenance instruction to pass to a customer.
Consider a protective treatment for outdoor parts. A clear wax or metal sealant helps on parts in marine or industrial exposure, though it is maintenance rather than a permanent fix.
If you are choosing equipment for stainless alongside wood, acrylic, or leather work, start with our CO2 vs. fiber laser guide. It explains when a fiber laser is the right tool and when a CO2 machine is the better fit.
Getting It Right
Most stainless marking problems are not parameter problems. They are process problems: a part that was etched when it should have been annealed, a mirror finish run on settings developed for brushed stock, or a coated tumbler treated as a metal marking job.
Decide which of the three processes the part actually needs, confirm the grade and finish you are running, test on the real stock rather than something similar, and check focus before you reach for more power. Get those right and stainless becomes one of the most predictable materials on a fiber system. If you are choosing equipment, our laser marking machines page covers the fiber options and what suits different production volumes.
Frequently asked questions
Can you laser engrave stainless steel?
Yes. A fiber laser at 1064nm marks bare stainless steel efficiently and permanently. You can anneal it for a flat surface mark, etch it for fast high-contrast work, or deep engrave for a recessed mark that survives abrasion.
Can a CO2 laser engrave stainless steel?
Not bare stainless. At 10.6 microns the beam is largely reflected and does not couple into the metal. A CO2 laser can mark stainless using a marking compound such as CerMark, and it engraves powder-coated stainless products well because in that case it is removing coating rather than marking metal.
What is the difference between laser annealing and laser etching?
Annealing heats the surface to grow an oxide layer without removing material, so the surface stays flat and the corrosion-resistant passive layer stays intact. Etching vaporises a shallow layer, which is faster and higher contrast but breaks that layer.
Does laser engraving cause stainless steel to rust?
It can, if material is removed and the part then meets a corrosive environment. Etching and deep engraving breach the passive chromium oxide film and expose free iron. Annealing avoids this, and passivation after etching restores the film.
What wattage fiber laser do I need for stainless steel?
For marking and etching, 20W to 50W covers the great majority of work. Deep engraving and faster cycle times benefit from higher power. Beyond a point, wattage stops being the constraint and beam quality, pulse control and fixturing matter more.
Which stainless grade marks best?
304 is the most predictable and is what most published settings assume. 316 behaves similarly but usually needs its own test. 430 has lower chromium and can give weaker contrast. Surface finish affects the result as much as the alloy does.
How do you get colour on stainless steel?
Through controlled annealing. The oxide layer that forms acts as a thin film, and its thickness determines the colour you see. It requires precise pulse control, which in practice means a MOPA fiber source, and it needs retesting whenever the stock changes.
Do I need a rotary attachment for tumblers?
Yes, for anything cylindrical. Marking a curved surface flat means the beam falls out of focus toward the edges, giving a mark that fades from the centre outward. A rotary keeps the surface presented consistently under the beam.