
CO2 laser cutting machines have opened up new opportunities for small business owners and hobbyists. Once used mainly by large industrial companies, these machines are now affordable and accessible for individuals who want to create and sell custom products, artwork, or crafts.
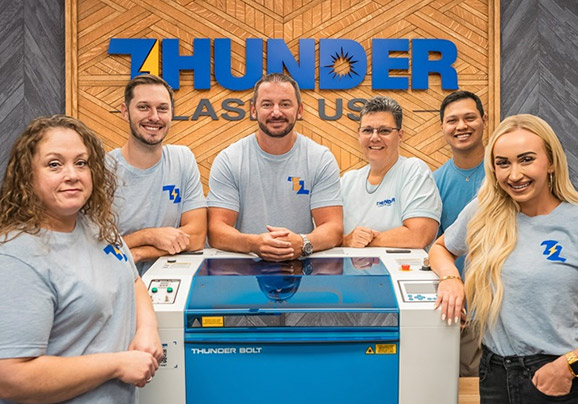
At Thunder Laser USA, we provide high-quality CO2 laser cutting machines at competitive prices. You don’t need prior experience or drawing skills to get started. With the right machine and a bit of practice, you can turn your ideas into real, sellable items. Read on to learn how CO2 laser cutters work and how you can use them to start or grow your business.
What Is Laser Cutting?
Laser cutting uses a focused beam of light to cut or engrave materials with high precision. It can handle tasks like trimming, engraving, and cutting shapes that are too complex for manual tools.
The process begins by piercing the material, then follows a programmed path to melt and remove the surface. This method works on a wide range of materials, from soft fabrics to hard surfaces like metal and stone, giving clean, smooth results.
The History of the CO2 Laser Cutter
The first production laser was developed in 1965 by Western Electric to drill holes in diamond dies. In 1967, a German scientist improved the concept by using a CO2 laser with oxygen to cut steel.
By 1975, modern CO2 laser cutting systems were introduced, and by the 1980s, businesses began using them for engraving. Today, these machines are accessible to anyone looking to start a small business or creative venture.
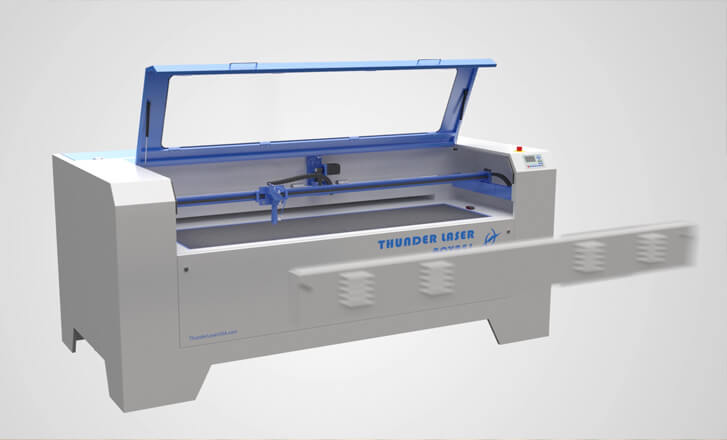
How Do CO2 Laser Cutting Machines Work?
CO2 laser cutting machines work through a series of controlled steps:
- Laser Generation: A high electrical current passes through a sealed glass tube filled with carbon dioxide gas. This energizes the gas and produces a powerful beam of light.
- Beam Amplification: The light bounces between a fully reflective mirror and a partially reflective mirror inside the tube. This reflection process strengthens the light into a high-heat laser beam.
- Beam Direction: Once intense enough, the beam exits through the partially reflective mirror and is guided by a series of mirrors toward the laser head.
- Focus Lens: Inside the laser head, a final mirror directs the beam through a focus lens. This lens sharpens the beam to a fine point, allowing for clean and precise cutting.
- Controlled Movement: A computer numerical control (CNC) system moves the laser head across the work area. It coordinates with the beam and focus lens to cut or engrave any shape with speed and accuracy.
This system allows CO2 lasers to cut or engrave a wide range of materials with high precision.
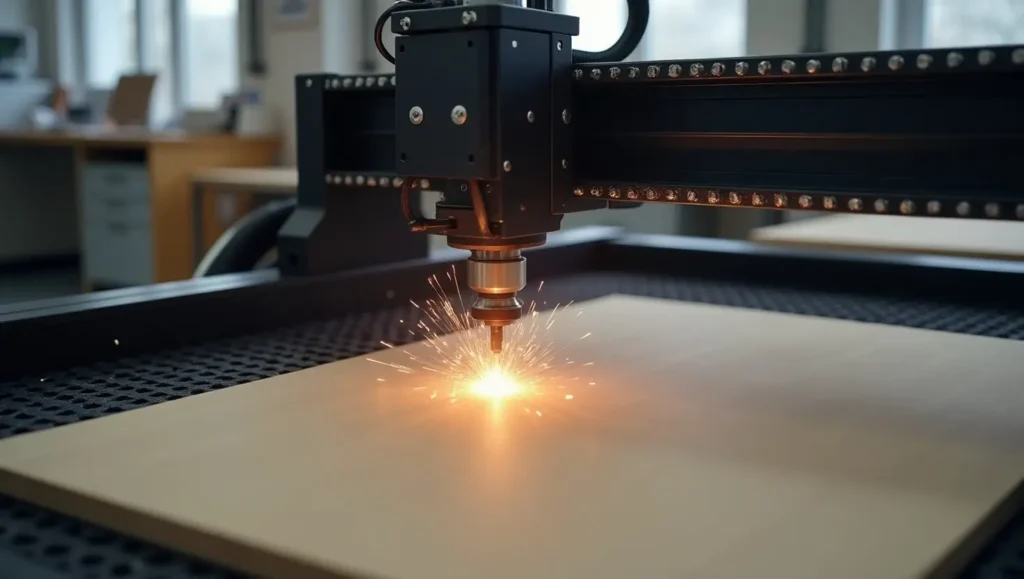
What Can You Do With a Laser Cutter?
CO2 laser cutters perform three main tasks: cutting, engraving, and marking.
1. Cutting
The laser passes through the entire material to create clean and accurate shapes. Materials like acrylic cut smoothly, while wood may darken at the edges.
2. Marking
Marking changes only the surface of the material. It is mainly used on metal with a marking spray that reacts with the laser to leave a permanent mark.
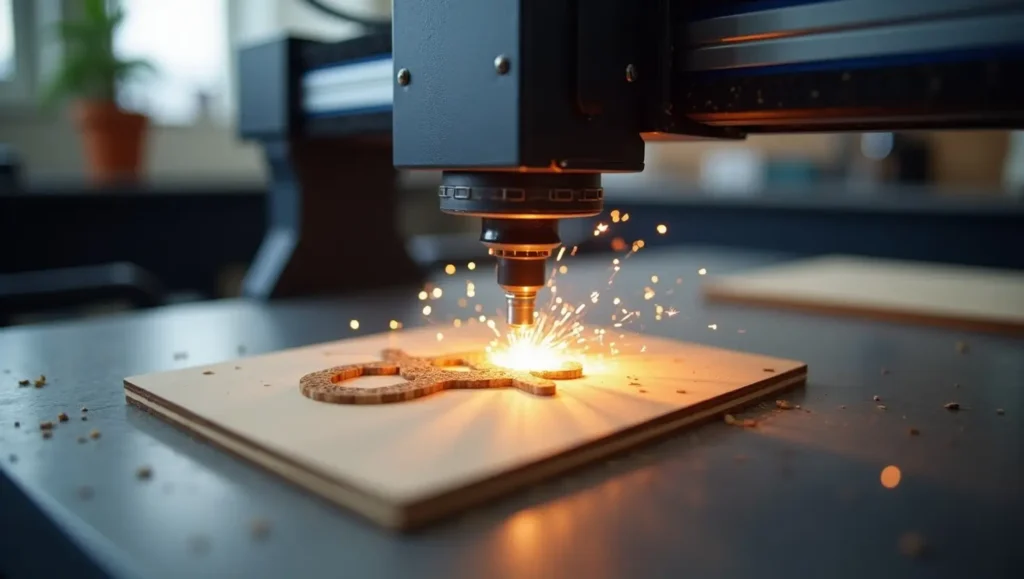
3. Engraving
Engraving removes the top layer without cutting through. It’s used to customize items like keychains, glass, and clothing.
Which Materials Can You Cut With a CO2 Laser?
Some materials must not go anywhere near a CO2 laser cutting machine. Some of these include halogens, phenolic resins, epoxy, beryllium oxide, Teflon, PVB, PVC, carbon and any artificial or real leather containing chromium. Here’s a table of materials that are generally effective and safe for use with a laser engraving machine.
| Material | Engrave | Cut | Explanation |
| Aluminum | No | No | Marking is possible |
| Stainless steel | No | No | Marking is possible |
| Glass | Yes | No | |
| Ceramic | Yes | No | |
| Porcelain | Yes | No | |
| Stone tiles | Yes | No | |
| Slate | Yes | No | |
| Marble | Yes | No | |
| Granite | Yes | No | |
| Polypropylene (PP) | Yes | Yes | Prone to melting |
| High-density polyethylene (HDPE) | Yes | Yes | Very volatile for both |
| Delrin (POM, acetal) | Yes | Yes | |
| Acrylic (Plexiglas) | Yes | Yes | |
| Cotton | Yes | Yes | |
| Felt | Yes | Yes | |
| Leather | Yes | Yes | Works best with vegetable-tanned leather |
| Paper | Yes | Yes | |
| Cardboard | Yes | Yes | |
| Cork | Yes | Yes | |
| Plywood | Yes | Yes | Make sure the plywood has interior not exterior glue |
| Wood | Yes | Yes |
Creating Designs for Engraving or Laser Cutting
Laser cutters work like printers. They use special drivers to convert digital images into formats the machine can read. To create designs, you need to understand the difference between vector and raster images.
Vector images use math to define shapes and lines. Common formats include AI, SVG, DXF, EPS, PDF, and DWG. They can be resized without losing quality and are used for cutting and vector engraving.
Raster images are made of pixels, like JPG, PNG, and GIF. Enlarging them too much can cause distortion. These files are mainly used for raster engraving.
For cutting, the machine reads thin vector paths and cuts through the material. It doesn’t cut thick lines or solid shapes.
For engraving, both vector and raster files can be used. Vector engraving removes the surface along a path. Raster engraving burns the surface line by line, similar to how a printer works.
How to Use a Laser Cutter

Before using a CO2 laser cutter, always read and understand the safety instructions. The laser beam is infrared and invisible to the eye. The red dot you may see is only for positioning.
1. Prepare Your Design
Make sure your design fits the machine’s work area. Bring extra material in case you need to test or redo the job.
2. Gather Helpful Tools
Although the laser cutter is the main tool, a few extras can help. Use calipers or a measuring tape for accurate sizing. Apply masking tape to hold down light or burn-prone materials. A utility knife can help you trim materials before cutting.
3. Check Machine Settings
You need to set three main controls:
- Focus: Adjust the material so it sits at the correct distance from the focus lens. This ensures clean cuts.
- Speed: Set a high speed for thin materials. Lower speeds may be needed for thicker items.
- Power: Use higher power for thicker materials and lower power for thin or delicate ones.
4. Start Cutting or Engraving
Once everything is set, begin your test run. Change only one setting at a time to see what works best. When you find the right combination, save it for future use. With practice, your results will improve quickly.
Advantages of Using a CO2 Laser Cutter
- The laser beam doesn’t touch the material, which reduces wear and prevents surface damage.
- It uses low power and can run at home without special wiring. Replacement parts are usually affordable.
- The machine is safe to use when operated properly, with no sharp blades or open parts.
- It delivers precise and clean results, allowing detailed cuts and engravings from digital designs.
- It works across many industries, from crafts to medical tools, making it a flexible business tool.
Start Planning for a Laser Cutting Business Today
Turn your ideas into reality with a high-quality CO2 laser cutter. Explore our range of reliable and affordable machines at Thunder Laser USA and take the first step today.