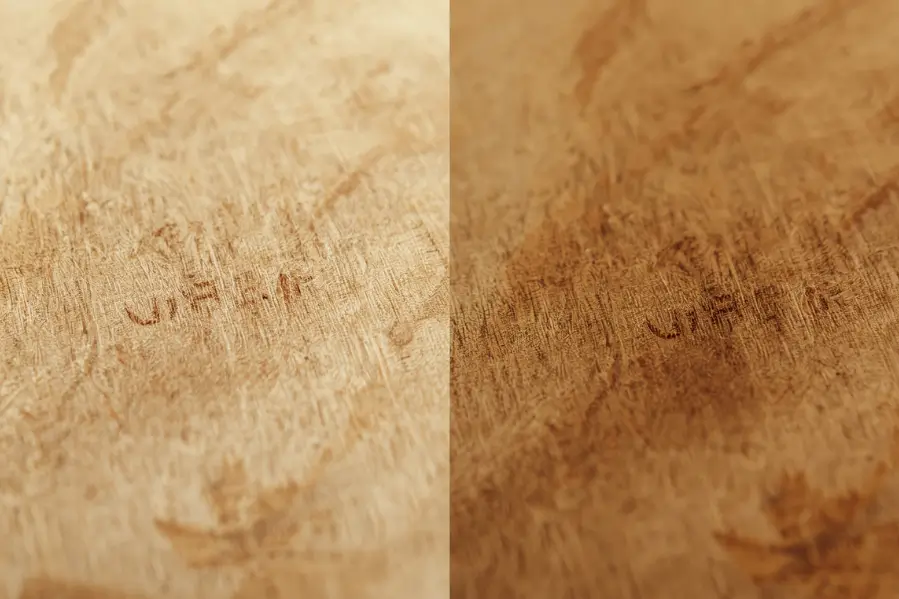
Laser engraving on wood is a popular method for creating detailed designs, but the results can sometimes appear too light or uneven. A darker engraving improves contrast, making the text or image easier to see and giving the wood a more professional finish.
There are several ways to darken laser engravings, from adjusting your laser settings to using stains, oils, or paint fills. Each method enhances visibility, durability, and overall appearance, allowing your engravings to stand out clearly on any type of wood.
Why Laser Engravings Appear Light
Laser engravings sometimes appear light or faded because of several factors:
- Wood type: Softwoods such as pine often produce lighter marks, while hardwoods like walnut or cherry create deeper, darker burns.
- Laser settings: Speed, power, and resolution directly influence how deep and dark the engraving becomes.
- Finishing process: Sanding or cleaning can strip away surface burn marks, leaving the engraving less visible.
By understanding these factors, you can adjust your process and select the best method to darken your engraving.
For more details on choosing the right speed, power, and resolution, see our full guide on wood laser engraving settings.
Softwood vs Hardwood Engravings
| Wood Type | Engraving Result | Best Use |
|---|---|---|
| Softwood (Pine, Cedar) | Lighter marks, less contrast, can burn unevenly | Practice projects, rustic designs |
| Hardwood (Maple, Cherry, Walnut) | Darker, sharper engravings with strong contrast | Professional work, detailed designs, gifts |
Best Methods to Darken Laser Engraving on Wood
There are several proven techniques to make laser engravings darker, each suited to different wood types and project needs. The methods below explain how to adjust settings, apply finishes, and use treatments for stronger contrast.
1. Adjust Laser Settings to Darken Engravings
If you are still engraving, fine-tuning your laser settings can make a big difference in how dark the result appears.
| Effect on Engraving | Best Practice |
|---|---|
| Creates deeper and darker burns | Test on a scrap piece of the same wood |
| Produces a stronger burn | Increase gradually to avoid charring edges |
| Adds depth and darker color | Use light passes for more control |
2. Make Engravings Darker With Paint, Ink, or Wax Fills
Filling the engraved area with paint, ink, or wax is one of the easiest ways to make engravings darker and sharper. This method creates strong contrast and gives the design a long-lasting finish.
Steps:
- Clean the engraved wood gently with a soft brush.
- Apply acrylic paint, India ink, colored wax, or wood filler into the engraved lines.
- Wipe away any excess from the surface with a cloth.
- Let it dry, then seal with a clear protective coat.
This approach works well for text, logos, and designs that need bold visibility.
3. Darken Laser Engravings Using Wood Stain
Wood stain is an effective way to darken engravings while also enhancing the natural grain of the wood. It penetrates the engraved lines and makes the design stand out clearly.
Steps:
- Apply stain evenly with a brush or soft cloth over the engraved area.
- Wipe away any excess stain before it dries.
- Allow the wood to dry completely before applying a sealant.
Tip: Oil-based stains usually give deeper, richer tones compared to water-based stains, which provide a lighter finish.
Oil-Based vs Water-Based Wood Stains
| Type of Stain | Darkness Level | Drying Time | Durability | Best For |
|---|---|---|---|---|
| Oil-Based Stain | Rich, deeper tones | Slower (hours) | Long-lasting, penetrates deeply | Dark contrast and hardwood projects |
| Water-Based Stain | Lighter finish | Fast (30–60 mins) | Less durable, sits on surface | Quick projects and softer woods |
Pre-Engraving Stain
For even darker results, you can apply a stain before engraving. The laser burns into the stained wood, producing sharper and bolder contrast compared to untreated wood. This works especially well on high-resin woods like cherry and walnut.
Proper cleanup is also important to keep engravings sharp. Learn more in our article on how to clean wood after laser engraving
4. Use Heat to Deepen Engraving Contrast
Heat treatment is a simple way to darken engraved lines without using chemicals. A heat gun can deepen the color of the engraving and improve contrast.
Steps:
- Hold a heat gun a few inches above the engraved surface.
- Move it gently and evenly across the design.
- Stop once the engraved lines look darker and sharper.
- Avoid overheating to prevent burning the surrounding wood.
This method is best for small adjustments and works well when you only need a slight color boost.
5. Darken With Natural Oils
Natural finishing oils are a simple way to make engravings darker while also protecting the wood. Since the engraved lines absorb more oil than the surface, the design naturally stands out with deeper contrast.
Steps:
- Apply a thin coat of linseed oil, tung oil, or Danish oil using a soft cloth.
- Allow the oil to soak into the engraved areas.
- Wipe away excess and buff the surface gently for an even finish.
This method is safe, chemical-free, and adds a natural richness to both the engraving and the wood grain.
Comparison of Natural Oils for Engravings
| Oil Type | Finish Look | Drying Time | Effect on Engraving | Best Use |
|---|---|---|---|---|
| Linseed Oil | Warm, slightly yellow tint | Slow (several days) | Deepens contrast but may darken wood overall | Traditional woodworking, rustic projects |
| Tung Oil | Clear, natural matte | Medium (1–3 days) | Darkens engraving while keeping grain visible | Furniture, fine detail engravings |
| Danish Oil | Satin to semi-gloss | Fast (hours) | Enhances contrast with a smoother finish | Quick projects, modern look |
6. Try Chemical Treatments (Advanced)
Some woodworkers use chemical solutions to darken engravings further. Options include borax or potassium permanganate, which react with the wood fibers to create darker shades.
Note: Always test on scrap wood first and wear gloves. These chemicals should only be used in well-ventilated areas with proper safety precautions.
Best Woods for Dark Engravings
Not all woods engrave the same. Some naturally produce darker, sharper results, while others appear lighter. Choosing the right wood helps you achieve strong contrast without extra effort.
| Wood Type | Engraving Quality | Notes |
|---|---|---|
| Maple | Very sharp, dark contrast | Popular choice for detailed designs |
| Cherry | Rich tones, engraves evenly | Slightly darkens with age |
| Walnut | Deep natural color, bold engravings | Works well for logos and text |
| Bamboo | High contrast, eco-friendly | Engraves in varied shades |
| Pine | Lighter, less consistent | Better for practice or rustic projects |
Quick Tips for Darker Engravings
These simple tips will help you get the best results when darkening laser engravings on wood:
- Test first: Always try the method on a scrap piece of the same wood before applying it to your final project.
- Pick the right wood: Hardwoods such as maple, cherry, or walnut provide sharper contrast than softwoods.
- Use masking tape: Apply masking tape before engraving if you plan to fill with paint or stain. This prevents smudging and keeps edges clean.
- Seal the finish: Add a clear coat or wood sealer to lock in the darker color and protect the engraving from fading.
Troubleshooting: Common Issues and Fixes
Even with the right methods, you may face problems while darkening engravings. Here are quick fixes:
| Problem | Cause | Solution |
|---|---|---|
| Engraving looks too light | Laser speed too high or power too low | Reduce speed, increase power, or try multiple passes |
| Burn marks around design | Excess power or low speed | Raise speed slightly, use masking tape to protect surface |
| Uneven darkness | Wood grain density varies | Apply stain, paint fill, or natural oils to even out |
| Faded after sanding | Over-sanding removed burn marks | Reapply light laser pass or fill with stain/ink |
Safety and Maintenance Tips
Working with wood, heat, and finishes requires care. Follow these tips for safe and lasting results:
- Work in a ventilated area: Heat treatment and stains release fumes, so good airflow is important.
- Wear protective gear: Gloves and safety glasses protect you when using stains, oils, or heat guns.
- Avoid overheating: Keep heat guns moving to prevent burning wood outside the engraved area.
- Seal properly: Always allow oils or stains to dry fully before adding a protective clear coat.
- Regular cleaning: Use a soft brush or cloth to remove dust from engravings without damaging details.
These practices keep your projects safe, durable, and professional-looking.
Ready to Create Professional Laser Engravings?
At Thunder Laser USA, we design advanced laser engraving machines built for precision, speed, and durability. Our systems deliver the depth, contrast, and quality you need to make every project stand out.
Explore our lineup today and see how Thunder Laser can bring your ideas to life.
Final Thoughts on Making Laser Engravings Darker
Darkening a laser engraving on wood is simple and improves both readability and appearance. Whether you adjust laser settings, apply stains or paint, use oils, try wax fills, or add controlled heat, each method gives your design stronger contrast.
With the right approach, your wood engravings will look sharper, darker, and more professional — perfect for crafts, business products, or personalized gifts.
FAQs
1. What spray makes laser engraving darker?
Clear acrylic spray or matte clear coat is often used to darken and seal laser engravings. For deeper contrast, some makers use laser marking sprays like Cermark, which bond to the wood and create a darker finish.
2. How do you darken laser engraving on wood with baking soda?
Mix baking soda with water to make a light solution, then brush it over the wood before engraving. The soda reacts during burning, helping the laser create darker, sharper marks. Always test on scrap wood first.
3. How to darken laser engraving on a cutting board without stain?
You can darken engravings on a cutting board by adjusting laser settings, using multiple passes, or applying natural oils like mineral oil or coconut oil. Heat treatment with a heat gun is another safe, food-friendly option.
4. Why is my laser engraver not engraving deep enough?
Shallow engraving usually happens when the laser power is too low or the speed is too high. Other causes include incorrect focus, dirty lenses, or using softwood that doesn’t burn deeply. Lower the speed, increase power, refocus the laser, and always test on scrap wood first.
5. How to make a laser level more visible?
To improve laser level visibility, use laser enhancement glasses, work in dim lighting, and choose a green laser level, which is brighter than red. For outdoor use, pair it with a laser detector to see the beam clearly.