Creating a laser engraving file is the first step to turning your design into a physical product. Whether you are engraving on wood, metal, acrylic, or leather, having a properly prepared file ensures accuracy, clarity, and smooth results.
In this guide, you’ll learn how to make a laser engraving file step by step, including what file types to use, how to prepare images, and how to format your design for the best engraving results.
What is a laser engraving file?
A laser engraving file is a digital design file used to guide a laser machine during the engraving process. It includes paths, shapes, or images in specific formats such as SVG, DXF, or JPG, telling the machine where and how to engrave the material.
Step-by-Step Guide to Making a Laser Engraving File
Follow this step-by-step guide to create a properly formatted laser engraving file that delivers clean, accurate results on any material.
Step 1: Choose the Right Software
To get started, install design software that supports laser engraving formats. Some popular options include Adobe Illustrator, CorelDRAW, Inkscape, and LightBurn. These tools allow you to create or edit both vector and raster files.
Step 2: Decide Between Raster and Vector
Laser machines can engrave raster images or vector designs. Choose the type based on the level of detail and the result you want.
1. Raster (Bitmap Images)
Raster engraving uses pixels to form an image, similar to printing. Best for:
- Photographs
- Shaded artwork
- Grayscale designs
Use formats like JPG, PNG, or BMP for raster engraving.
2. Vector
Vector engraving uses paths and lines. It’s precise and clean. Best for:
- Logos
- Text
- Geometric shapes
Use formats like SVG, AI, DXF, or PDF for vector engraving.
Step 3: Prepare Your Image or Design
For Raster Images
Start with a high-resolution image, ideally 300 DPI or higher, to ensure clarity. Convert the image to grayscale or pure black and white for better control over engraving depth. Adjust the contrast to make details more visible during engraving. If the image has a background, remove it to keep the design clean. Low-quality images often appear pixelated when engraved, so it’s best to avoid them.
For Vector Designs
Use solid black lines or fills to define the areas that should be engraved. Convert any text to outlines to prevent font compatibility issues. Remove colors, gradients, or effects that could confuse the laser. Make sure all paths are fully closed so the machine can trace the design accurately without missing sections or duplicating lines.
Step 4: Set the Size and Scale
Laser machines need your design in actual size. Check your material dimensions and scale the file accordingly.
- Use mm or inches as units
- Fit your design within the engraving area
- Leave a small margin around the edges
If you’re engraving on curved or uneven surfaces, account for that in your measurements.
Step 5: Choose the Correct File Format
Export your final design in a format that your laser machine or software supports. Common formats include:
- SVG is great for vector artwork
- DXF is widely used for cutting and engraving
- AI works well with Illustrator-compatible machines
- PNG, JPG, and BMP are suitable for raster images
- PDF is a good choice for mixed content
Always check your laser machine’s manual or software guidelines to ensure compatibility.
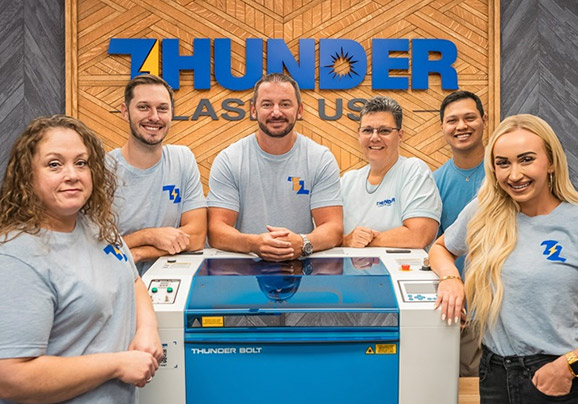
Thunder Laser machines, such as the Nova and Bolt series, work perfectly with both vector and raster design files. They support popular formats like AI, SVG, DXF, and JPG. For the best results, we recommend using LightBurn software, which is fully compatible with all Thunder Laser systems and provides precise control over engraving settings and file preparation.
Step 6: Set Colors or Layers for Different Operations
Most laser engraving software allows you to assign operations based on colors or layers:
- Black usually means engraving
- Red or blue are often used for cutting
- Green or yellow may indicate scoring or different depths
Set these colors or layers clearly in your file. This helps the machine understand which paths to engrave, cut, or skip.
Step 7: Test Before Final Engraving
Before using expensive materials, always test your file:
- Use cardboard or scrap wood
- Check alignment and scaling
- Inspect engraving depth and clarity
- Tweak power, speed, and frequency settings if needed
This step saves time, money, and materials.
Bonus Tips for Better Laser Engraving Files
- Convert fonts to paths to prevent font issues on other devices
- Use simple shapes because complex paths may slow down the machine
- Avoid thin lines as very thin lines may not engrave properly
- Check overlapping paths since duplicate lines may be engraved twice
- Name your layers clearly to help with troubleshooting or sharing files
Common Mistakes to Avoid
When preparing a laser engraving file, small errors can lead to poor results or even damage your material. Watch out for these common mistakes:
- Using low-resolution images that appear pixelated or blurry
- Forgetting to convert text to outlines, which may cause font issues on other devices
- Not checking for open paths in vector files, which can confuse the laser and cause incomplete engravings
- Exporting the file in an unsupported or incorrect format
- Ignoring the material size or engraving area, which may lead to misaligned or clipped designs
Double-checking your file before exporting can save time, reduce waste, and ensure your project runs smoothly. Always review your design and run a quick test to catch these issues early.
Ready to Put Your Design to Work?
Once your file is ready, it’s time to bring it to life with precision. Thunder Laser machines are built to handle complex engraving tasks with speed and accuracy.
Whether you’re engraving wood, acrylic, leather, or metal, Thunder Laser delivers the performance you need.
Final Thoughts
Making a laser engraving file becomes easy once you understand the steps. Use vector software for clean, scalable designs, choose the right file format based on your project, clean up and check your design resolution, and always test before full production. With the right tools and preparation, you can confidently create high-quality files for everything from personal crafts to professional products.
Frequently Asked Questions
1. What file format is best for laser engraving?
SVG and DXF are ideal for vector-based designs because they retain clean paths. For raster engravings, formats like PNG or JPG work well.
2. Can I use any design software to create a laser engraving file?
You should use design tools that support vector editing and laser-compatible export formats. Popular options include Adobe Illustrator, CorelDRAW, Inkscape, and LightBurn.
3. Do Thunder Laser machines support both vector and raster engraving?
Yes, Thunder Laser systems are compatible with both vector and raster files. You can use LightBurn to manage layers, colors, and engraving settings with full control.