
QR codes have become a standard in packaging, branding, and interactive digital experiences. But when permanence matters, laser engraving transforms them into high-precision, long-lasting identifiers. In this guide, we explore how QR code laser engraving works, how to choose the right laser machine, and how to create beautiful, functional QR code items on materials like acrylic, metal, and wood.
What Is QR Code Laser Engraving?
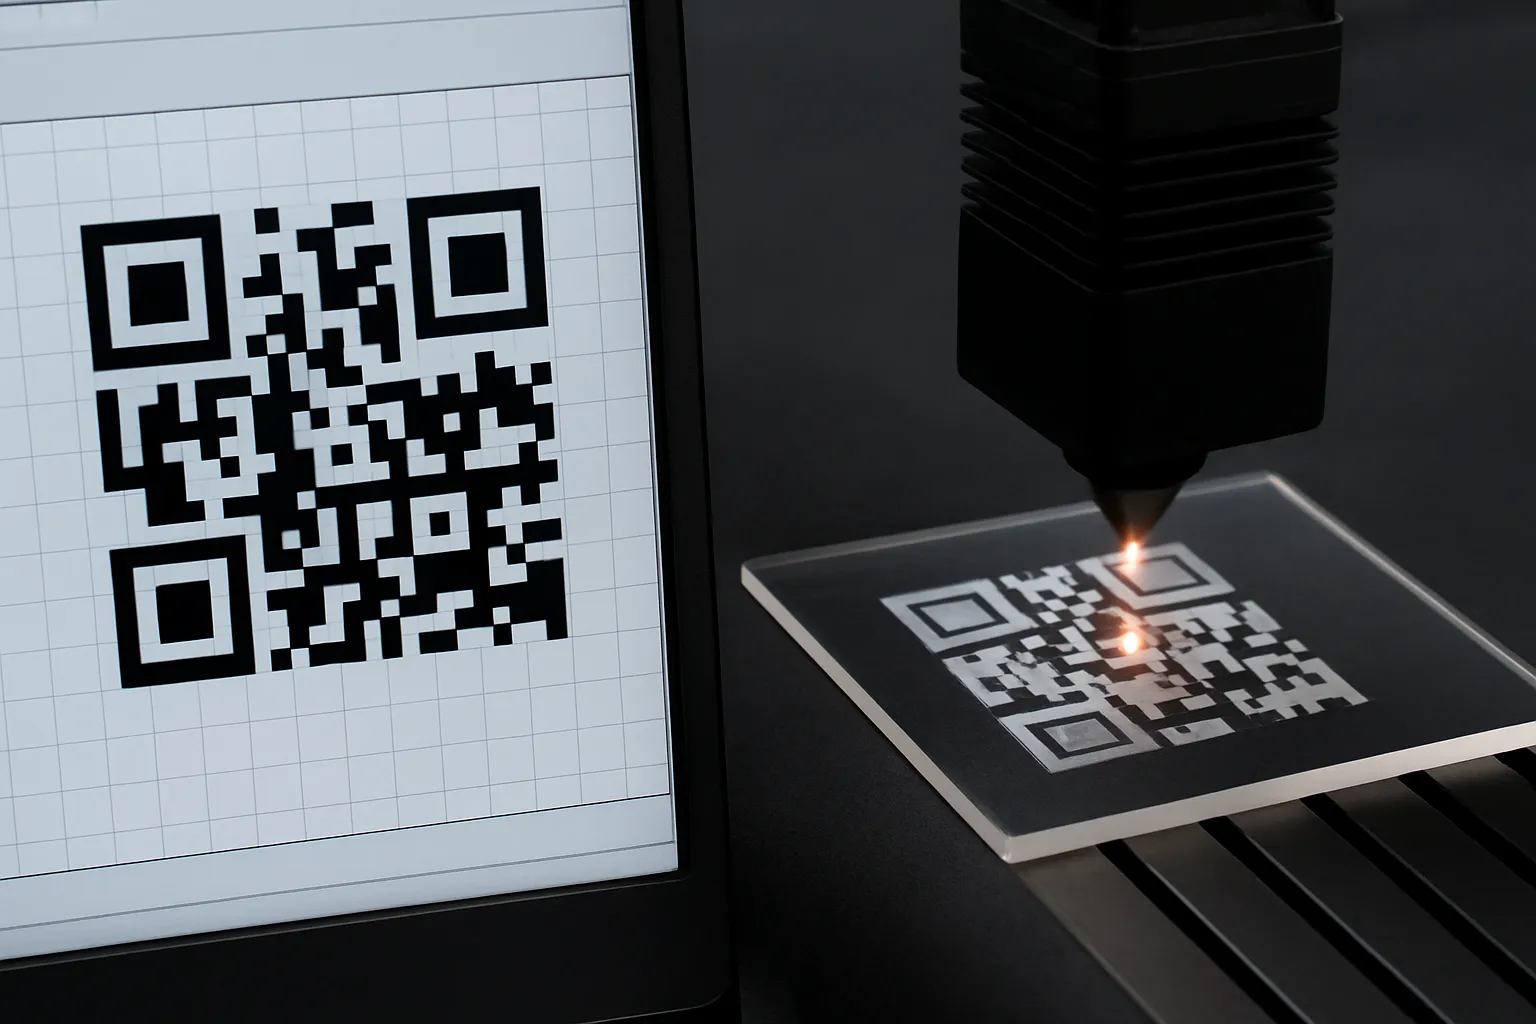
QR code laser engraving is the process of permanently etching a scannable 2D barcode (QR code) onto a physical surface using a laser beam. The laser removes material or alters the surface texture, creating dark or light contrast modules (squares) that can be read by any smartphone or scanner. Common substrates include:
- Acrylic
- Metal (aluminum, stainless steel)
- Wood (birch, beech, maple)
- Plastic or coated materials
Unlike printed stickers, these codes won’t fade, smear, or peel—making them ideal for industrial traceability, WiFi access sharing, business cards, and product authentication.
How Does Laser Engraving a QR Code Work?
The laser follows a pattern based on the QR code file you generate. It typically follows these steps:
- Generates the QR pattern in vector format (SVG recommended)
- Engraves line by line or pulse by pulse, removing a thin layer of material
- Leaves behind a visible contrast between the marked and unmarked areas
- Final result: a sharp, readable code that resists wear, chemicals, and heat
Which Laser Machine Is Best for QR Code Engraving?
When choosing a QR code laser engraver, your primary consideration should be the material:
| Material | Best Laser Type |
|---|---|
| Acrylic, wood | CO₂ Laser |
| Stainless steel | Fiber Laser or Diode (1064 nm) |
| Anodized aluminum | Fiber or Diode Laser |
| Painted metal | CO₂ or Fiber |
For beginners or home use, diode lasers offer portability and cost-effectiveness. For professional or commercial use, consider a fiber or CO₂ laser for scalable QR code engraving.
Step-by-Step: How to Engrave a QR Code with a Laser
Step 1: Choose Your Material
Different materials require different laser settings. In this guide, we’ll focus on acrylic, a popular choice due to its smooth surface and visual clarity.
Step 2: Select a Laser Engraving Machine
Whether you’re using a dual-laser machine like the LaserPecker 4 or a professional CO₂ machine like the Thunder Laser Odin, ensure your laser is compatible with your selected material. For bare metals, consider fiber or diode lasers; for wood, acrylic, and coated surfaces, CO₂ lasers work perfectly.
⚙️ Tip: Machines like Thunder Laser Odin and Nova offer rotary attachments for engraving QR codes on curved objects like tumblers or tubes.
Step 3: Prepare Your QR Code Design
Use a QR code generator like QRCode Monkey or generate directly in software like LightBurn or LaserGRBL. Export the code in SVG format and avoid using outlines—use filled squares for each module.
Step 4: Load and Position the Design
- Import the design into your laser software
- Enable preview mode to test size and placement
- Use measurement tools or focus overlap (dual red-dot alignment) to set exact focal distance
Step 5: Adjust Laser Settings
Here are baseline settings for acrylic using a 1064 nm diode laser (like LaserPecker 4):
- Power: 5%
- Resolution: 4K
- Depth: 5%
- Passes: 1
- Wavelength: 1064 nm
🧪 Always test on scrap material first before starting the final job.
Step 6: Start Engraving
With everything aligned, hit start and monitor the process. Ensure adequate ventilation or fume extraction—acrylic can emit fumes when engraved.
Step 7: Verify the QR Code
Use a smartphone QR reader or handheld scanner to verify that the engraved code is functional and leads to the correct URL, WiFi SSID, or digital file.
3 Creative Ideas for Laser Engraved QR Codes
Engrave your Instagram, Facebook, or TikTok QR codes on wood boards for signage or point-of-sale displays. Great for influencers and boutique stores.
2. WiFi QR Coasters (Acrylic)
Offer guests or clients immediate WiFi access by engraving scannable QR codes onto stylish acrylic coasters.
3. Metal Business Cards
Add a QR code that links to your digital portfolio or contact page. Sleek, durable, and impressive at any networking event.
Case Study: Engraving a WiFi QR Code on Acrylic in 5 Simple Steps
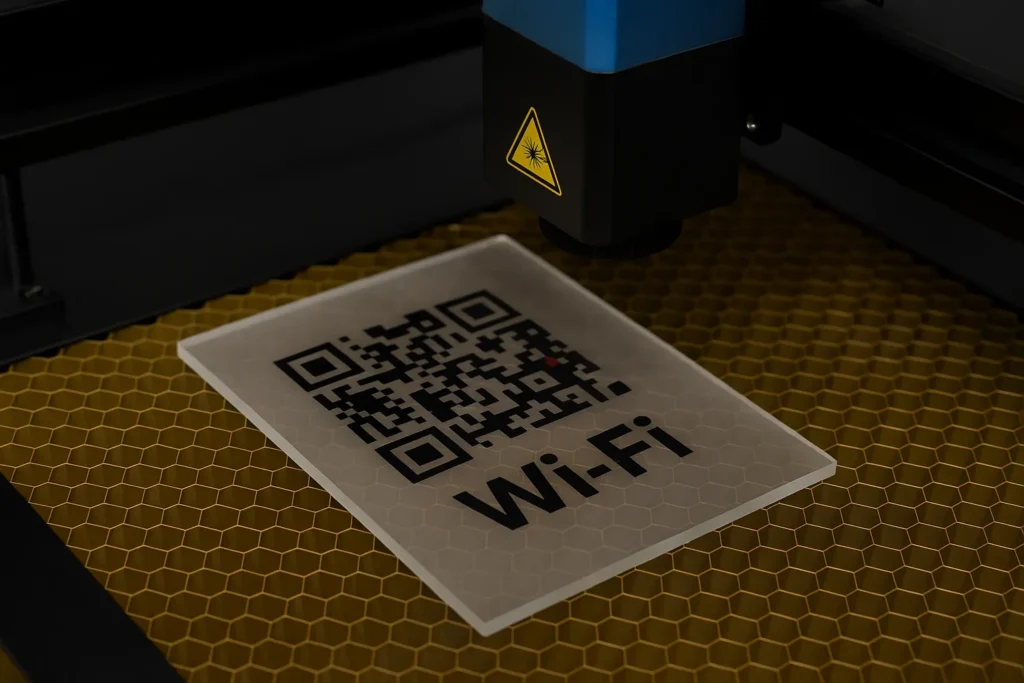
Objective: Create an acrylic plaque with a scannable WiFi QR code.
- Choose Material: Use a 3mm clear acrylic sheet
- Select Machine: A 1064 nm diode laser (or Thunder CO₂ machine)
- Generate QR Code: Use online generator and export as SVG
- Load & Align: Set 150mm distance from the laser lens or match red-dot focal points
- Engrave: Apply recommended settings and monitor safety
💡 Wear protective goggles and operate in a well-ventilated space to prevent inhaling fumes.
Safety Precautions
- Wear laser safety goggles — especially when using blue (450 nm) or infrared lasers
- Ensure ventilation or fume extraction for acrylic or plastic engraving
- Use proper fixtures and clamps to hold materials securely during the job
- Keep a fire extinguisher nearby when engraving flammable materials like wood
Final Thoughts
Laser engraving QR codes is a powerful way to merge the physical and digital world—creating objects that are not only functional but beautifully personalized. Whether for business, home decor, or tech-savvy gifting, QR code laser engraving opens endless creative opportunities.
Want industrial-grade results with professional support? Explore Thunder Laser’s CO₂ and fiber laser machines for precision engraving across metals, wood, and acrylic.