
Watch the walkthrough
Applies toAll machinesTopicGeneral
Preface: This article covers how to adjust your Dual Air Assist on your Nova and Odin series Thunder Lasers
Quickstart Video
For Machines with Air Sensors
Complete Guide:
Note: Thunder's dual stage air assist does not come preset from the factory. High may be set low and low may be set high. You must correctly set the air pressure desired for each stage to your needs.
Warning: The stock air pump supplied with your laser turns on and off with the job and is not intended to run with no air flow. This means that adjusting the air assist stage(s) where there is zero air coming out will eventually damage the pump. Additionally, having too little airflow will cause you to burn up your focal lenses. Make sure you always have enough airflow.
Location
The Dual Air assist adjustment will be on the left side of your machine. You will have a Test button and Flow Valve for each stage. The test button will light up while the corresponding stage of air is running.
| Nova Series | Odin Series |
|---|---|
 |
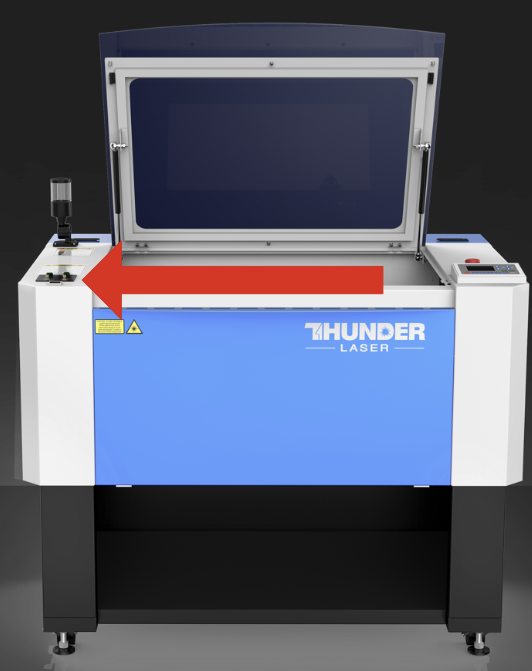 |
Adjustment
You can adjust while the machine is running or by pressing the green button for the corresponding air.
- Less Air — turn the knob Clockwise / Right
- More Air — turn the knob Counterclockwise / Left
Still stuck?
No bots, no runaround. Talk to a U.S.-based laser tech who knows your machine inside out.