
Preface: This article covers how to flash the Ruida DSP firmware using RDworksV8 over a USB Connection. You will need to install and establish the connection prior to doing a firmware flash, that is not covered in this article.
Quick Start Video
Complete Guide
What you will need
- Windows PC with RDworksV8
- Firmware File
Where to get the firmware file
Email support with a picture of the silver serial sticker on the Ruida DSP controller and a picture of your machine serial plate.
Example of the Ruida DSP controller sticker:

How to Flash the Firmware for the DSP
-
Open up RDworks and connect to the machine.
-
Go to Config(s) and select System Setting.

-
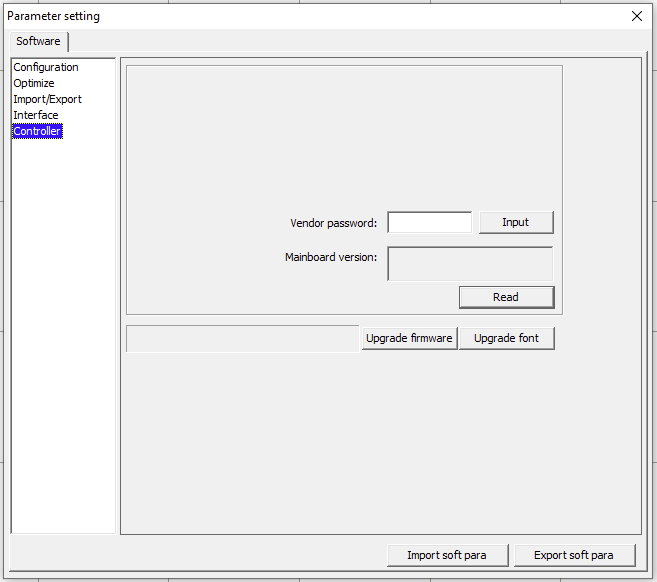
In the window that opens, select the Controller tab.
-
Click the Upgrade Firmware button.

-
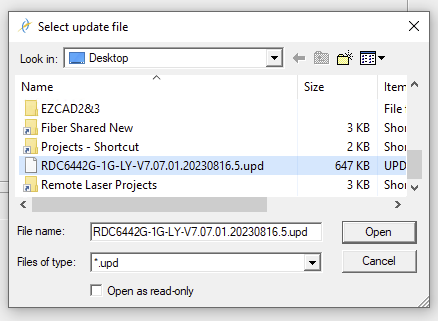
Select the file you want to send; it should have a .upd file type.
-
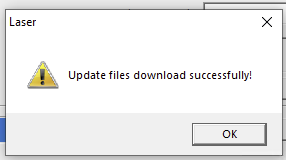
Let the firmware download.

-
Success.
-
Power your machine off, and then back on. Close out RDworks.
Still stuck?
No bots, no runaround. Talk to a U.S.-based laser tech who knows your machine inside out.