
ThunderAir Unboxing Tips and Tricks
ThunderAir Unboxing Tips and Tricks
Applies to: ThunderAir fume extractors shipped in a wooden crate.
This article covers moving the crate, opening it without damaging the base, and finding every tool, filter and accessory packed with your ThunderAir so nothing gets thrown out with the packaging.
Before You Unpack: Crate Precautions
ThunderAir fume extractors currently ship in wooden crates. Review the following before you start.
Check Pallet Jack Compatibility
The fork opening in the crate base measures 63 cm wide × 8.5 cm high (about 24.8 in × 3.3 in), which is too narrow for some manual pallet jacks. Check your fork dimensions before trying to move the crate.
If the forks won't fit, tilt the crate up and set it onto the forks. The crate will then sit rotated on the jack, so move it slowly and keep it from tipping over.
Avoid Damaging the Crate Base
Prying off the side panels can bend the crate base and leave an uneven support surface.
Warning: Support and protect the fume extractor while removing the panels. A bent or uneven base can cause the fume extractor to tilt or tip over.
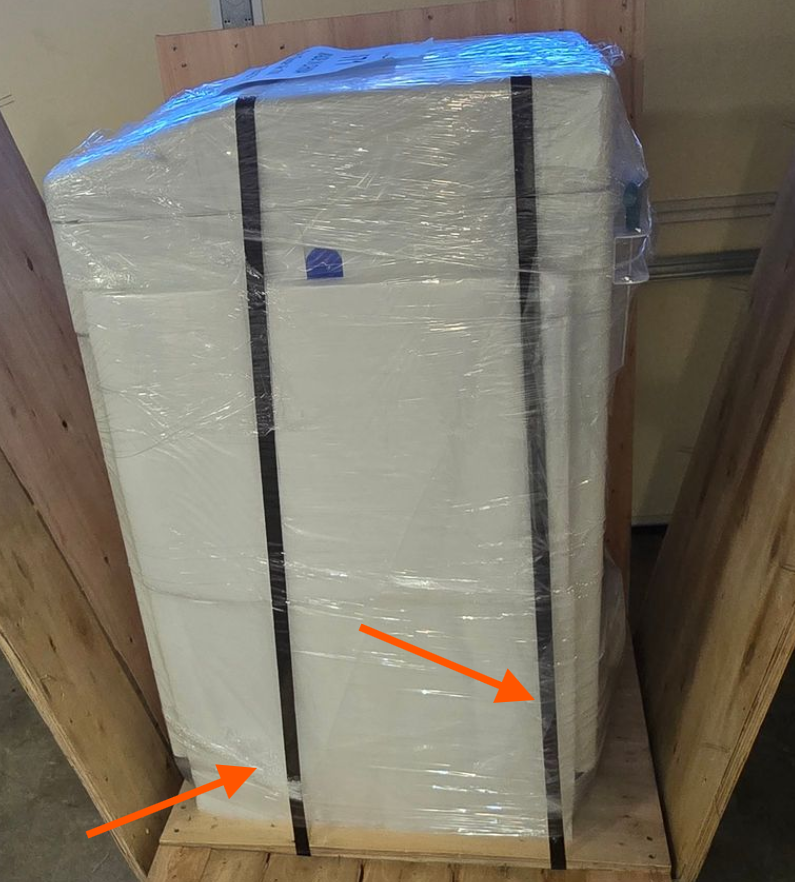
Step 1: Cut the Straps
The fabric straps cut easily with scissors or a utility knife.
Step 2: Set Aside the Pre-Filters
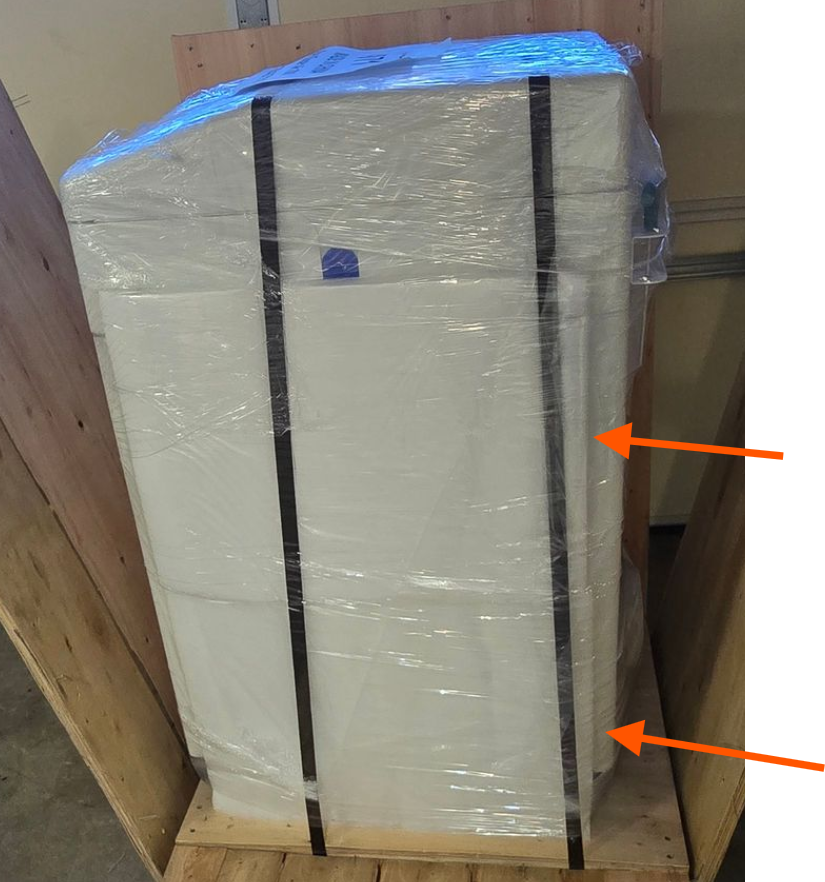
Depending on when your ThunderAir shipped, a set of pre-filter media may be included with the packaging.
Note: Do not discard the pre-filters. Keep them with the unit.
Step 3: Locate the Tool Kit
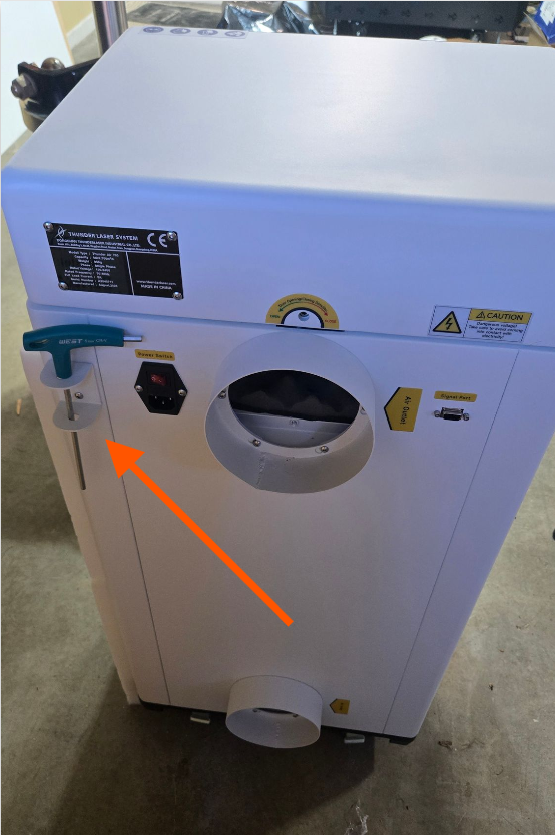
The tool kit is packed inside the air inlet. Reach in and remove it. If you can't reach it, you can retrieve it after opening the front door in Step 4.
Step 4: Open the Top Cover and Front Door
Use the 5mm Allen wrench from the tool kit to unlatch the top cover and the front door.
Note: The two latches turn in opposite directions. Check the sticker next to each latch before turning.
Top Cover: Turn Counterclockwise to Unlatch
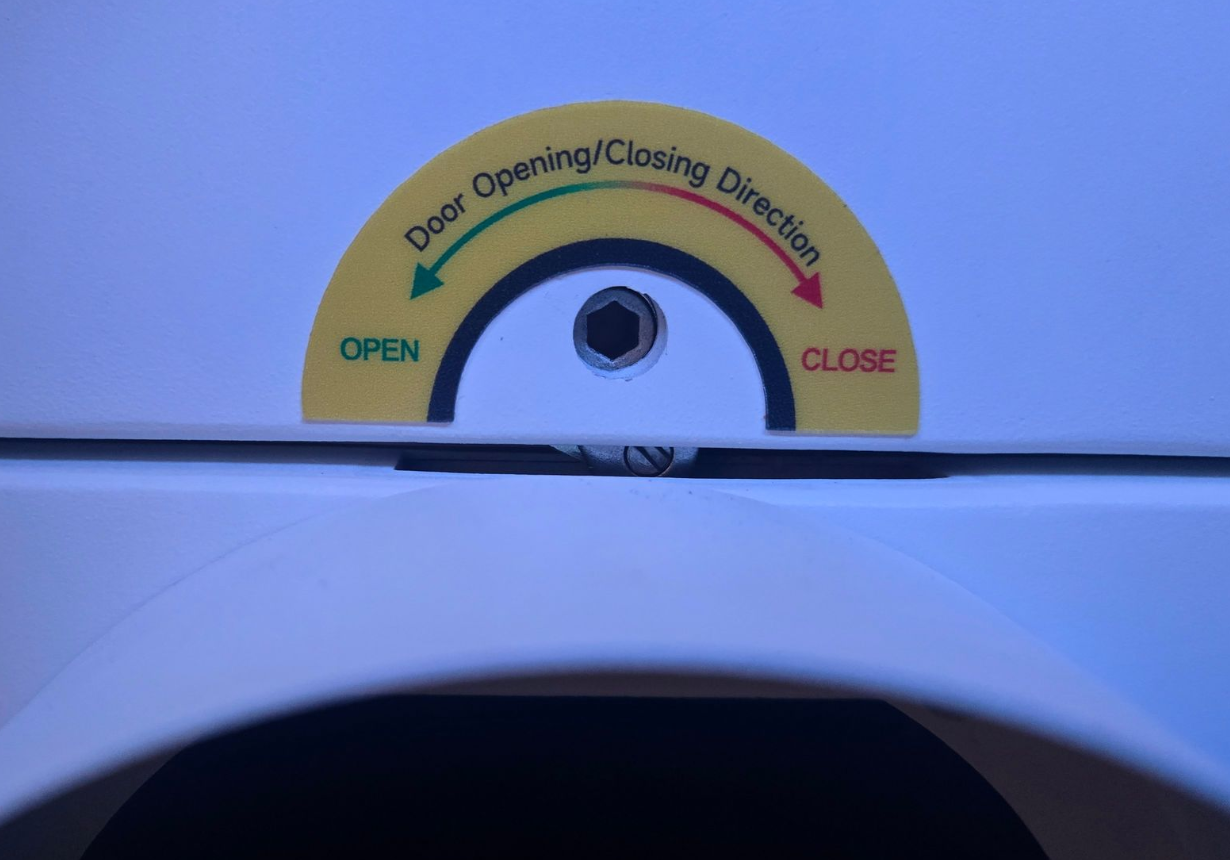
Front Door: Turn Clockwise to Unlatch
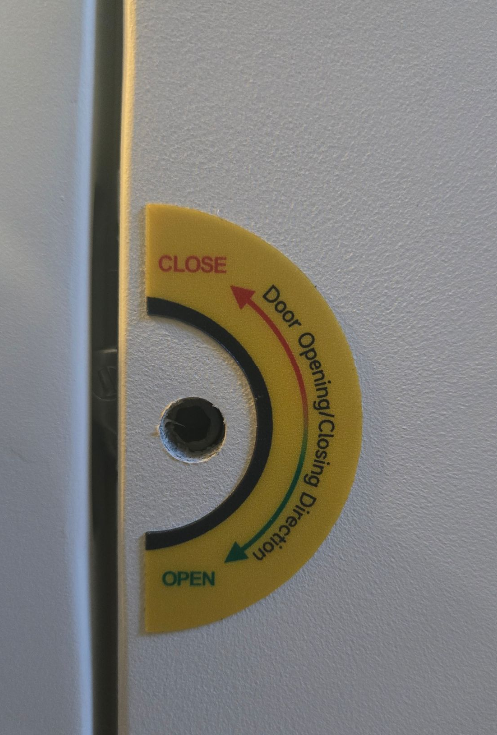
Unlatching the front door:
Step 5: Remove the Accessories
With the top cover and front door open, remove the exhaust duct, hose clamps, spare flanges and any other accessories stored inside. Check both areas shown below.
Top Area
The exhaust duct is stored in the top area.
Lower Filter Area
Reach back under the oil and spark filter for the accessory pack.
Once done, close the Top Lid and Front door and latch them shut.
Step 6: Remove the Screen Protector
Peel the protective film off the control screen.
What's Included: Tools and Accessories
Note: Included tools and accessories are subject to change. The items shown below are accurate as of November 2026.
Tools and Cables
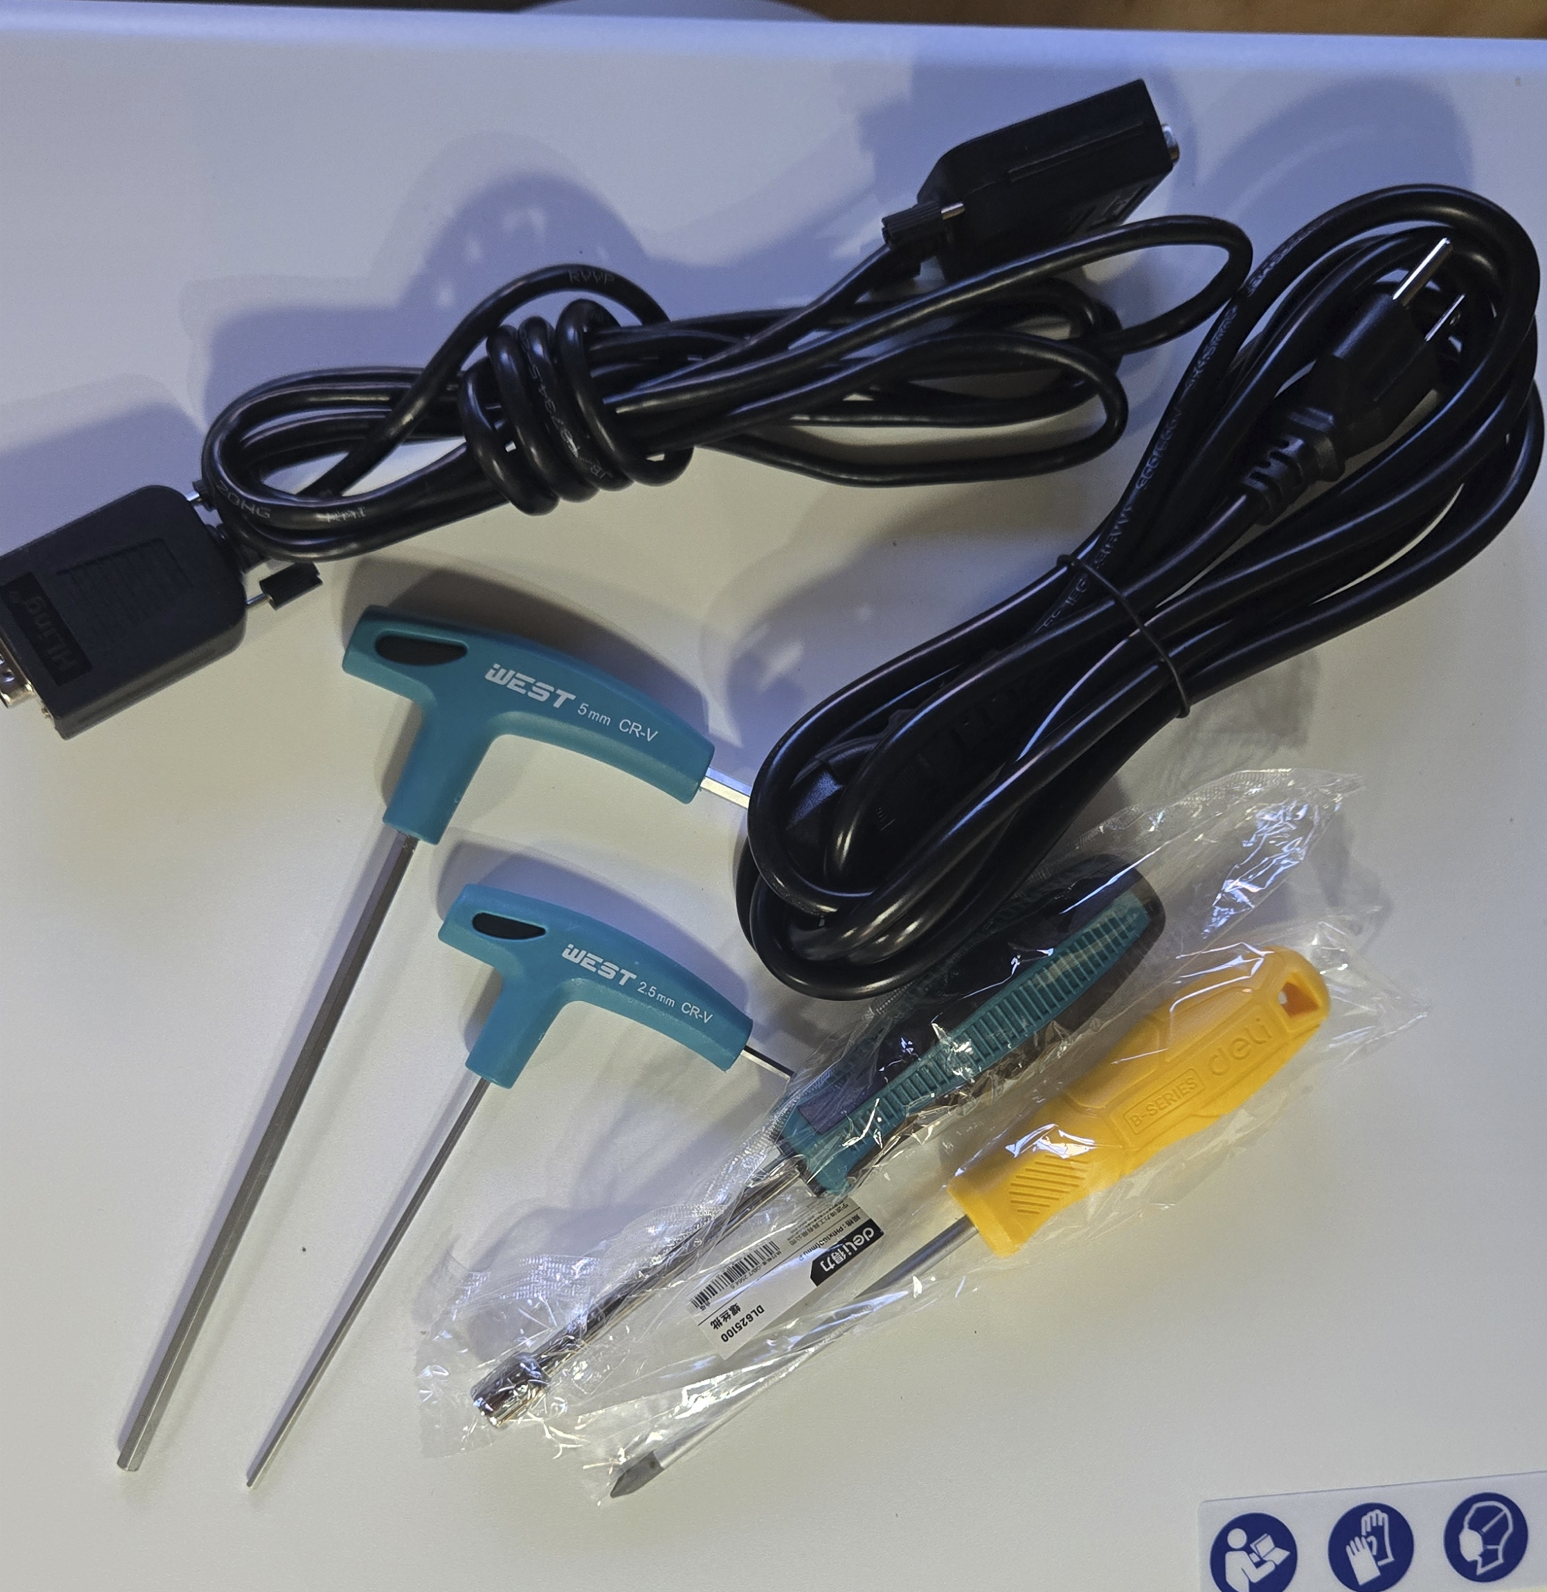
120 V power cord
DB9 signal cable
5 mm Allen wrench
2.5 mm Allen wrench
7 mm nut driver
Phillips screwdriver
Exhaust Accessories
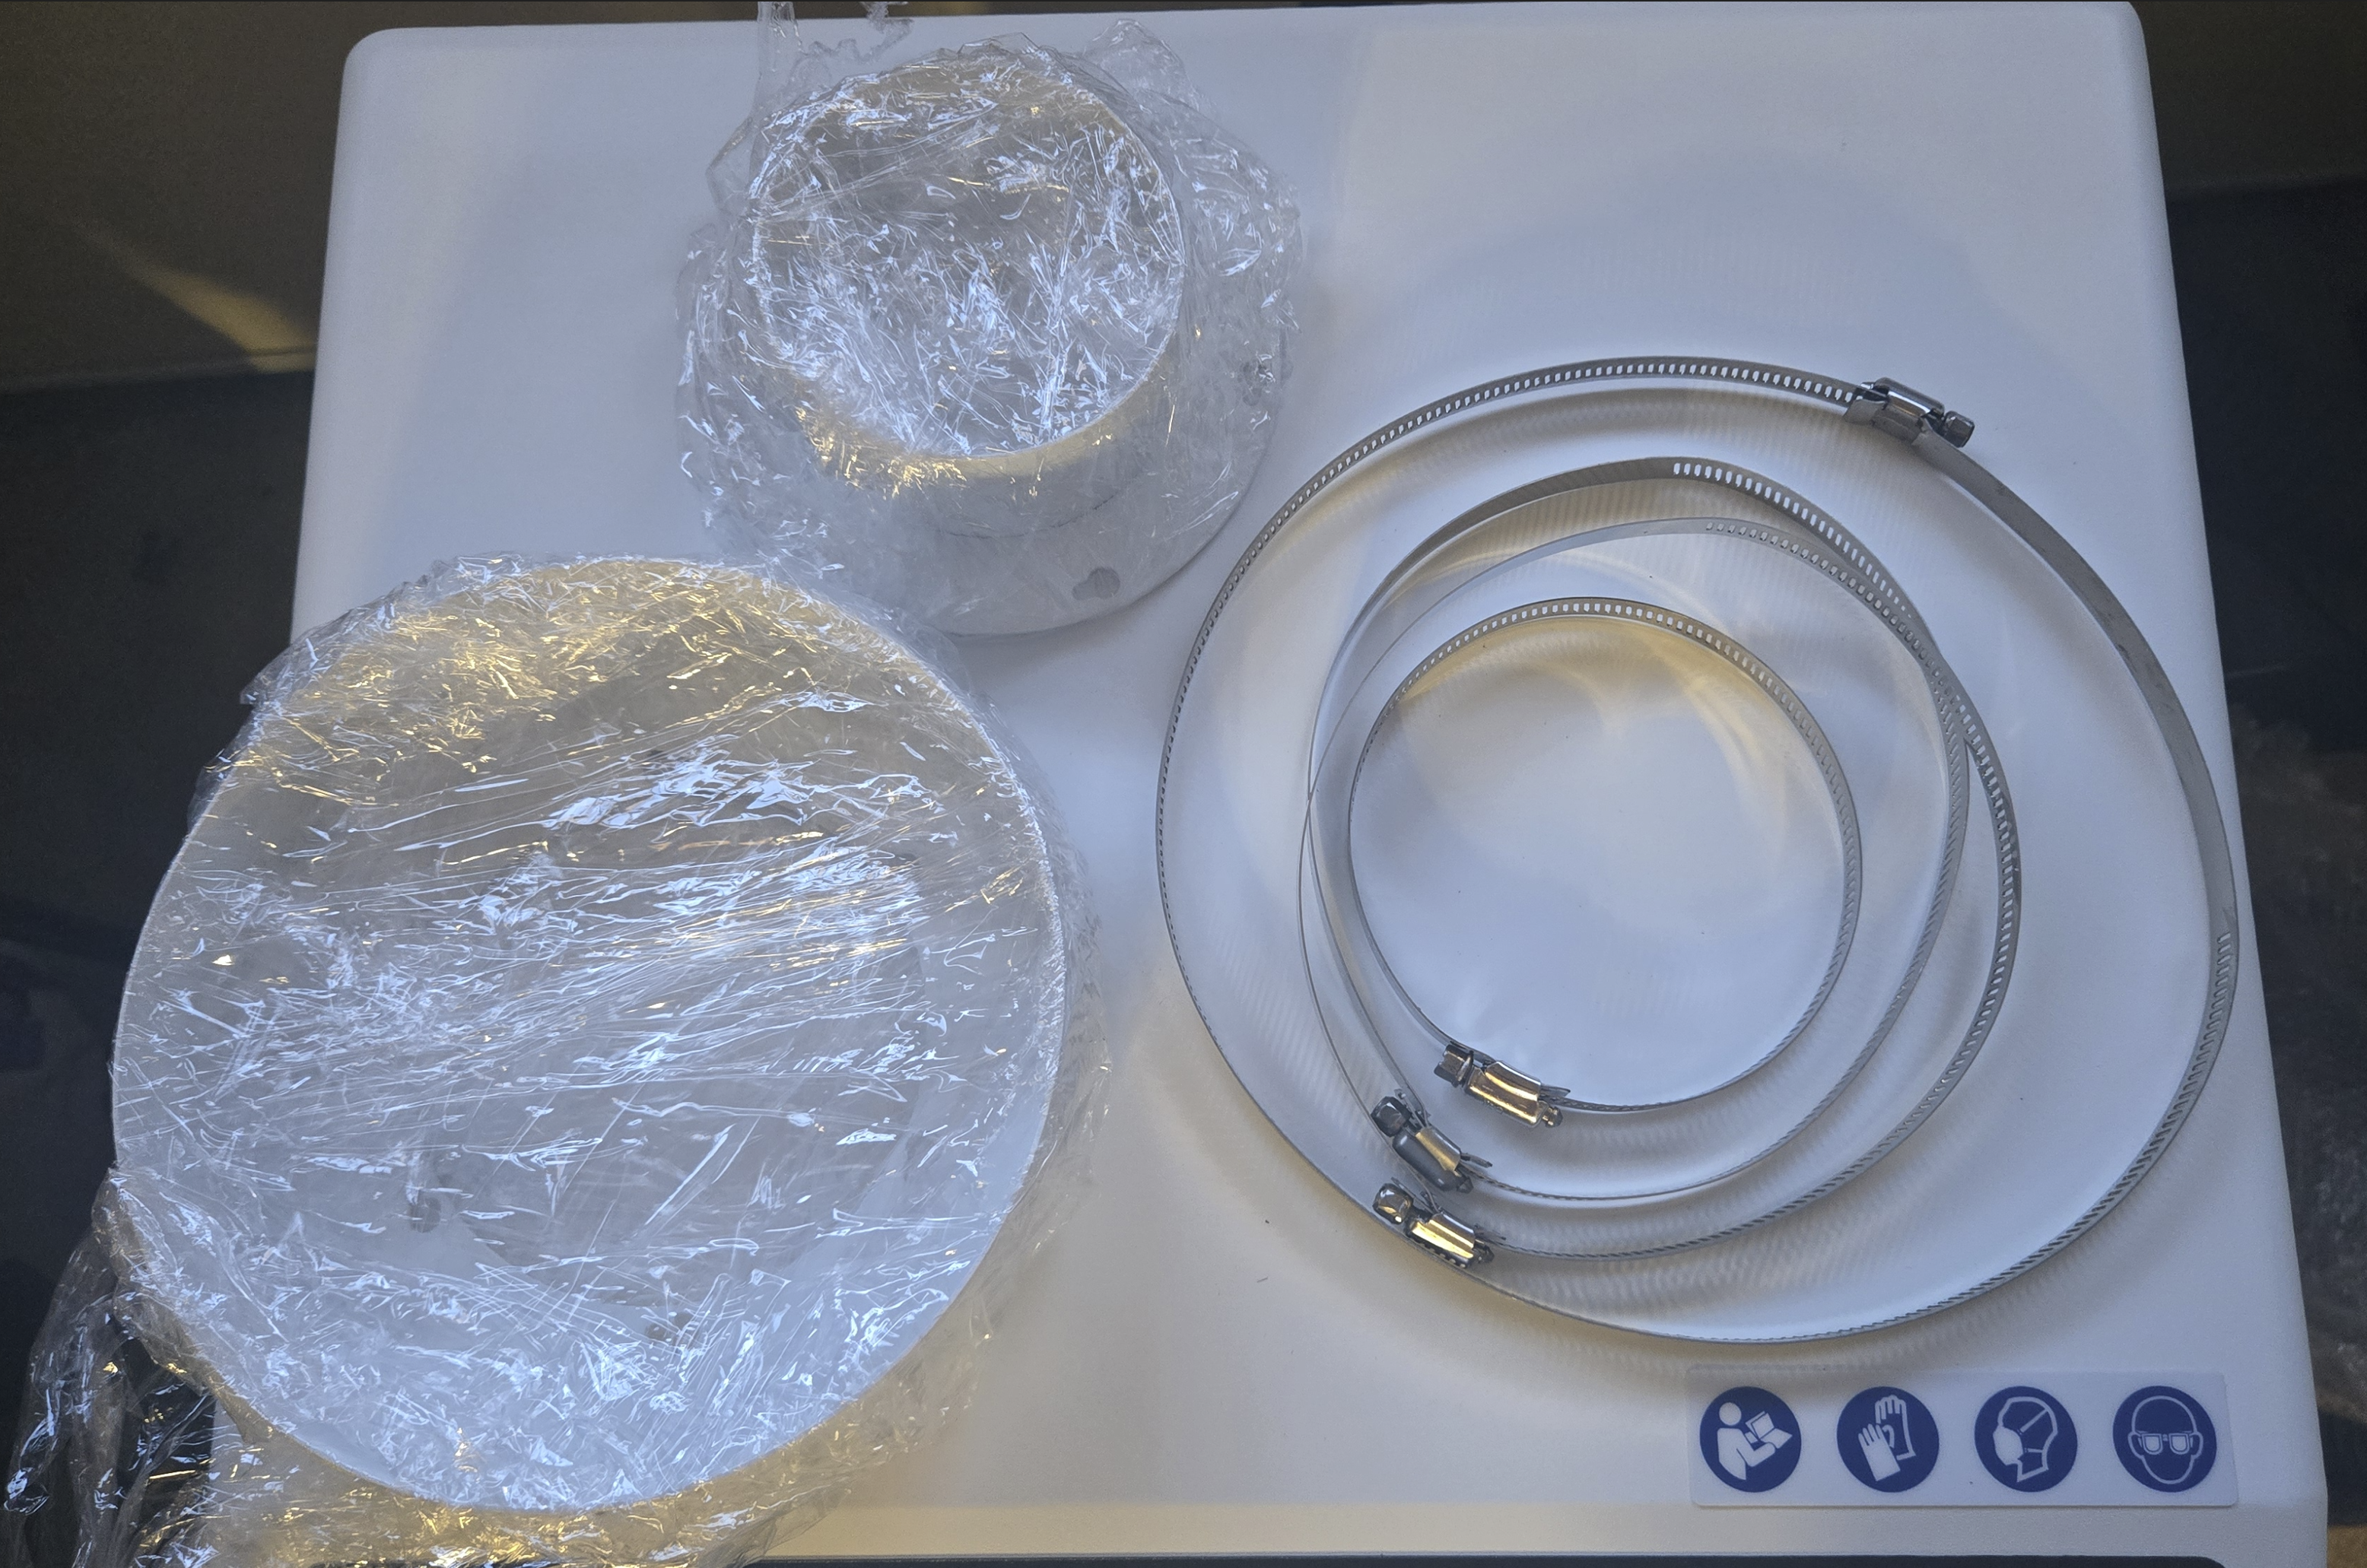
8" exhaust flange (1)
4" exhaust flange (1)
8" exhaust clamp (1)
6" exhaust clamp (2)
4" exhaust clamp (1)
Need Help?
If anything is missing or damaged, contact us at [email protected].
Still stuck?
Fastest response times in the industry from our US-based support team.