Preface: This article contains a lot of Chiller related information about troubleshooting, replacing and acquiring parts. Be sure to use the table of contents to go to the pertinent area.
For a bulk of this article, you will see references about V1 vs V2 chiller, knowing the difference will really help.
Identifying An Alarm Status
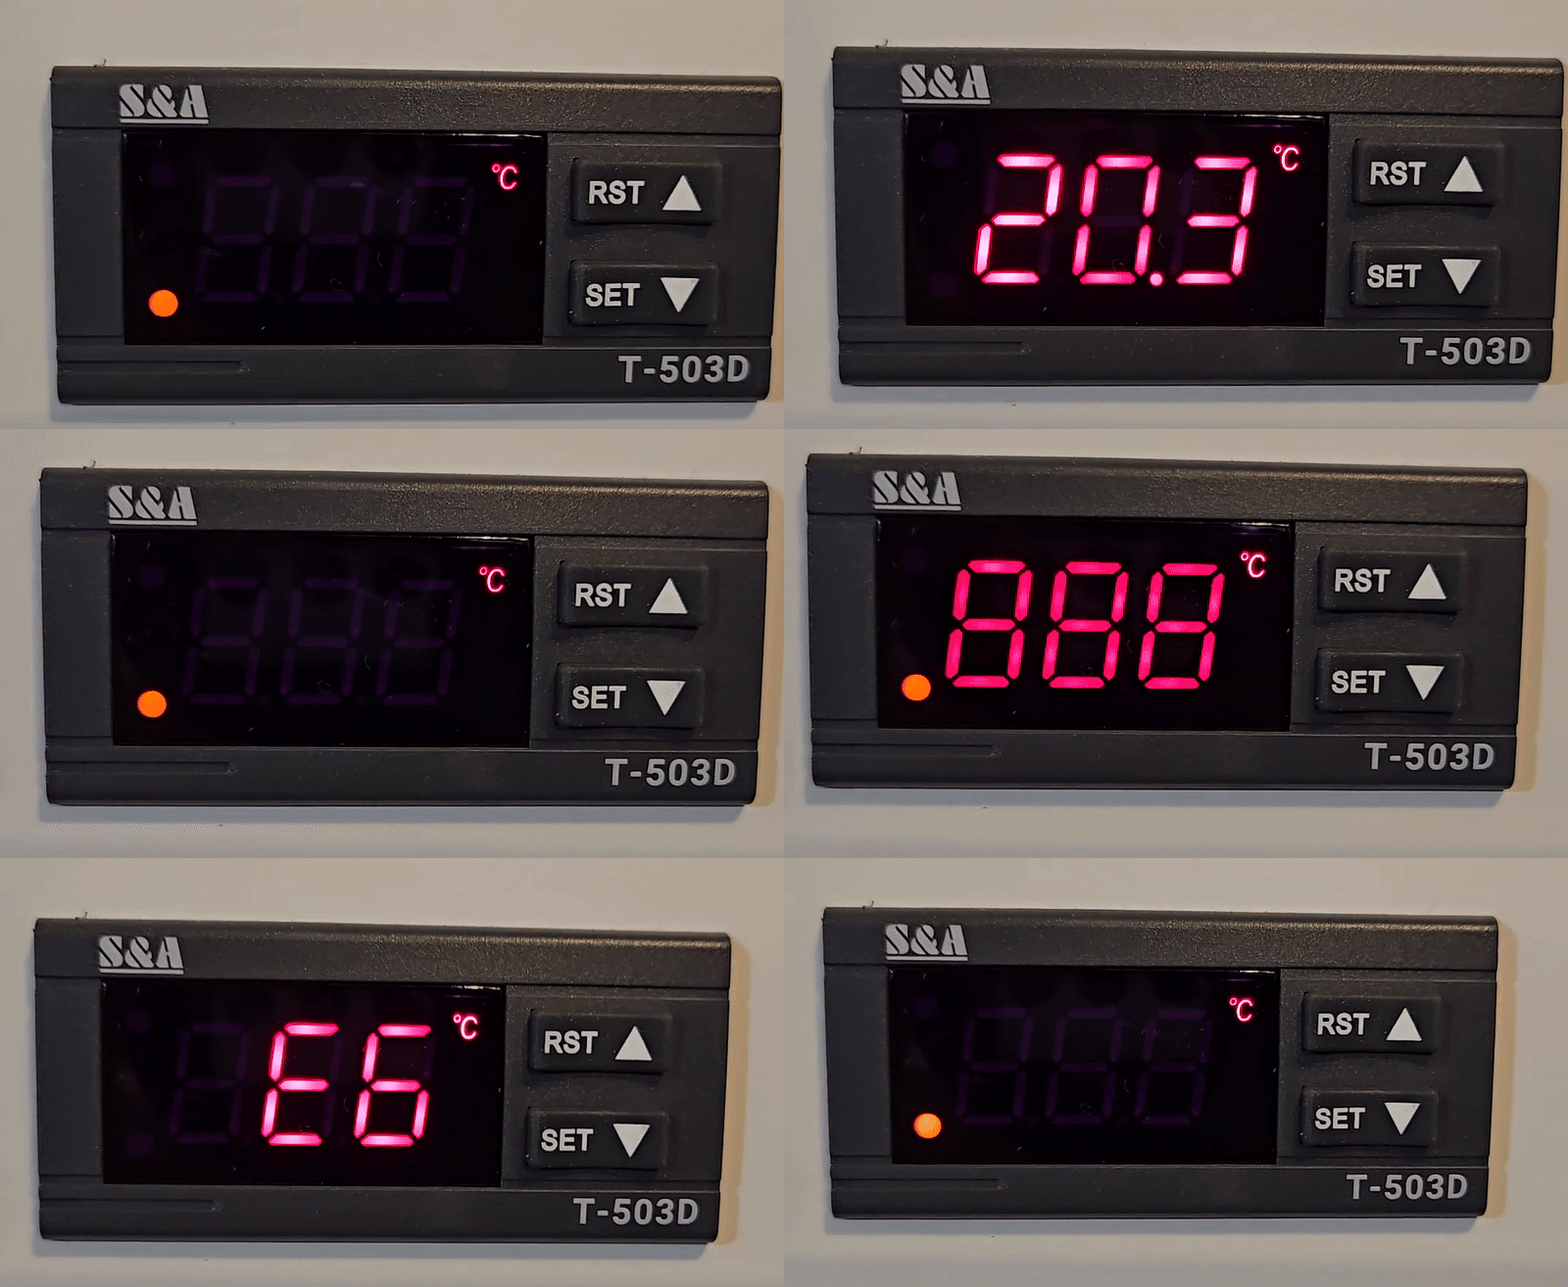
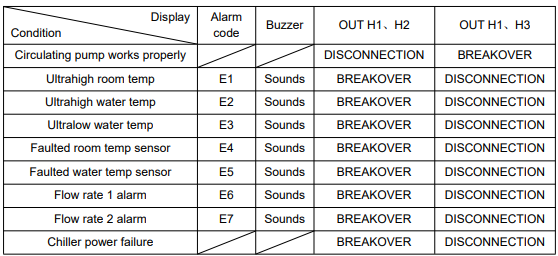
V1 and V2 chillers will show alarms differently depending on the alarm. Both should have an audible beep. Look for an error on the Laser Control screen about Water Protection.
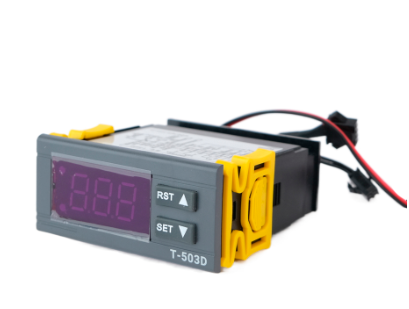
Note how it flashes the Temperature, the 888 and then the E# alarm.
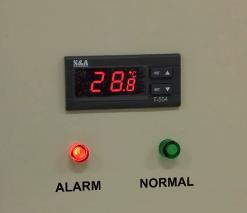
The V1 chiller will announce a flow alarm without an E# Alarm. The red light indicator should be lit up (if not burnt out), Alarm Beeping noise and the Laser Machine told to stop lasering. The readout on the Chiller will likely be displaying the current coolant temperature.
If you have an alarm, then the rest of this guide should be used to help troubleshoot and fix the alarm.
Alarm Codes and Indicators
This section will help determine what the alarm means.
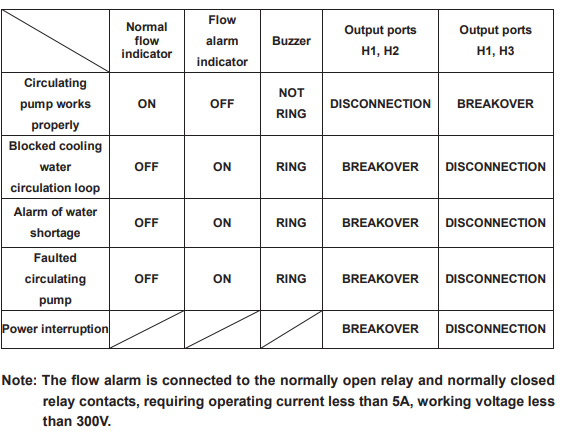
The V1 chiller only shuts down the laser for a flow alarm. All other V1 Chiller controller alarms only indicate at the chiller and the operator must take proper action.
V1 Beeping Alarm Reasons (Flow only)
V1 Chiller Red Alarm Light ON Reasons
The V2 chiller has more codes and more reasons to beep and shut down the laser machine.
V2 Beeping Alarm Reasons
Alarm Troubleshooting Videos:
You can use these videos to help diagnose what may be the cause of a particular alarm.
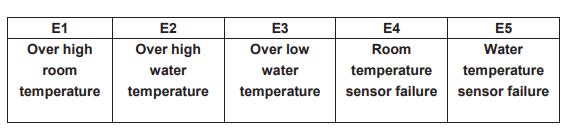
E1 Alarm indicates a High Ambient Air temperature. This could be caused by:
Room temperature being too high, higher that the value controlled by the F6 Parameter
Air Temperature Sensor Failure, it is reading the air temperature incorrectly
Dirty Filters
E2 Alarm indicates a High Water temperature. This could be caused by:
Water temperature being too high, higher that the value controlled by the F4 Parameter
Water Temperature Sensor Failure, it is reading the water temperature incorrectly
Dirty Filters
Dirty Water
Low Water
High Usage
E3 Alarm indicates a Low Water temperature. This could be caused by:
Water temperature being too high, higher that the value controlled by the F5 Parameter
Water Temperature Sensor Failure, it is reading the water temperature incorrectly
Dirty Filters
Dirty Water
Low Water
Super Low Ambient Temperature
E4 Alarm indicates a Room Temperature Sensor Failure. This could be caused by:
Sensor has failed
Controller Input Failed
E5 Alarm indicates a Water Temperature Sensor Failure. This could be caused by:
Sensor has failed
Controller Input Failed
E6 alarm is for water flow alarm on V2 Chiller. When the alarm is triggered, the alarm code and the water temperature will be displayed alternatively with beeping. In this case, users can stop the beeping by pushing any button, but the alarm code can’t be removed until the alarm conditions are eliminated.
There are many causes for the water flow alarm.
Weak Pump
Clog
Low Coolant
Busted Tube - All coolant leaked or in tube
For Further guidance on the causes of the E6 alarm, please see the rest of this article.
E6 and Flow Alarms
Since the flow and E6 alarm are so common and has many causes, this section is dedicated to it.
Here are some checks to perform to get an idea of what is likely wrong with your chiller and the cause of the E6 Alarm
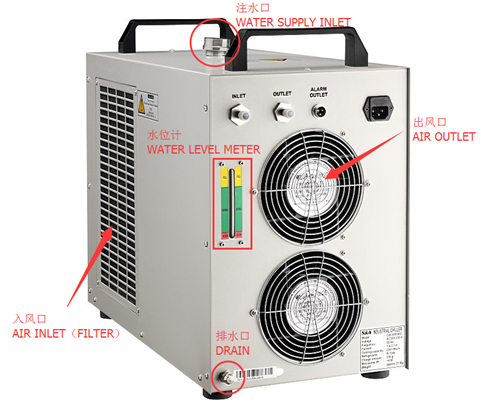
Verify that there is adequate coolant for the pump to pump.
Water Level Gauge
Possible Causes
Coolant was not properly Filled
Leak - Check all connections at the chiller, machine, and tube
Busted Tube - Water may be filling the inside of your laser tube and not returning to the chiller. Inspect your tube
A good check to perform when getting an E6 Flow alarm is to actually see if the flow from the pump matches the documentation. To perform the test, you will need a gallon jug and a stopwatch (Smartphone app). Make sure the chiller is full, even beyond the green line so that there is a gallon of water to spare.
1. Turn the Chiller Off
2. Disconnect the Inlet Hose off the laser machine and place into an empty gallon jug
3. Prepare the stop watch. Turn the Chiller on
4. When water starts flowing into the Jug, start the timer
5. Stop the chiller and stopwatch when the jug is nearly full (1 Gallon of water in the jug)
6. Compare the stopwatch time to the values in the table below
Chiller Model
Peak Flow Rate L/Minute (gal/minute)
Fastest Time
Target Time
CW-5000
10L/min (2.65gal/min)
22.64 seconds
Under 35 Seconds
CW-5200
13L/min (3.43gal/min)
17.5 seconds
Under 30 Seconds
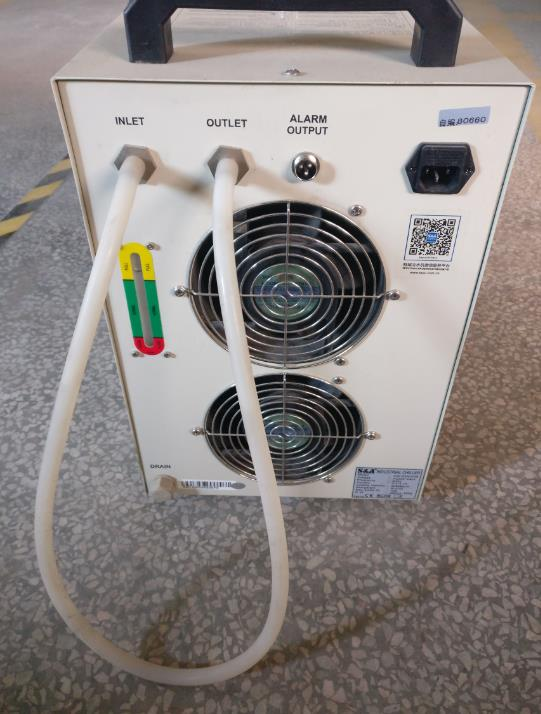
Please connect a water hose between water inlet and outlet on chiller to check the water circulation, like below:
If alarm stops, it could be due to a blockage or a weak pump. Check the areas below for blockage:
Area
Reference Image
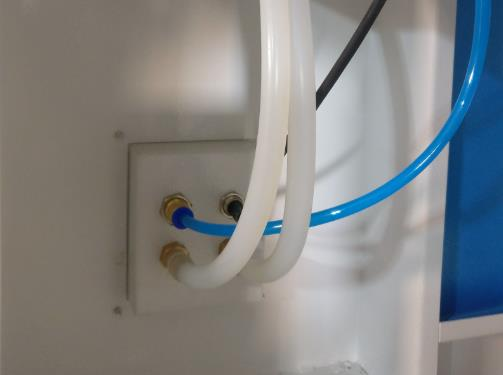
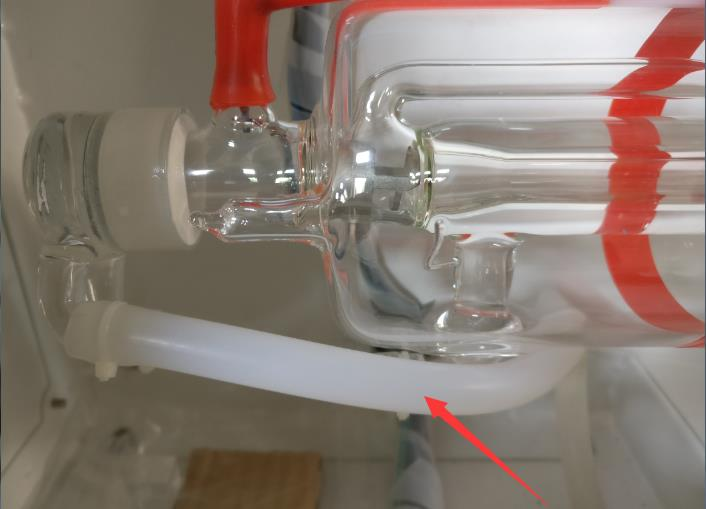
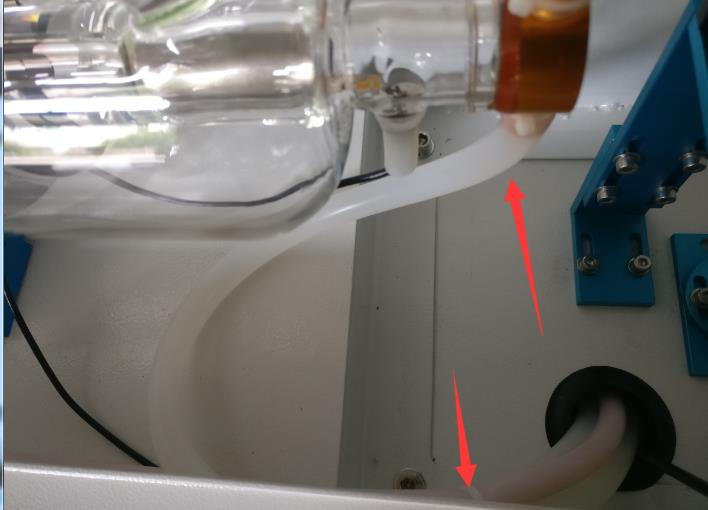
Check the internal and external chiller hose connections on the Laser Machine.
Check at the laser Tube Inlet
Check at the Laser Tube outlet
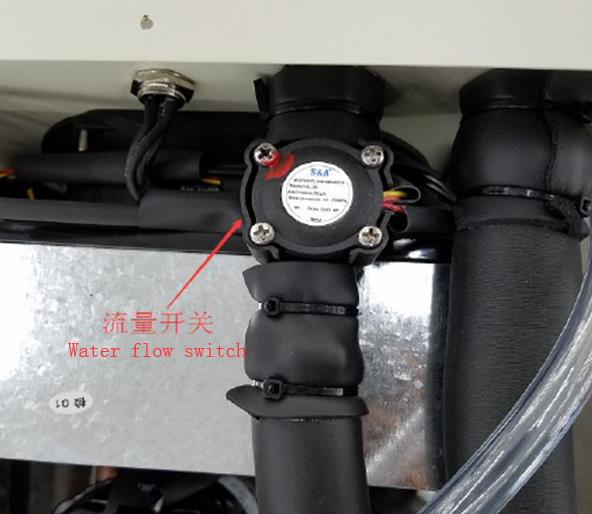
If you can feel for water flow and the Flow Rate Test is a pass, then the switch could be suspect. Please remove the cover from the chiller to check the water flow switch.
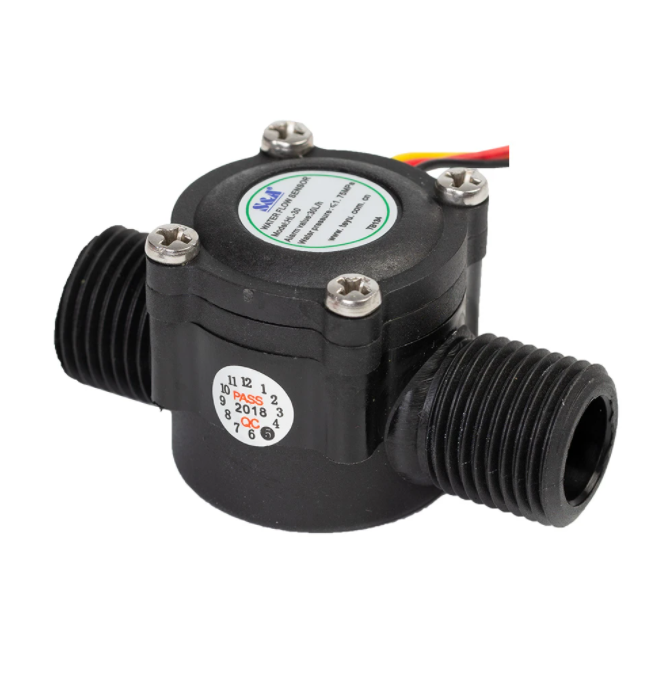
Remove the flow sensor cartridge from the housing by removing the 4 phillips head screws. Check that the sensor is clean and spins freely. If it is dirty, clean it.
For V1 Chillers Only:
Cut off the four wires, then connect red and red wire, connect black and yellow wire without water flow switch, then check if the alarm will stops after restarting the chiller. If the alarm stops, the switch is broken and needs replacement.
Component Checks:
Below is a list of pictures and videos that show how to check a particular component.
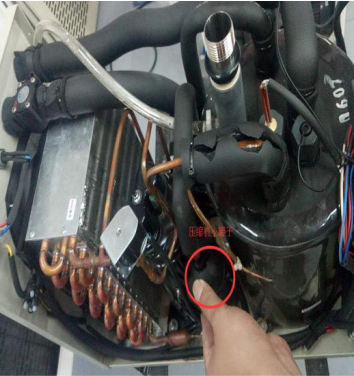
How To Check The Compressor For Operation
Touch the position shown in the picture with his hand, and see if there is regular vibration after the water chiller is powered on.
How To Check The Capacitor
According to the instructions in the video, use a multimeter that is in capacitance mode to measure whether the capacitor of the water chiller is damaged. (If the measured value shows 0μF, it means the capacitor is damaged). If the capacitor is damaged, the compressor will not start. Replace the capacitor.
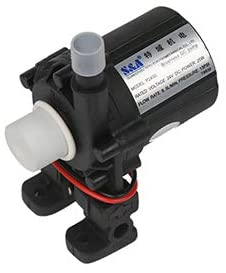
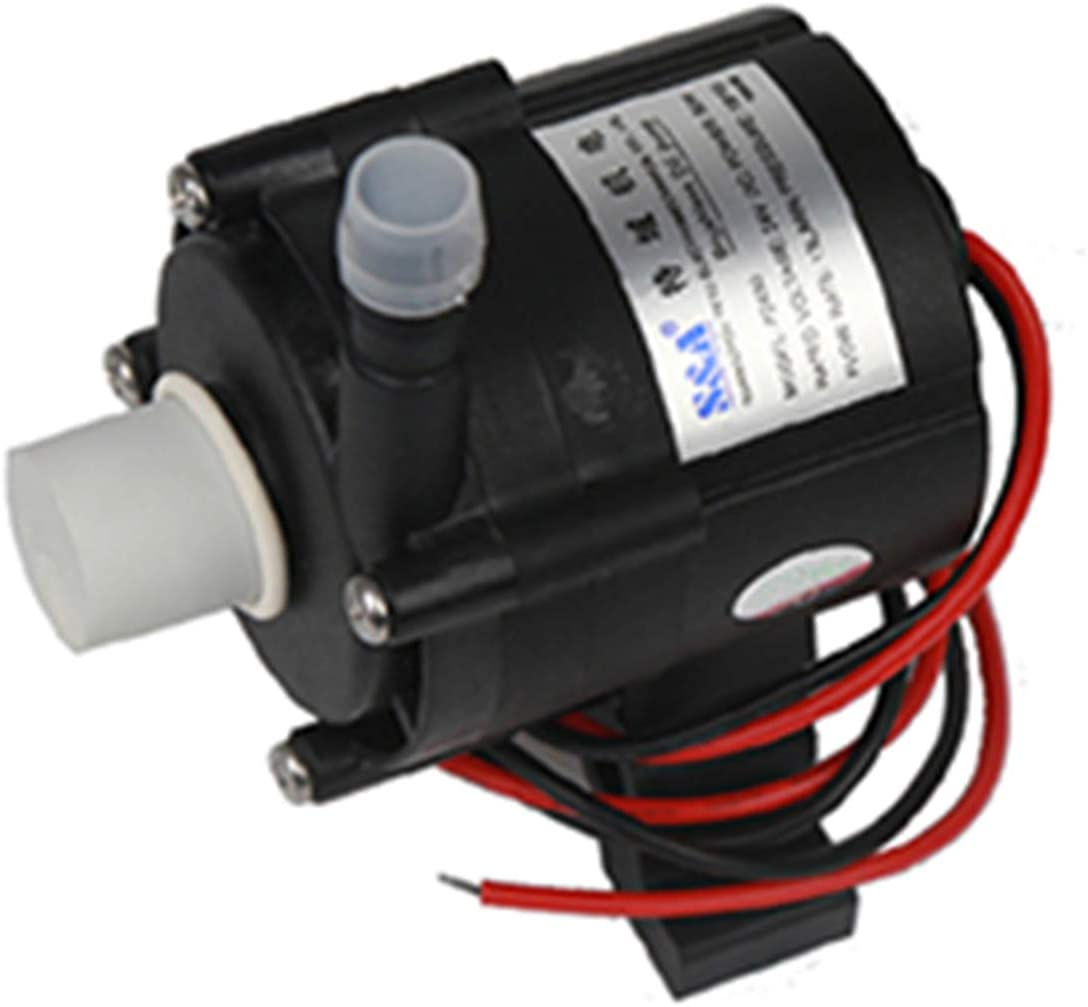
The main difference between V1 and V2 chiller pumps are the electrical connectors. Both can work in either version but you would need to splice the wiring. Older V1 chillers also may not have quick connectors at all and will require wire splicing.
Remove all power prior to performing repairs on the chiller.
Below is a list of videos on how to clean or replace certain components on your chiller. Depending on your vintage of chiller, there may be slight differences in the components.
How to remove the cover and water pump
How to Clean the water Pump
How to Replace the water Pump
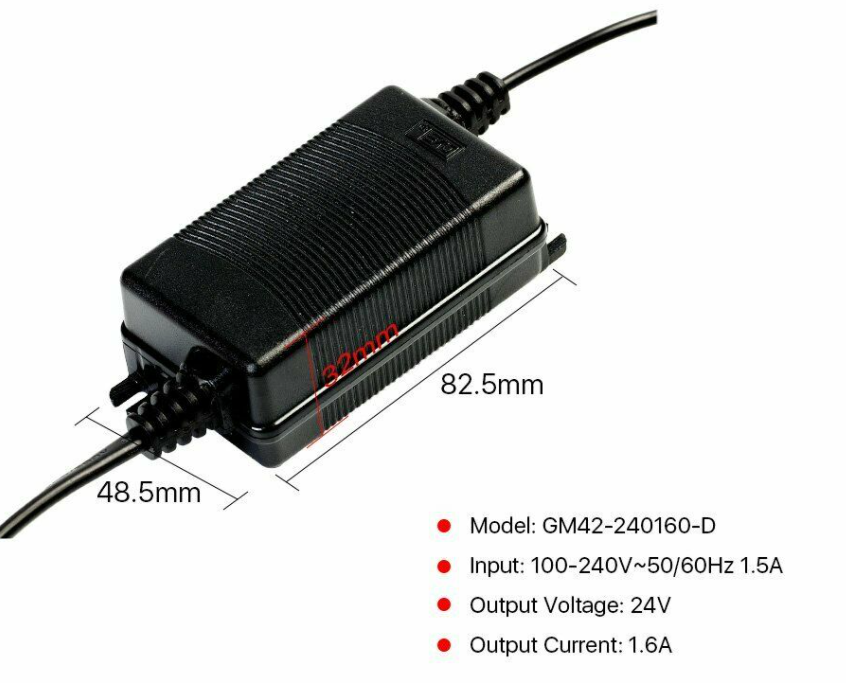
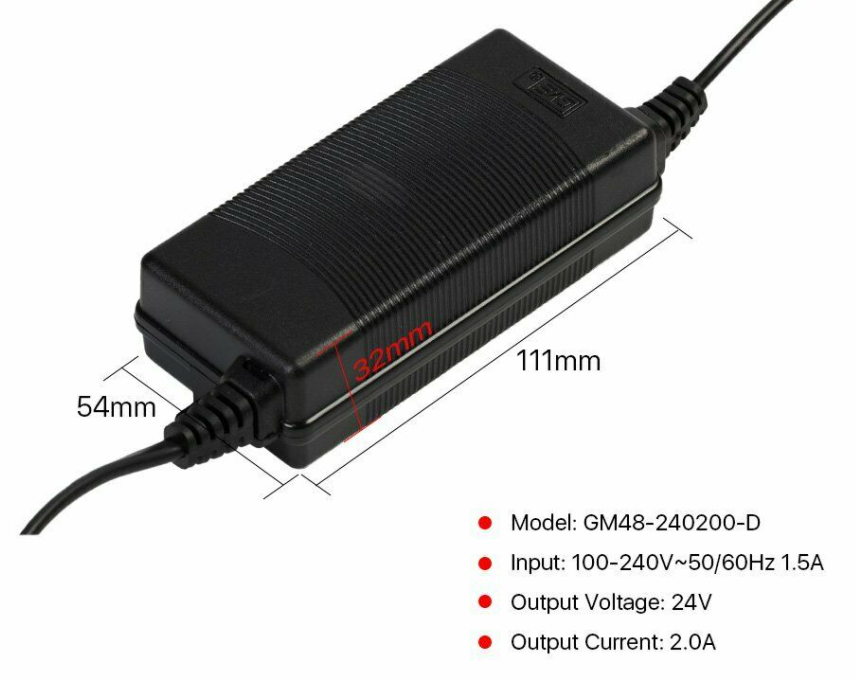
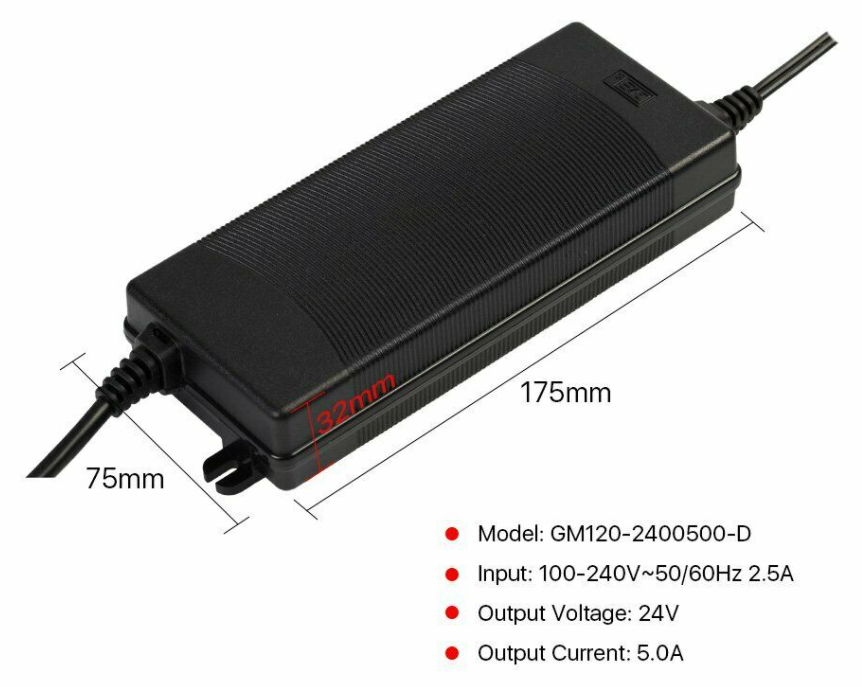
How to Replace the Power Supply
How to install Water Temperature Probe
How to replace the Power Socket
(Be sure to get the fuse from the current socket just in case the new one doesn't have a fuse in it. there is also usually a spare fuse in the toolbox, just in case)
Additional Resources
Here are some additional resources for the 5000 series chiller