
Watch the walkthrough
Applies toAuroraTopicMaintenance & Calibration
This article covers some tips for using the Red Light Pointer for your Aurora Fiber Laser while using EzCad.
Things to Check Before Using the Red Light Pointer
Alignment
Before You Start
- Have your jig installed and secured to the bed in a repeatable fashion.
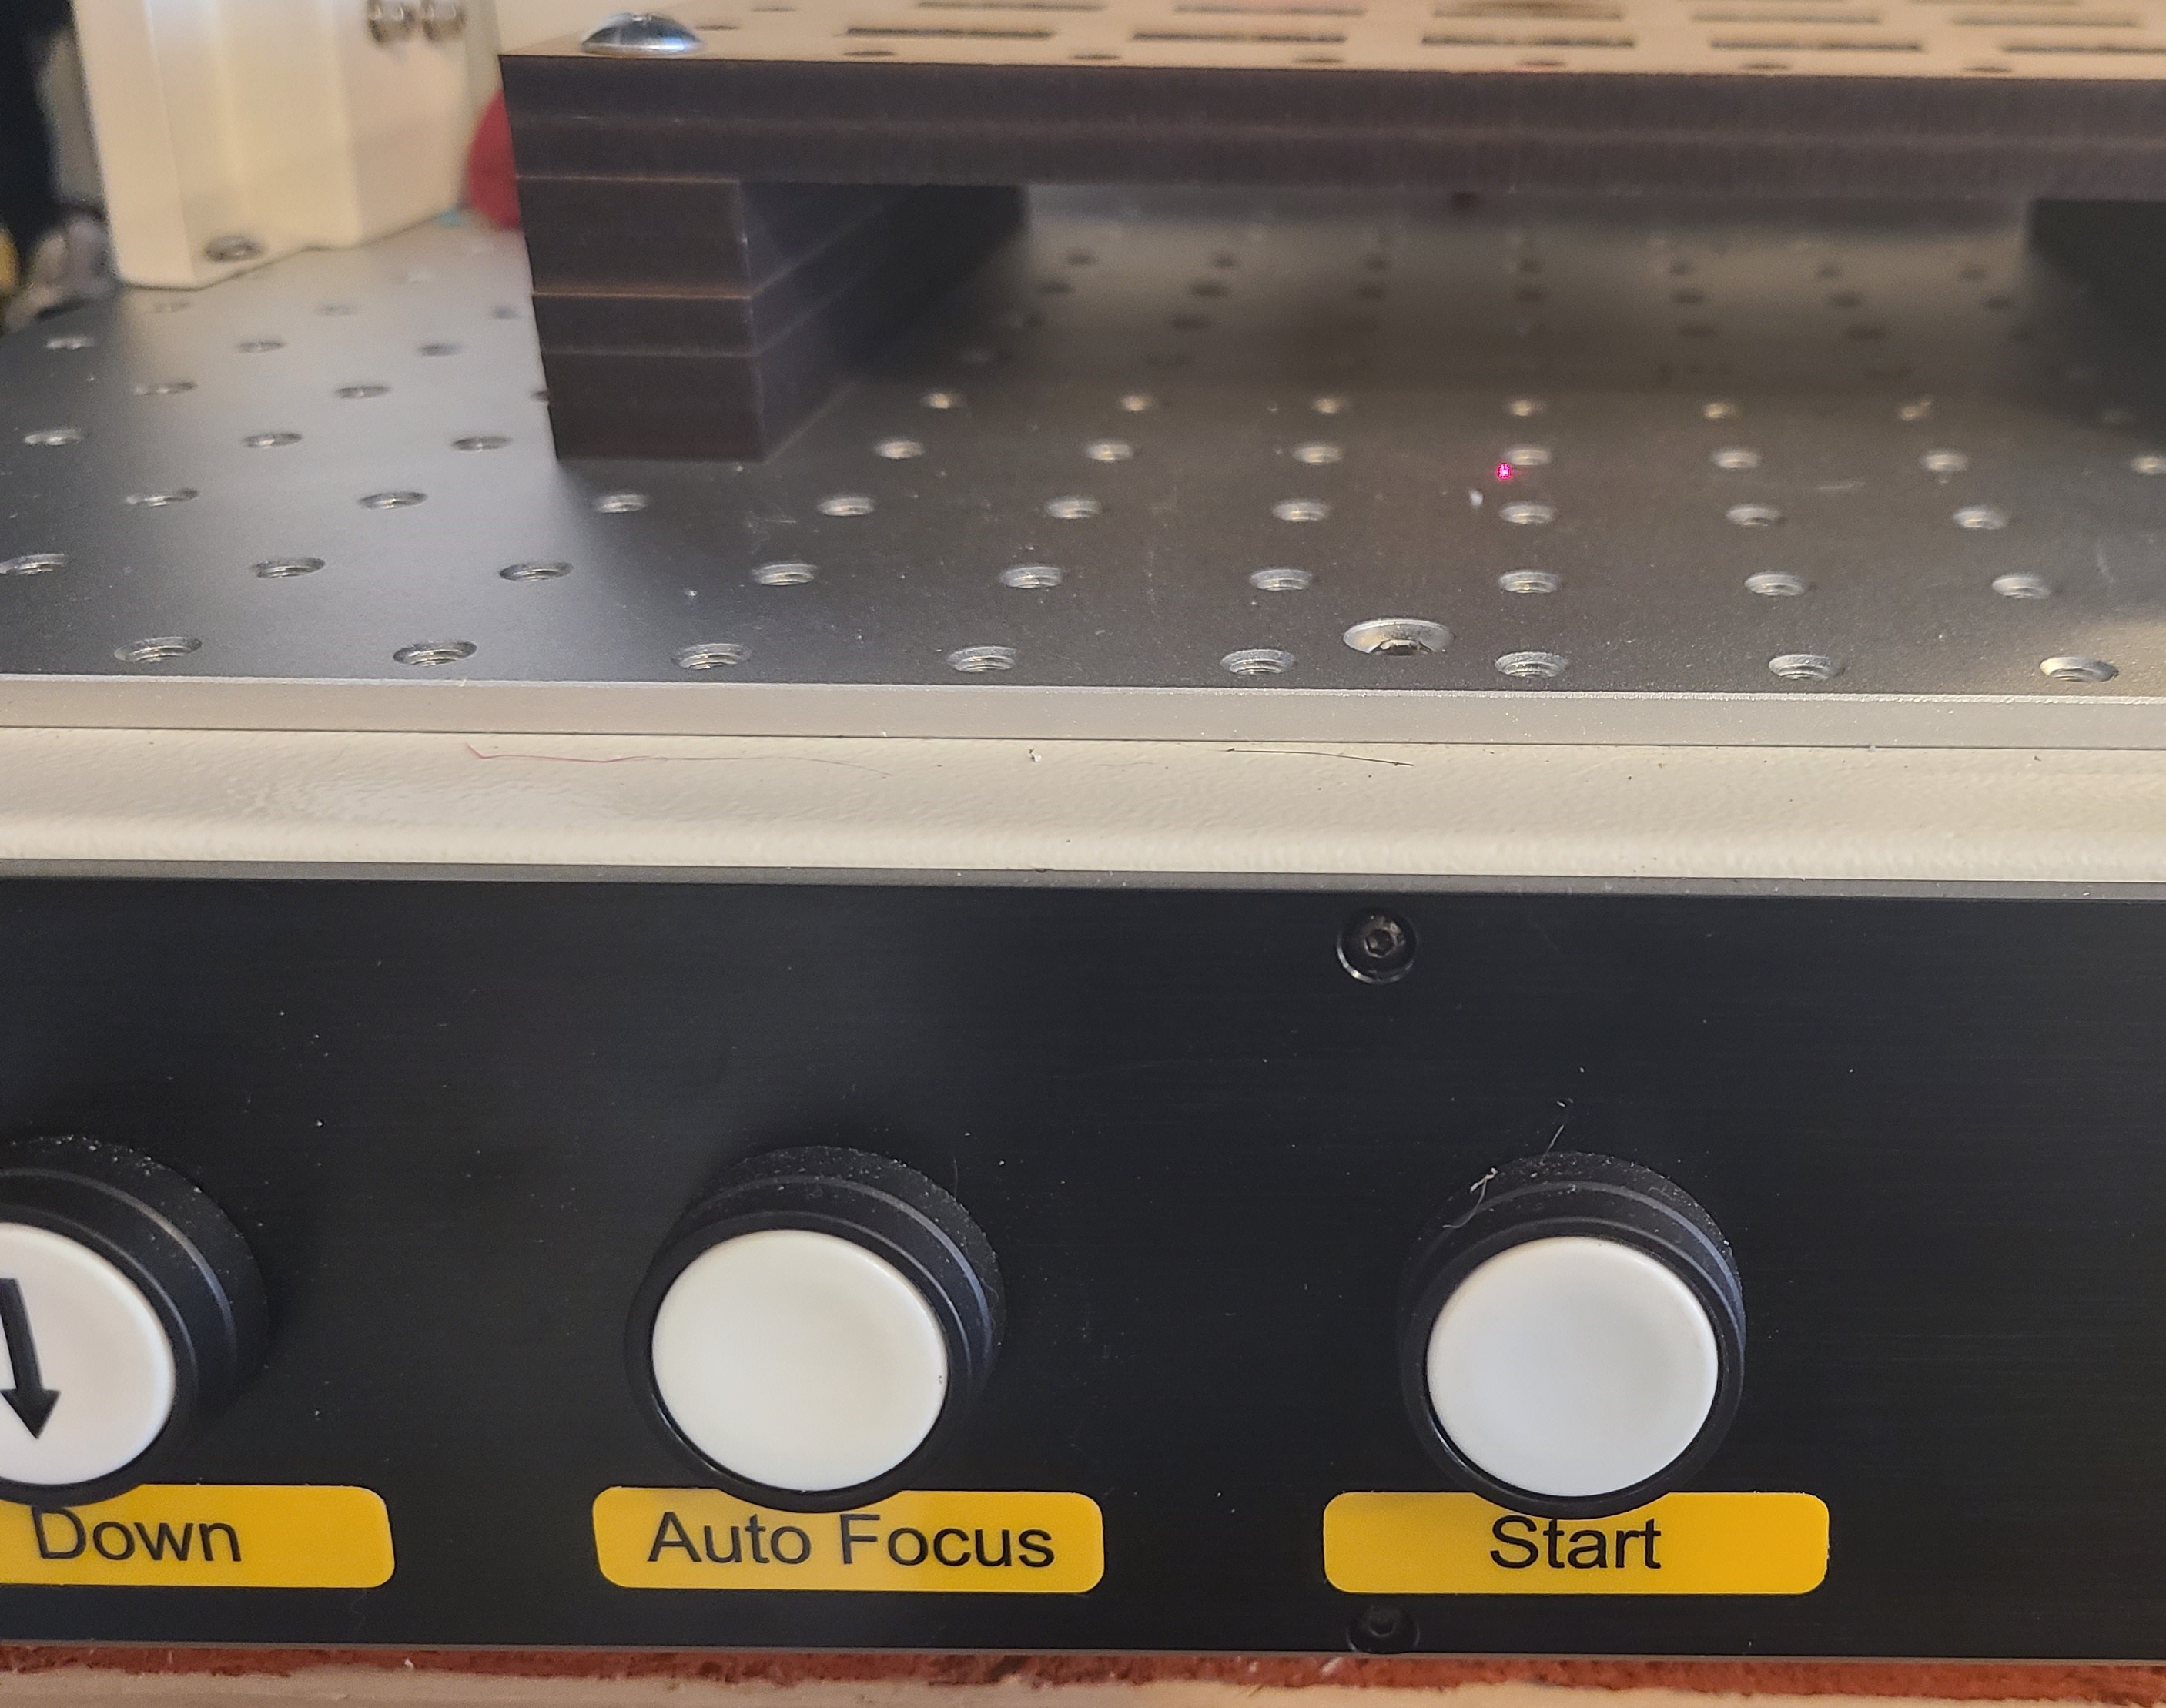
- Auto focus the Laser to the surface of the item you are marking.
Steps Shown in a Numbered Graphic

Steps to Generate the Red Light Pointer in Your Object Shape
- Only select the object itself, nothing else. It does not need to be hatched.
- Make sure "Mark Select" is checked.
- Make sure "Show Contour" is checked.
- Click the "Red(f1)" button or press F1.
An Example Adjustment
Before
You can see that the red pointer location does not match the object so we need to adjust the object location in EzCad using the Object Properties Window.

Object Properties
In this example, the x position was adjusted -2mm and y position adjusted +1mm to line up the red light.

After
It is up to you to decide how accurate you need your jig to be aligned and how repeatable your jig is to install/setup. Some jobs may need higher accuracy and others not. Spend the necessary time based on your project needs.

Next Steps and Tips
- Repeat the procedure. Spot check the locations across your jig so that it is as accurate for the entire jig.
- Do not do the ones on the outer edge since that is beyond the extents of the working area of the lens/galvo head.
- Burn some test pieces before going into full production.
- Document your setup with pictures and notes.
- Save your modified EzCad file.
Still stuck?
No bots, no runaround. Talk to a U.S.-based laser tech who knows your Aurora inside out.