
From a Client (Nova 35-80)
I cut through 3/4" acrylic (cast, i think) like butter with 4" lens, 4 speed, 95 power, and about a 7mm focal length. I didn't have time or the material to get the perfect edge (it was a little frosty 1/4" down from the top edge), but for what it's being used for, it'll definitely work.
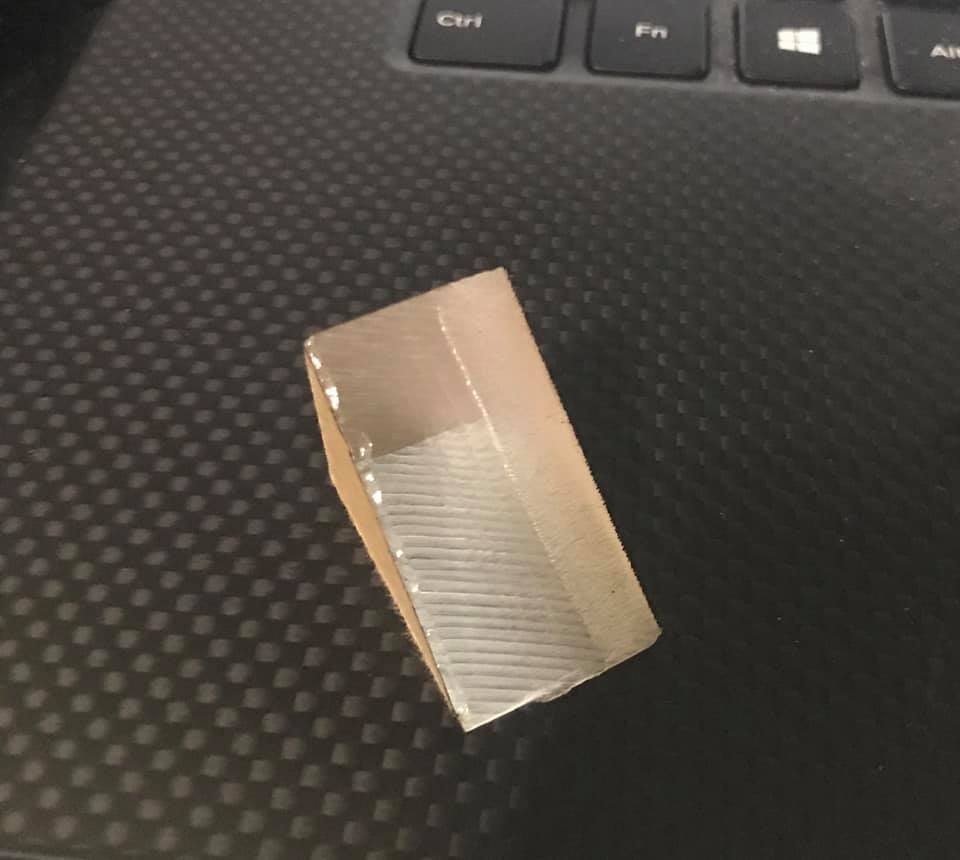
This is a sample of the frost. The lines you see are actually on the bottom edge and are cut marks from the supplier. Not sure what causes the frost. May have to adjust focal length. I do have some left over that I'm going to mess around with, and will update if I can dial it in nicely. It at least didn't have the kerf on the bottom side. Even cut, and the majority has a glass like finish.
Our Observations
Assuming the orientation is correct, and the striations visible are due to the factory sawed edge, I see 2 things going on here:

- The frosting (outlined in blue) is from using too much air. The air is solidifying it prematurely so you are not getting that flame polished edge. The reason the rest is smooth is because not much air made it that far into the kerf due to the aforementioned solidification as well as the thickness of the material. When cutting acrylic, you want just enough air to mitigate the flames and expel the resultant gasses.
- The spalling (outlined in green) is likely from flashback off the honeycomb. If the reflected beam is strong enough to cause significant thermal insult, in a finite pattern, that can be indicative of using too much power. If the power isn't over the top, you can 'stand off' the material from the honeycomb with magnets, spacers, etc... or remove the honeycomb and use the blade system. Either will mitigate any remaining flashback.
Link to OP's FB Global Thunder Laser Users Post:
https://www.facebook.com/groups/globalthunderlaserusers/permalink/1159690097788186/
How to Cut Smooth Acrylics
Today we're going to talk about how to improve your cut smoothness when you're cutting acrylic and encounter a cut that isn't smooth. For an even weaker blowing effect, it is recommended to use it with the 6mm nozzle in the toolbox.
-
Test 1
Laser tube: 80W glass tube
Blowing Intensity: Strong
Speed: 6mm/s
Power: 50% -
Test 2
Laser tube: 80W glass tube
Blowing Intensity: Weak
Speed: 6mm/s
Power: 50% -
Test 3
Laser tube: 80W glass tube
Blowing Intensity: Weak
Speed: 10mm/s
Power: 90%
By slowing down and reducing blowing, you can cut smooth acrylic!
Still stuck?
No bots, no runaround. Talk to a U.S.-based laser tech who knows your machine inside out.