
Lead-In and Lead-Out
Covers the basics of Lead-In and Lead-Out in LightBurn, including settings, usage cases, watchouts, and manual creation techniques.
Preface: this article covers the basics of Lead-in and Lead-out
Quickstart Video
Complete Guide
Usage Case
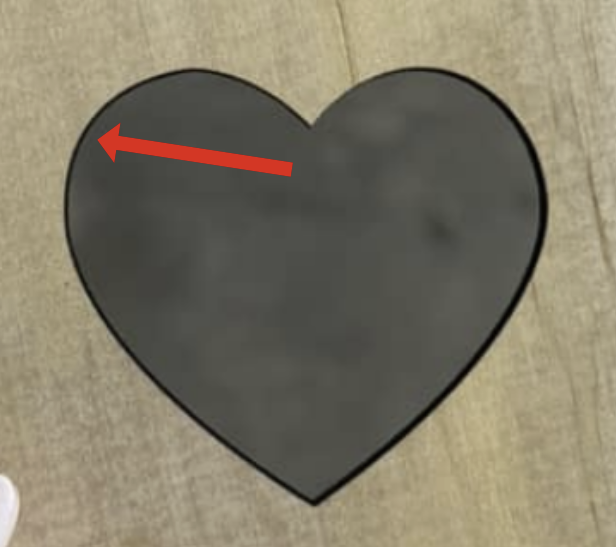
At the start of a cut, you will get a surface char mark as the laser completes the plunge through the material since the soot has no where to go. This mark can be undesirable.
*Photos courtesy of Ashley Marvel
Disable Beginner Mode
In order to use Lead-In and Lead-Out you must disable Beginner Mode in Lightburn. You can access the toggle from Edit > Settings or with the button in the tool bar.
Where to Find the Lead-In and Lead-Out Settings
The settings for Lead-In and Lead-Out will be under the Advanced Tab of the Line Layer that you wish to apply them to. You will need to access those settings from the Cut Settings Editor. Easiest method is to Double Click on the Layer name in the Cuts/Layer Window.
Settings to Adjust and their Ranges
Under the Advanced tab of the Line Layer settings, you can access the parameters for Lead In and Lead out. Note that each layer can have its own parameters, and every Line on a layer will have Lead-In or Lead-Out when enabled.
- Angle - Adjust how much angle the ARC curves or the Angle of the Line used for the Lead-in or Lead-Out
- Length - Length of the tail for Lead-in or Lead-Out. This only needs to be set long enough to eliminate the issue, likely under .5"
- Shape - You can pick if you want a straight Line at an angle or an Arc at an angle
- Lead-In - You can enable Lead-In so that at the start of a cut, the laser starts away from the cut line
- Lead-Out - You can enable Lead-Out so that at the end of a cut, the laser continues on cutting away from the cut line
Additional Skills to have
In order to be successful with Lead-In and Lead-Out, you will also need to know how to use the following Lightburn Functions and know a bit about how Vector Lines, Shapes and Text objects work.
Watchouts
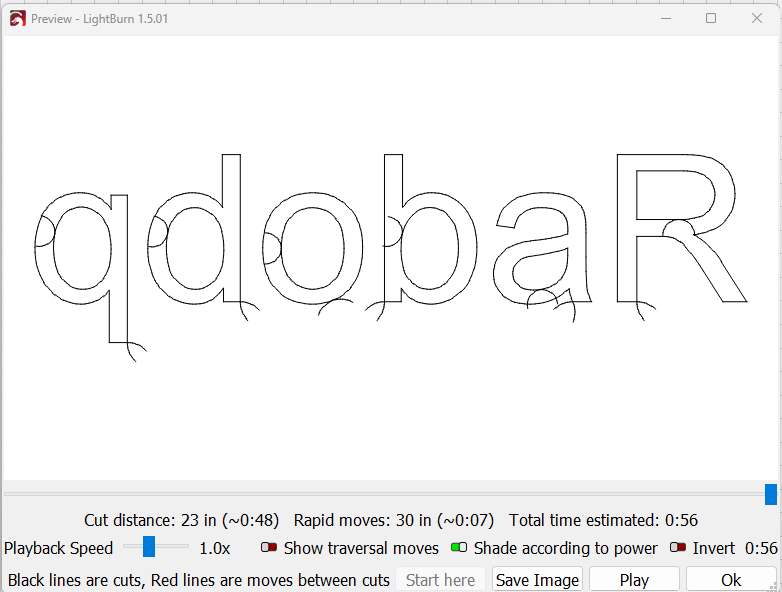
The Lightburn Preview will be one of the best tools to use when performing Lead-In and Lead-Out Adjustments. You can use the preview to confirm that the settings entered will give you the desired results.
Inner and Outer Overlaps
The Lead-In and Lead-Out of the inner parts of the letters are cutting through the letters themselves. Need to adjust by setting the inner shapes on a separate layer with an angle that is the negative of the current angle and adjust start node positions as needed.
Every Line in the Layer Gets a Lead-In or Lead-Out
Notice how the square that is made up of 4 lines gets Lead-In and Lead Out at every corner, not ideal. You should combine the Lines together using Alt+J or ⌥ + J.
Crossover into nearby shapes
If shapes are too close to each other or the Length for Lead-In or Lead-Out is too long, the neighboring shapes may be affected. You can correct by changing the Length of the Lead-In or Lead-Out, position of your Shapes, or the Start Nodes.
Manual Creation
If you just cannot get Lightburn to configure automatic Lead-In or Lead-Out for every shape in your project then you can manually attach lines to your shapes and set the start nodes so that the shape is cut how you want it. This allows you to create a mix of arcs, lines, angles and lengths that match your exact needs. You will need to be proficient in all the steps of drawing, node editing, and assigning start nodes to be successful.
| Char Mark - No Lead-in or Lead-Out | Char Mark with Lead-in and Lead-Out Enabled |
|---|---|
 |
 |
| Method 1 To Disable Beginner Mode | Method 2 To Disable Beginner Mode |
|---|---|
 |
 |
| Parameter | Min | Max |
|---|---|---|
| Angle | -90 Degrees | 90 Degrees |
| Length | 0 inches or mm | 1.969 inches (50mm) |
| Shape | Line | Arc |
| Lead-In | Off | On |
| Lead Out | Off | On |
| Function | More Information |
|---|---|
|
Node Editor:
The node editor function is one of the most useful tools in Lightburn when you are wanting to edit artwork. For Lead-In and Lead-Out, you need to be able to at least insert nodes in key position that will become the Vectors Start Node. The Start node is where the Lead-In and Lead-Out will be applied 
|

|
|
Start Node:
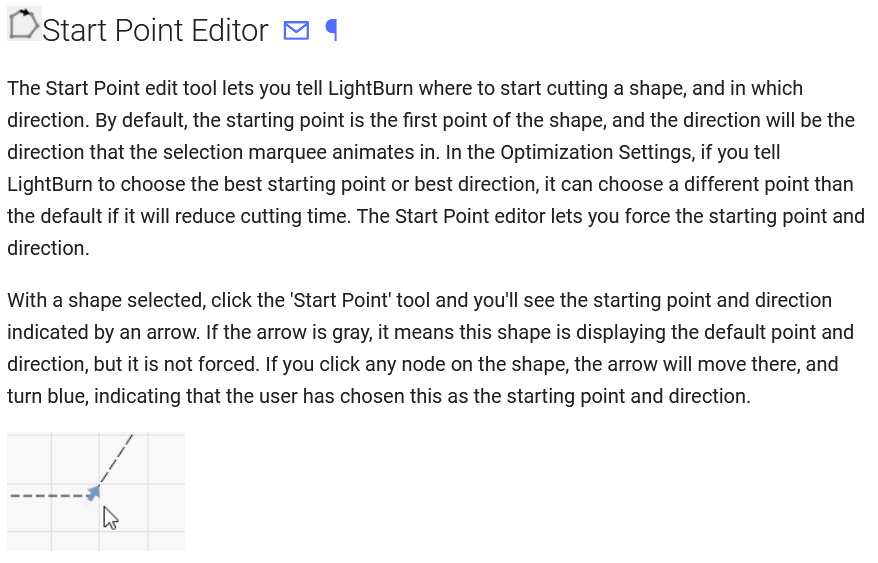
Since the Lead-In and Lead-Out starts at the Start Node, you will need to be able to insert a node and then select it as the start node. 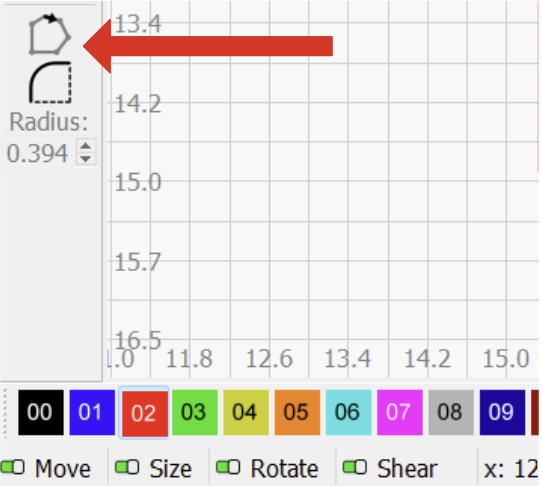
|
|
|
Vector Tools: Difference between Vector Lines, Shapes and Text Objects:
In Lightburn there are Vector Lines which are the basic building block for Shapes and Text Objects. All Shapes and Text objects are made of Vector Lines but not all Vector Lines are Shapes and Text Objects. A Square or Shape that is draw with the tools from the toolbar will have additional Shape Properties that a Vector Line does not. You can even Draw a Square from 4 Lines. It will look like a Square, but that doesn't make it a Shape, it is just a Path at that point. Text will have the ability to Change font, Bold, Italic, Upper Case, Spacing etc under the Lightburn Text Editor. The issue is you cannot assign Start Nodes to the Shapes unless they are converted to Paths first. The Text object will lose its Text identity and no longer be able to be edited as text, it will only be Paths. Groups - You must ungroups your Vector Lines to be able to use the tools on them Once you have your shapes broken into ungrouped Vector Lines, you can then use Node Editor and Start Node to assign the nodes you need for Lead-In and Lead-Out |

|
| Bad Results | Good Results |
|---|---|
 |
 |
| Square Shape | Four Lines that Make up a Square |
|---|---|
 |
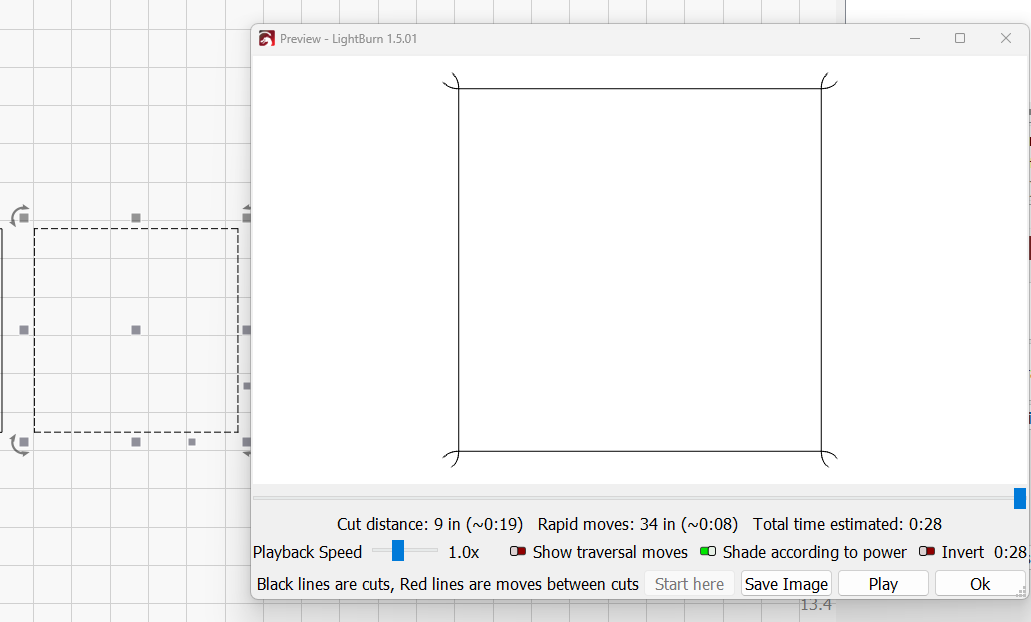 |
| Crossover into Nearby Shape | No Crossover into Nearby Shape |
|---|---|
 |

(Note that the Lead-In and Lead-Out do crossover each other, that is ok, it is in the scrap part of the material) |
| Without Lead-in or Lead Out | With Manual Lead in and Lead out |
|---|---|
 |
 |
Additional Reference Videos
Great Thunder Video by Brian Bell.
Another YouTube Video running through the process