
Preface: This article covers how to import your device Profile using the Thunder Laser supplied file on the USB stick included with the machine that is being implemented in Q4 2024 and is applicable to Aurora series lasers. Not all USB sticks will have this file, it will vary by the machine build date.
Note: This new method will make it a lot easier to import and be successful at setting up your laser. With that, it is still a good idea to read this guide to understand what it DOES do and what it DOES NOT do for you. Understanding what is automatically set up will still help you know where to go if you need to change something in the future.
Warning: You must have a Galvo compatible License activated on your Lightburn prior to trying to import or set up a Galvo machine.
Quick Start Video
Complete Guide
This guide will attempt to walk you through importing the .LBDEV file from your USB stick/Computer. It already assumes that you have Lightburn installed.
Preface
| What does this File import accomplish | What does this File import NOT do |
|---|---|
|
|
How to import the LBDEV file
You will need to find your Thunder USB stick and plug it into your computer:

Start out by getting Lightburn ready to import a Device profile:
| New Lightburn without an Existing Device | With Existing Lightburn Device(s) |
|---|---|

If you are starting out with a fresh copy of Lightburn and do not have any device profiles already loaded, You will be prompted to create a device when you open up Lightburn. Press the Import button to start the import of the device profile file |

In the Laser Window, click the Devices button. It will bring up the prompt that is shown on the left of this table. (If you have created "dummy devices" for the trial that are not what you will be using, delete them now) |
Select the device profile to import:
You will need to navigate to the files that are on the USB stick that came with your machine. The USB stick should be plugged in so that the computer can access the files.
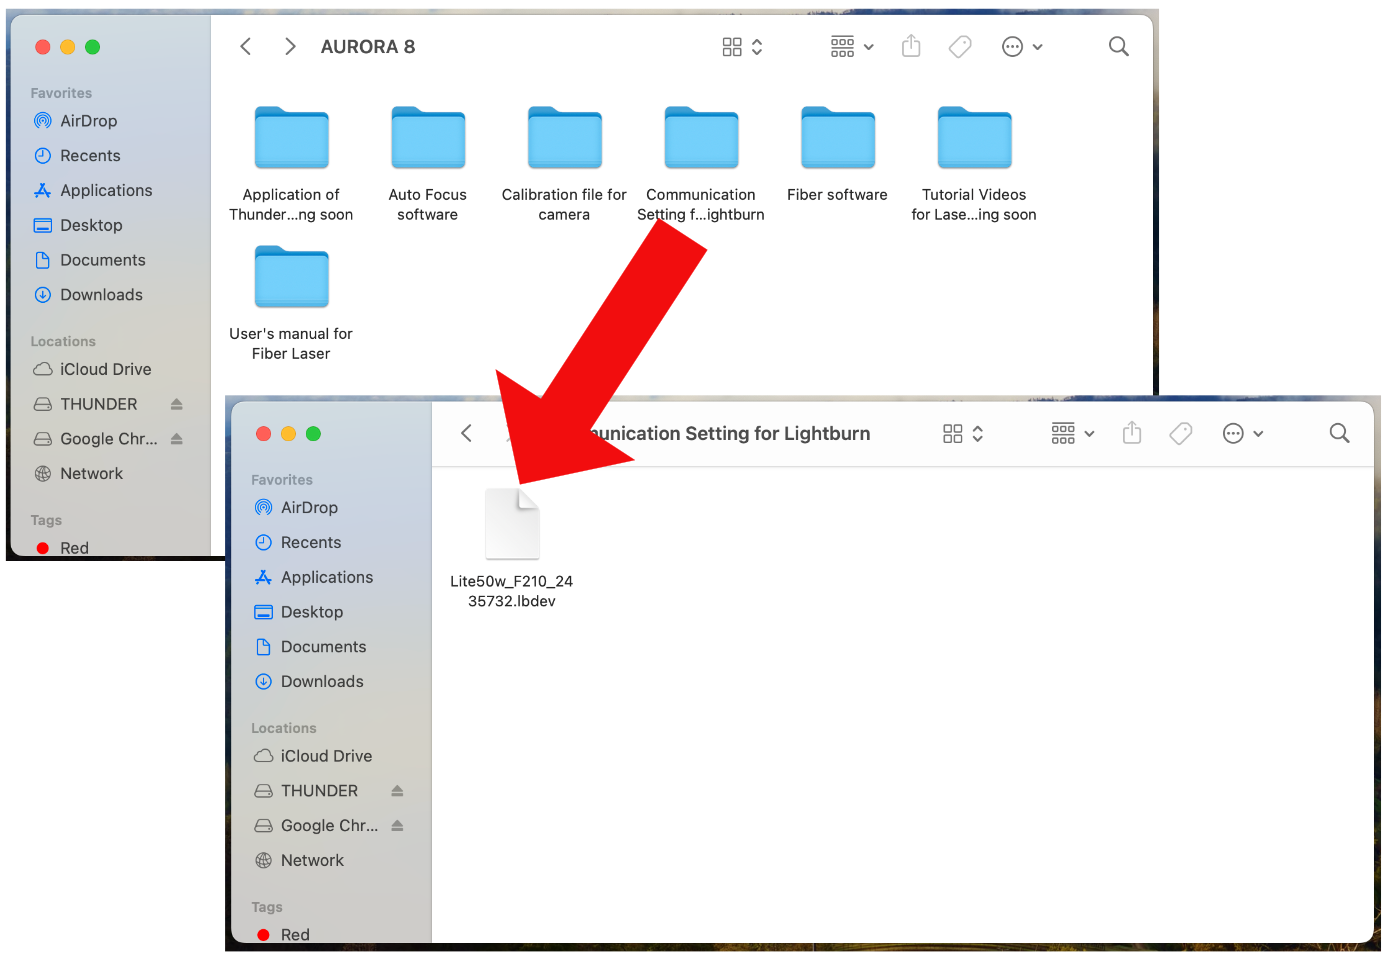
Target path as shown THUNDER D:/Aurora 8/Communication Settings for Lightburn.
Note that depending on which series and what drive letter your computer assigns to the USB stick that your path may vary a little.
| Windows Example | Mac Example |
|---|---|

|
|
*If you are unable to find the file in that location, search the rest of the drive for it by clicking through the folders on the USB
Select the *.lbdev file you want to import. Click "open". In this example the file selected was Lite50w_F210_2435732.lbdev. (Note that your computer may not show the .LBDEV file extension, that is ok).
The Device Profile will then import into Lightburn:
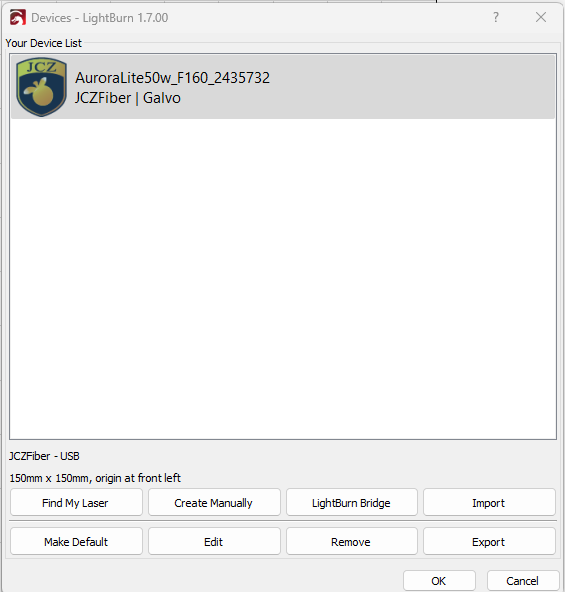
Click OK. Your device profile is now created for your machine. Take note of the Lens Size and Serial. They should match your setup.
Check what was imported for your Device Profile
In Lightburn, Select edit > device settings to pull up the Device Settings window or the icon that looks like a Wrench and Screwdriver

Depending on which version of Lightburn you have installed, where the settings are displayed may vary. Newer versions of Lightburn have more tabs.
| Galvo and Basic Settings | Reference Image |
|---|---|
Does not set a Cor file or 9 Point Calibration. User can either load a cor file from the USB stick for the corresponding lens or do the Lightburn 9 Point calibration |

|
| Ports and Laser Settings | Reference Image |
|---|---|
|

|
If you have any issues or suggestions please email [email protected]
Still stuck?
No bots, no runaround. Talk to a U.S.-based laser tech who knows your Aurora inside out.