
Applies to: Thunder Laser Titan series | Software: LaserMaker, LightBurn, RDWorks | OS: Windows and macOS (USB method: Windows only)
Note: A 30-minute remote setup session is included with new Titan purchases to help you configure your Ethernet connection.
Overview Video
Watch this overview first to understand all three connection methods before deciding which one to use. This is not a full how-to — it is a summary to help you choose your route.
Step 1 — Choose Your Connection Method
You only need one connection to the machine (though you can set up all three if you want). Your machine can have up to three different IP addresses simultaneously — one per method.

- Wi-Fi — Easiest to connect. Connects to your existing Wi-Fi network (internet not required). Performance depends on your network. IP configuration can be automatic (DHCP).
- LAN via Ethernet Cable — Hardwired, best performance, most preferred. IP address assignment is manual.
- USB to Ethernet — Windows only. Works at short distance or longer distance with an active repeater cable. Least preferred. IP address assignment is manual.
Step 2 — Physical Connection
Option A: Wi-Fi Connection
- On the touch panel, navigate to the network settings and confirm that the Wi-Fi connection is established.
-
Open the Internet Connection menu, then select Wi-Fi:
Open the Internet Connection Menu Select Wi-Fi 

-
Select your Wi-Fi network and enter your password, then connect:
Select Your Wi-Fi Network Enter Password and Connect 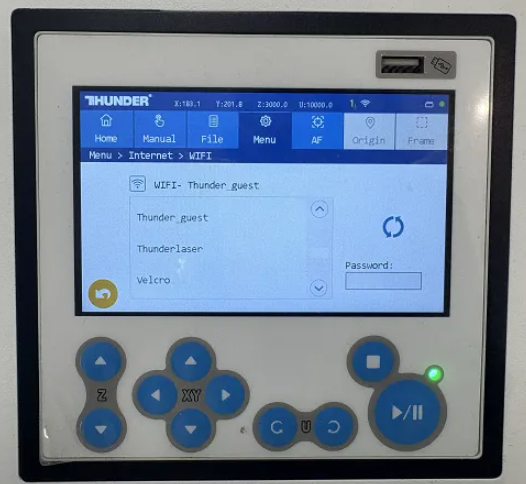
Select your network from the list and enter your password. You may need to refresh. If your Wi-Fi signal is weak, it may not show up.

- Take note of the IP address listed for your Wi-Fi connection — you will need it for your control software. In the example above, the IP is 192.168.10.104.
Option B: LAN Ethernet Connection
This is a direct Ethernet connection using an Ethernet cable with RJ45 ends.
- Connect the laser machine to your computer with the Ethernet cable included with the machine, or a longer one if needed.
-
At the Machine At Your Computer 

- Once physically connected, proceed to Step 3 — Determine and Configure Your IP below.
Option C: USB Connection (Windows Only)
-
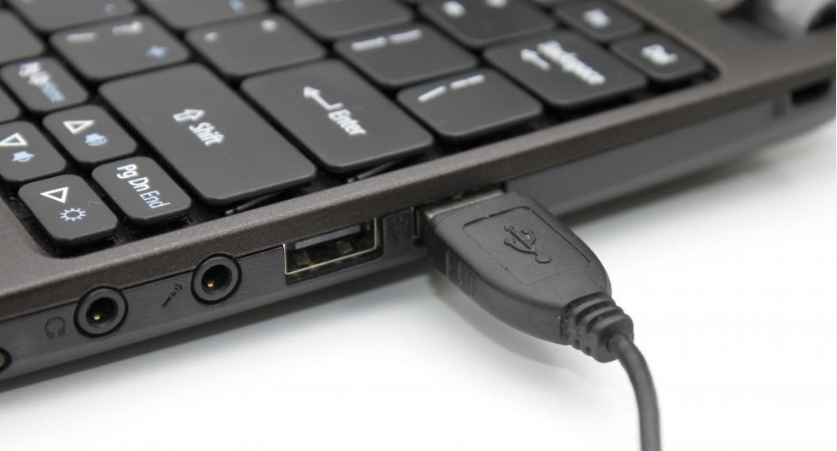
Plug in the USB 3.0 USB-A to USB-B cable:
USB-B At Machine USB-A At Computer 
-
Verify the new USB-to-Ethernet connection exists. Open a "Network Connection" window and look for the new Ethernet connection (it will appear as a network connection over the USB cable, similar to a USB-to-Ethernet converter). The new connection will also appear in Device Manager:
Network Connection Window Device Manager 

- Once physically connected, proceed to Step 3 — Determine and Configure Your IP below.
Step 3 — Determine and Configure Your IP
There are 3 connection methods, 2 operating systems, and up to 3 control software options (including RDWorks), so your exact scenario cannot be covered explicitly. Read through the guides below and make decisions about what your IP should be, then configure everything accordingly. Pay close attention — a single incorrect digit will cause communication to fail.
Wi-Fi: The easiest to set up in control software. You just need to enter the machine's IP into the control software (noted in Step 2A above).
LAN Ethernet and USB-to-Ethernet: You will need to configure your computer's network connection dedicated to the laser, then enter the IP in your control software. Use the guides below to determine and assign your IPs, then return here to enter them in LaserMaker or LightBurn.
- Mac: Connecting a Thunder Laser to LightBurn via Ethernet
- Windows: Connecting a Thunder Laser to LightBurn via Ethernet
How to configure the USB-to-Ethernet connection:
Step 4 — Enter the IP in LaserMaker
If you are connecting via LightBurn, refer to the articles linked above. If you are using LaserMaker, follow these steps.
-
Open LaserMaker and start a new project. If you already have a device created, you can edit the current device instead.
Press the Create Button 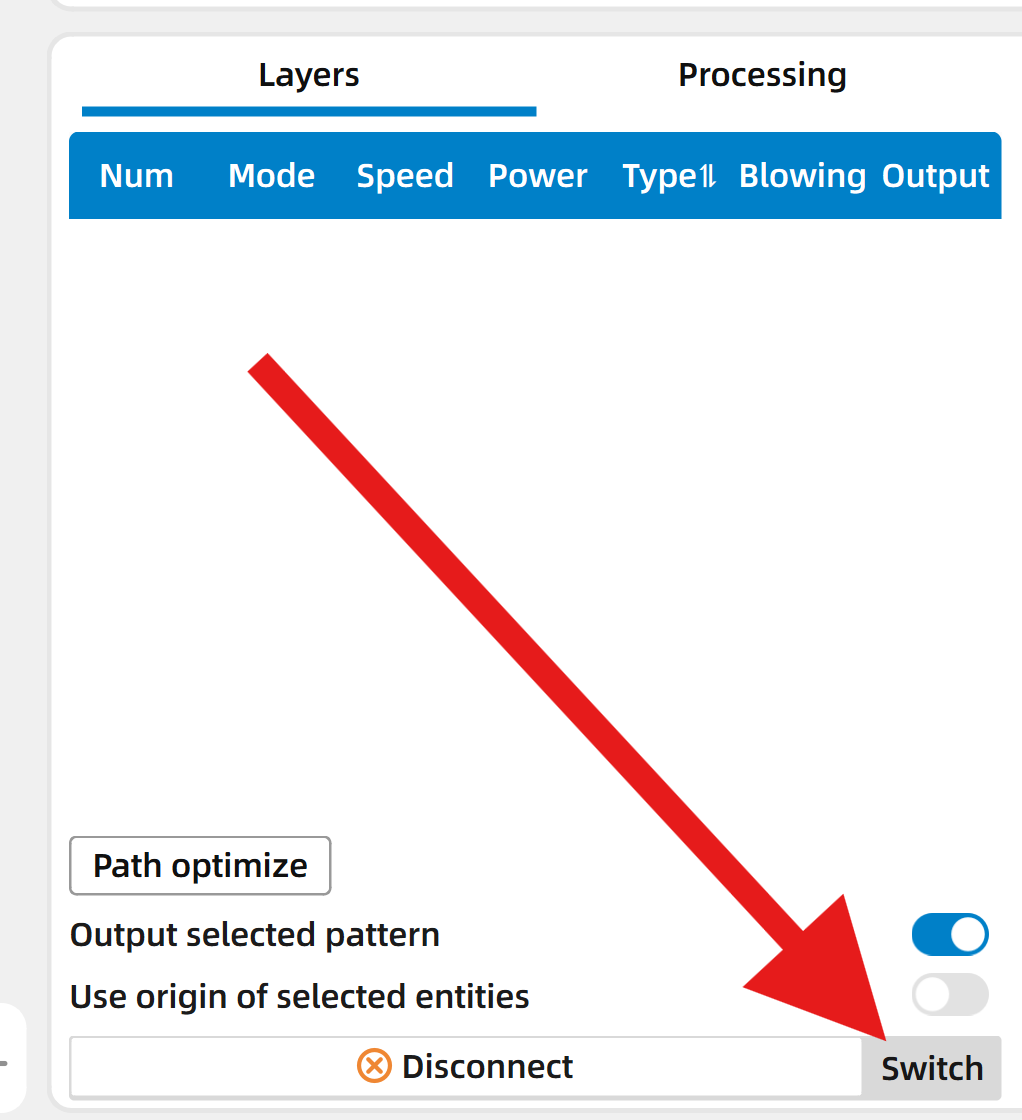

-
Select ThunderLaser and Titan, then select TCP/IP and enter the IP of the Titan:
Select ThunderLaser and Titan Select TCP/IP and Enter the IP of the Titan 
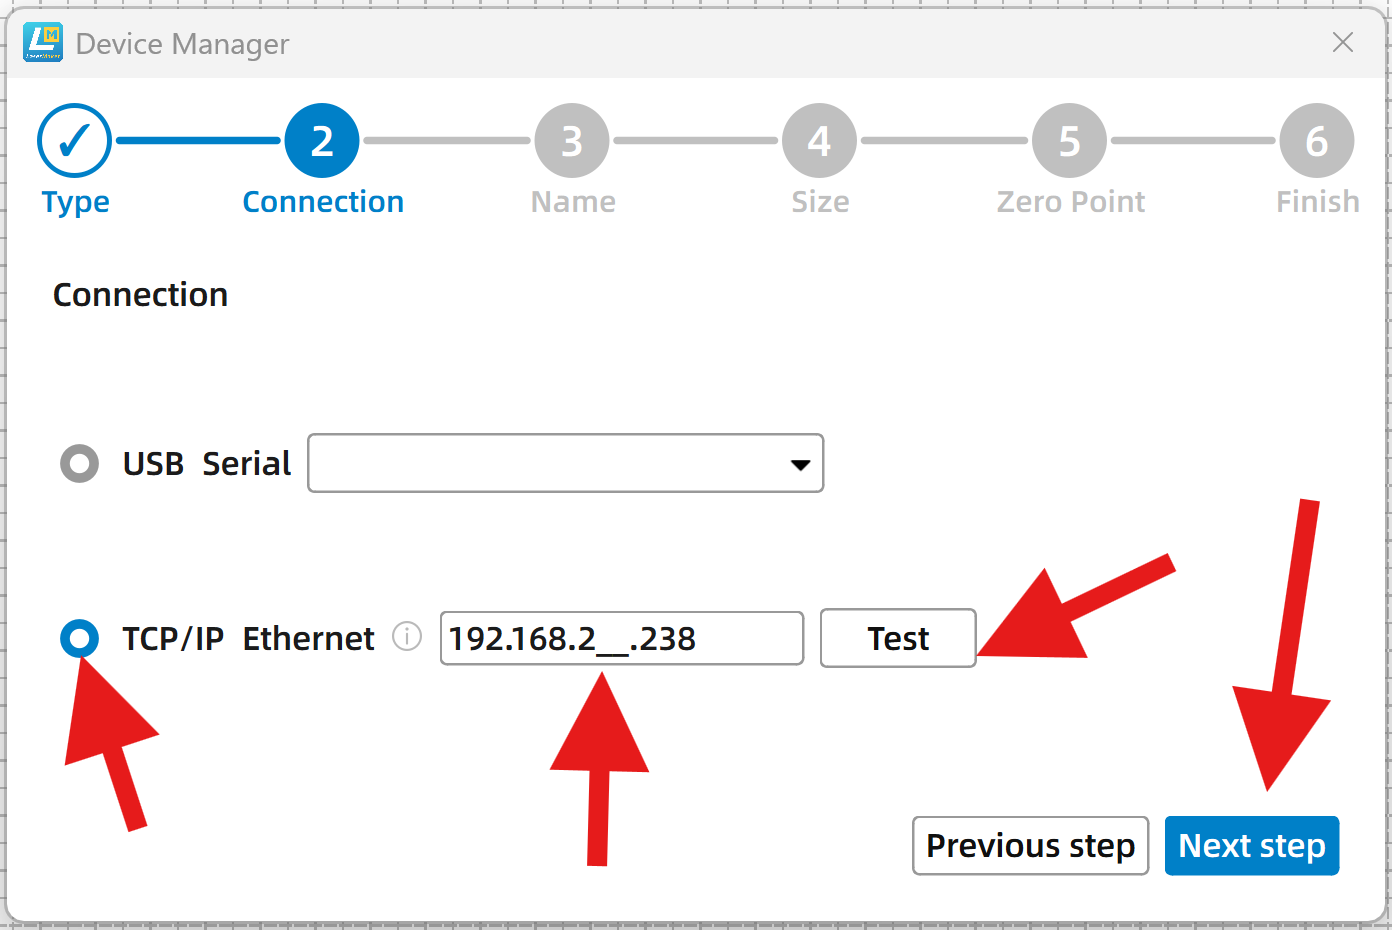
Click the Test button to check for configuration success. If it does not pass, double-check your configuration. Once you pass, click the Next Step button.
-
Name your Titan, then review the summary:
Name Your Titan Summary 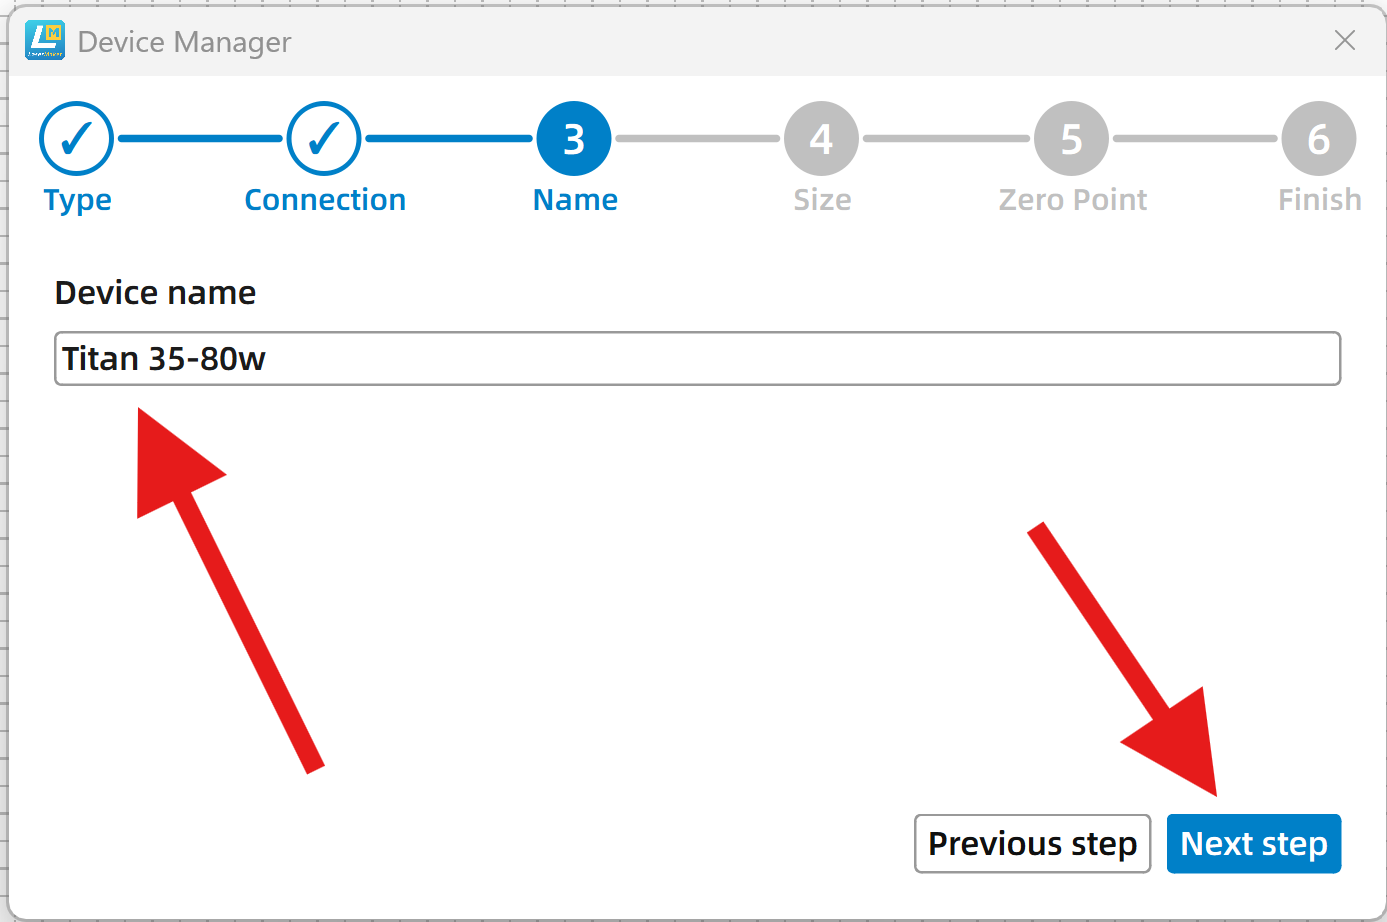
Once you have a name, click the Next Step button.

Click the Finished button.
-
Select your Titan and press the Connect button.

Reference Articles
Still stuck?
No bots, no runaround. Talk to a U.S.-based laser tech who knows your Titan inside out.