
Applies to: Thunder Laser Titan series | You'll need: Replacement lens barrel for the desired focal length
Selecting the appropriate lens is crucial for achieving optimal results in laser cutting and engraving. Different lens designs are tailored to specific applications, enhancing precision, efficiency, and compatibility with various materials. Select the appropriate lens based on your specific requirements to achieve the best processing results.
Part 1: Remove the Current Lens Head
-
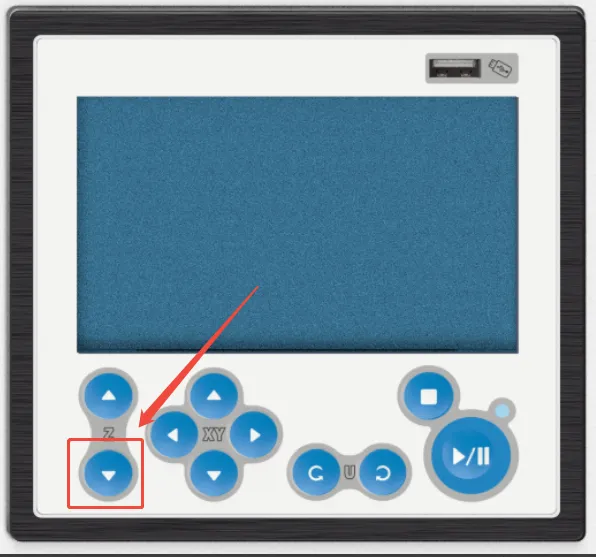
Lower the honeycomb bed first to provide enough space for handling and assembly of the laser head. You will need a few inches of clearance to be able to easily remove and re-insert the laser head.
-
Loosen the fixing knob on the laser head and remove the lens barrel. (The air line and auto focus wiring will still be attached — be careful not to damage them.)


-
Rotate the laser head barrel counterclockwise to remove the lens barrel from the nozzle cone.


Part 2: Install the New Lens Head
-
Choose your new lens barrel. Confirm the nozzle cone has no leftover barrel pieces from the previous lens still attached. Align the new lens barrel with the thread in the nozzle cone, then rotate clockwise to securely attach the nozzle and the lens barrel together.
⚠ Before threading the new barrel on, verify that the nozzle cone does not have any barrel pieces from the previous lens still attached.
-
Align the lens barrel with the laser head mounting position, ensure alignment, then tighten the fixing ring.

-
Insert the lens tube into the laser head receiver up to the rubber stop ring. Then tighten the thumb screw to secure the lens tube assembly.
-

Things to Note After Swapping Lens Barrels
- A ramp test per head/focal length is recommended.
- Separate focal distances may be needed for each of the lens types; you can manage the auto focus distance with your laser machine settings.
- Manual focus may need to be adjusted per lens.
Still stuck?
No bots, no runaround. Talk to a U.S.-based laser tech who knows your Titan inside out.