
Preface: This article covers how to clean your air filters for your RF Tube on your Thunder Laser Bolt and Odin Machine
Warning: While performing this work, the machine should be powered off. Do not run your machine without the filters installed.
Quickstart Video
Complete Guide
Keeping the filters for your RF tube clean is key to maintaining peak performance. Your RF tube is air cooled and dirty air filters will negatively affect how well the ambient air can be used to cool the tube down.
Tools and supplies you may need
Depending on which model and vintage you are doing the cleaning for, you may need different tools.
| Bolt Tool List | Reference Image |
|---|---|
|

|
You will need a compressed air source to blow the dust back out.
| Compressed Air Wand Example | Air in a Can Example |
|---|---|
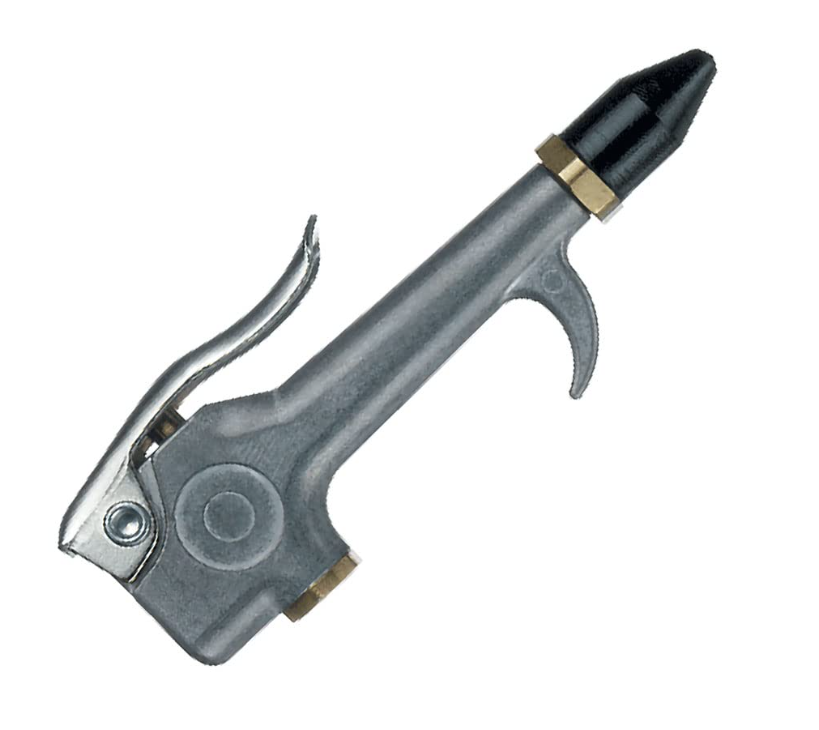
Warning: Keep your air pressure low enough to where the filters do not tear. Each air wand will be different so there is no set value for air pressure. Damaging the filter will not be covered under warranty. |

|
ODIN Machines
The original Odin machines used individual filters that are held in place with plastic covers. Be sure to clean each filter.
The filters are located on the back of the machine on top the tube box. You can access them from the top, so no need to even open the tube box up.

The covers are plastic and snap into place. Gently remove them by pulling them up.

Remove the filters, clean and reinstall. In this example, the Air Duster Can was used to clean them.

Bolt Machines
For the bolt machines, the filter is captured in a frame that will need to be removed. You will need tools and access to the under side of your tube door.
Start by opening the Tube Door:
| Tube Door | Locks |
|---|---|

|

|
To Unlock the Door Locks Levers:
| Unlock the handle | Lift and Rotate 90 Degrees |
|---|---|

Remove the key once the handle is unlocked |

|
Open the tube door and access the bolts hold the filter frame in place.

Use a 3mm Allen wrench and 7mm wrench to remove the bolts and nuts.
| 7mm Wrench on Nut | 3mm Allen Key on bolt |
|---|---|

|

|
Remove the frame and the Filter
| Backside of Tube Box, Frame and Filter Removed | Frame, Hardware and Filter |
|---|---|

|

|
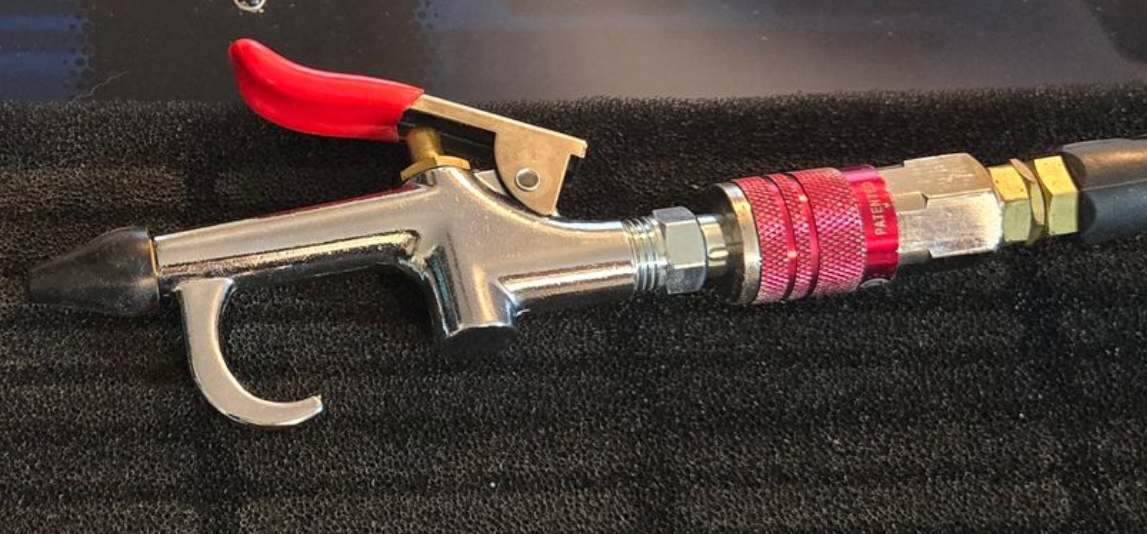
Clean the filter with compressed air. With the setup shown, 80 PSI was used. Blow the dust off and out of the filter.
| Air Blow Nozzle Example | Pressure On Gauge |
|---|---|
|

|
All Clean! Reinstall in reverse:

Additional Resources
Still stuck?
Fastest response times in the industry from our US-based support team.