
How to Flash Screen (HMI) and Controller (DSP) Firmware on a Thunder Bolt Laser using the Screen and USB
Preface: This article covers flashing the firmware on your Bolt, for either the Screen or the Controller.
Warning: Be sure to perform this only under the guidance of Thunder Laser USA. Make sure you have stable power and have time to be at the machine. Failure to perform this procedure correctly can cause hardware failure.
Note: If your screen is in Chinese at the start, just wait for the homing screen to time out (like 60 seconds) if x/y drivers are not plugged in and then change the language based on this article: How to Change Bolt touchscreen Ruida GT5 to English from displaying Chinese.
Quick Start Guide
Note: If you are performing a DSP replacement and not just upgrading to the newest firmware on your original controller, then be sure to write your machine settings to the New controller prior to doing any firmware updates to the controller. You may have to set up USB or Ethernet connections prior to flashing so that you can write your machine settings. This is referenced in Step 3 of the How to Replace Your DSP Guide.
Video on How to Flash the HMI Screen and DSP Controller
Complete Guide
Note: Thunder advises that you update the HMI screen first and do not power cycle the machine, then update the Ruida DSP controller to the firmware that can be gotten from [email protected].
Where to get the Latest Firmware
Email [email protected] for the latest firmware. We do not recommend downloading it from a 3rd party source like "A person on Facebook" or similar. Email support with a picture of your serial plate and current firmware version.
How to Find your Current Firmware Version
| Press the Menu button and then the Right Arrow button | Press the System Info Button |
|---|---|
 |
 |
Firmware for your HMI and Controller will be displayed:
| EX: Older Firmware Version (No Date) | EX: Newer Firmware Version (Dated March 15th 2024) |
|---|---|
 |
 |
Prepare your USB Stick with the Firmware Files
Copy the firmware files you were sent from Thunder to the ROOT (Top level of the USB drive, not inside any folders) of the USB stick, the files should not be in a sub-folder or zipped. With newer revisions, the file names of the firmware you will be using may not match exactly what is shown in the picture below.
Note:
Ruida DSP Controller Firmware files have a .upd extension
Screen HMI Firmware files have a .hmt extension

Flash the Firmware: Initial Steps for Both the Screen and Controller
Power up and home your machine. The steps for flashing the HMI Screen and the Ruida DSP controller are similar. This guide will start with the basic process and then branch off to each piece of hardware.
Common Steps for flashing the Screen or the Controller
| Insert your Prepared USB stick with files into the USB port on the main screen | Press the Menu Button |
|---|---|
 |
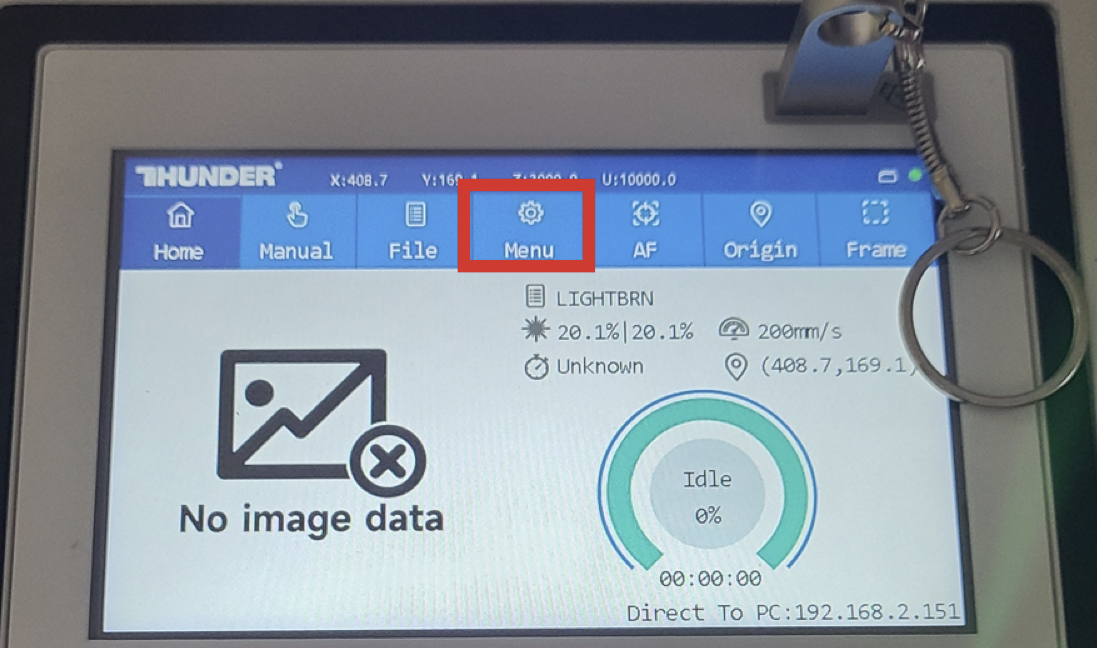 |
| Press the U Disk button | Take note of Options for Controller and HMI |
|---|---|
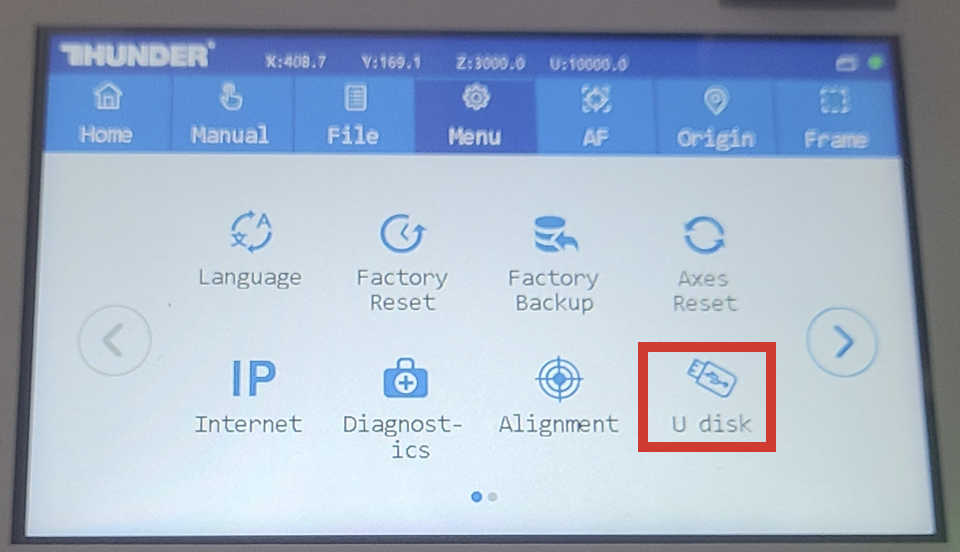 |
 |
The instructions after this step will branch on depending on whether you want to flash the firmware of the Screen or the Controller. Choose the appropriate section.
To Flash the HMI Screen
| Press the HMI button | Screen is Upgrading Message: | Screen Upgrade Complete: |
|---|---|---|
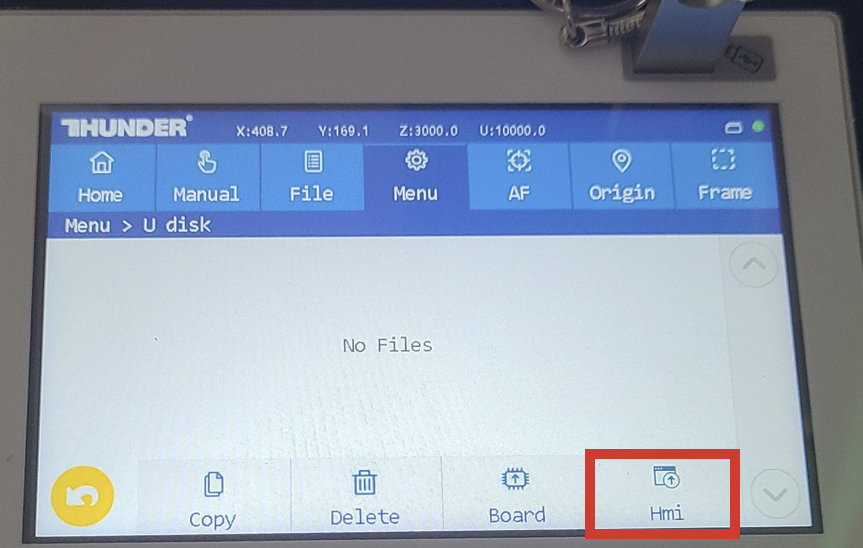 |
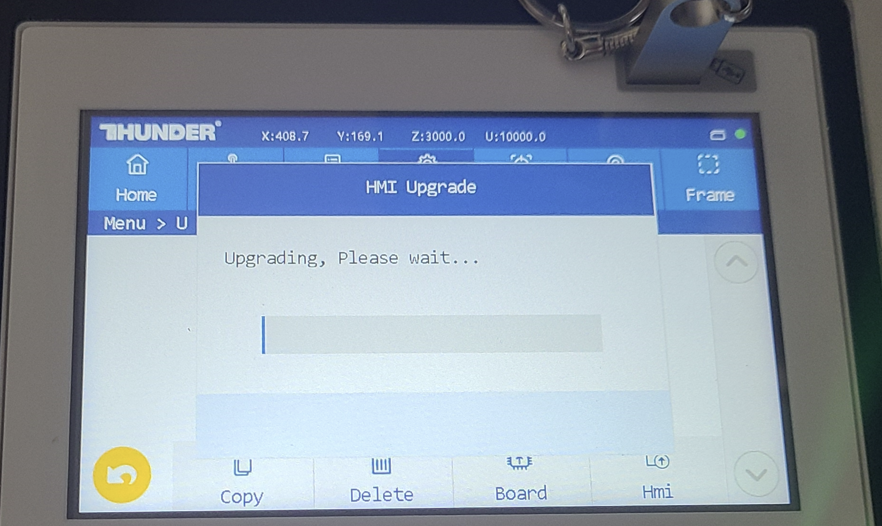
If the screen can read an appropriate update file, then you will get this message that it is upgrading. It will take 5-10 minutes. |
Warning: !!!DO NOT CYCLE POWER AFTER UPDATING THE HMI!!! 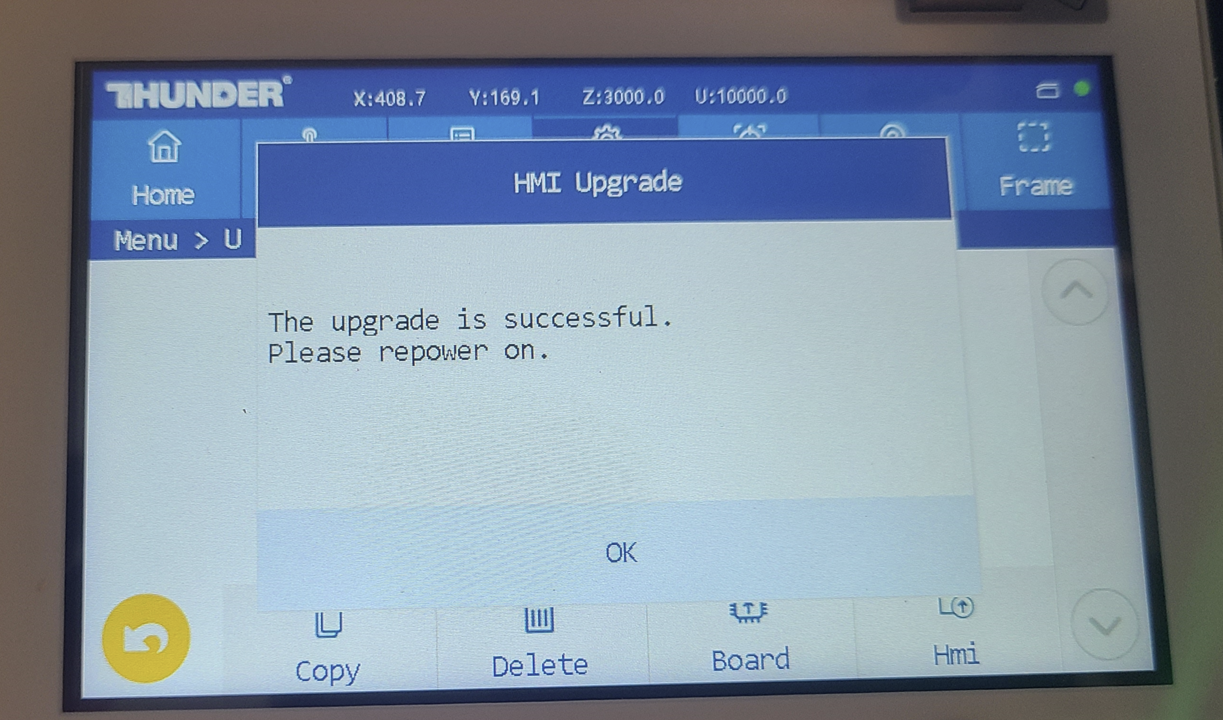
Once the upgrade is complete, you will get this message. Press OK and then do the next step to flash the Board firmware. |
To Flash the Ruida DSP Controller
| Press the Board button: | Controller Upgrading Message: | Controller Upgrade Complete: |
|---|---|---|
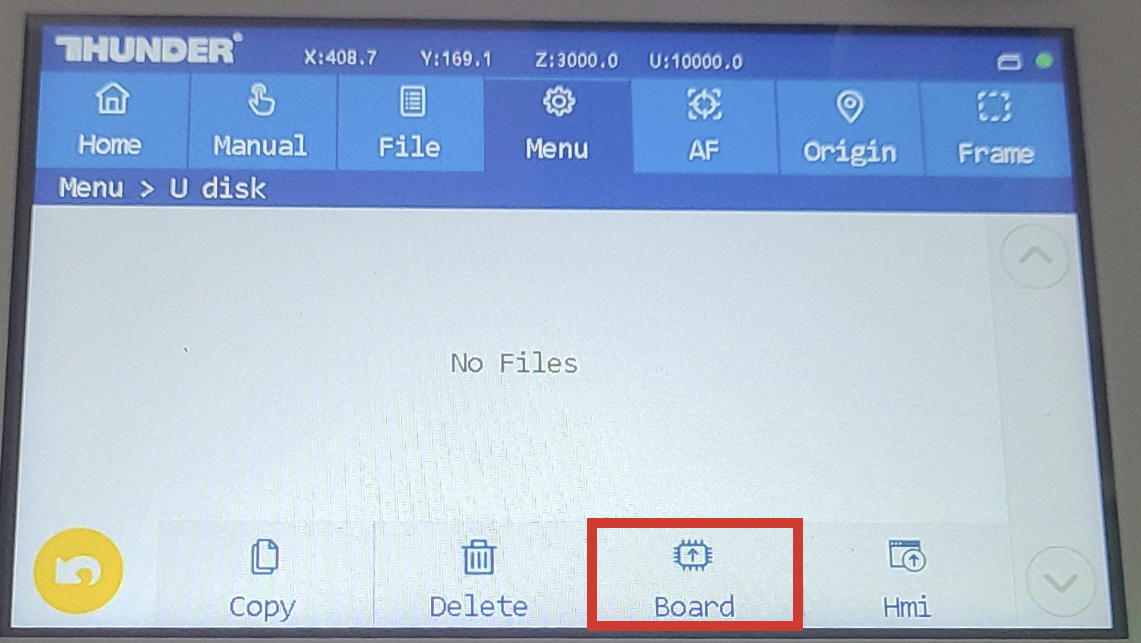 |

If the screen can read an appropriate update file, then you will get this message that it is upgrading. It will take 1-2 minutes. |
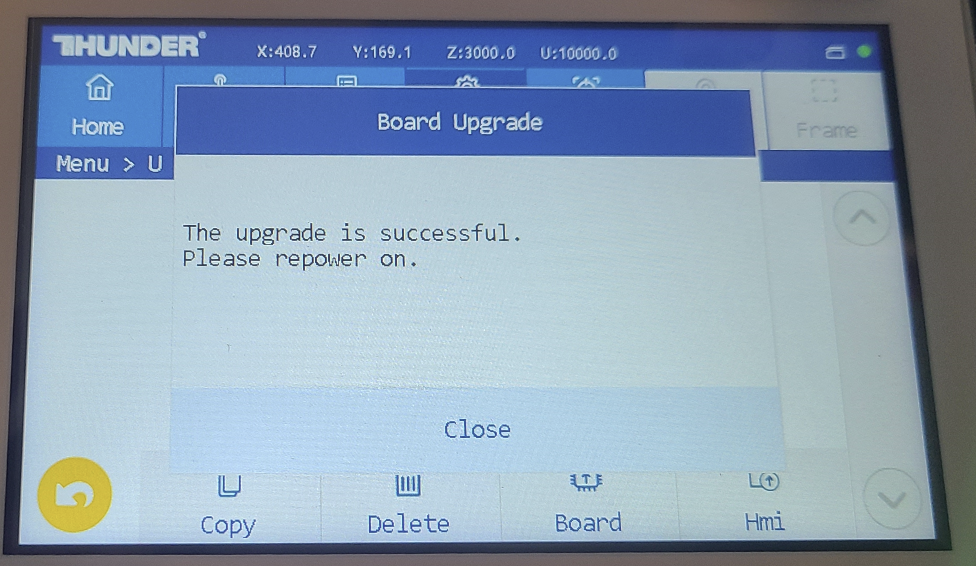 |
Power cycle the machine.
Possible Errors and Messages
Failed to read U Disk:
Generally this means the USB stick cannot be read. Even if a USB is inserted but without files, you will not get this message. Limit the UDISK to 128gb or less.
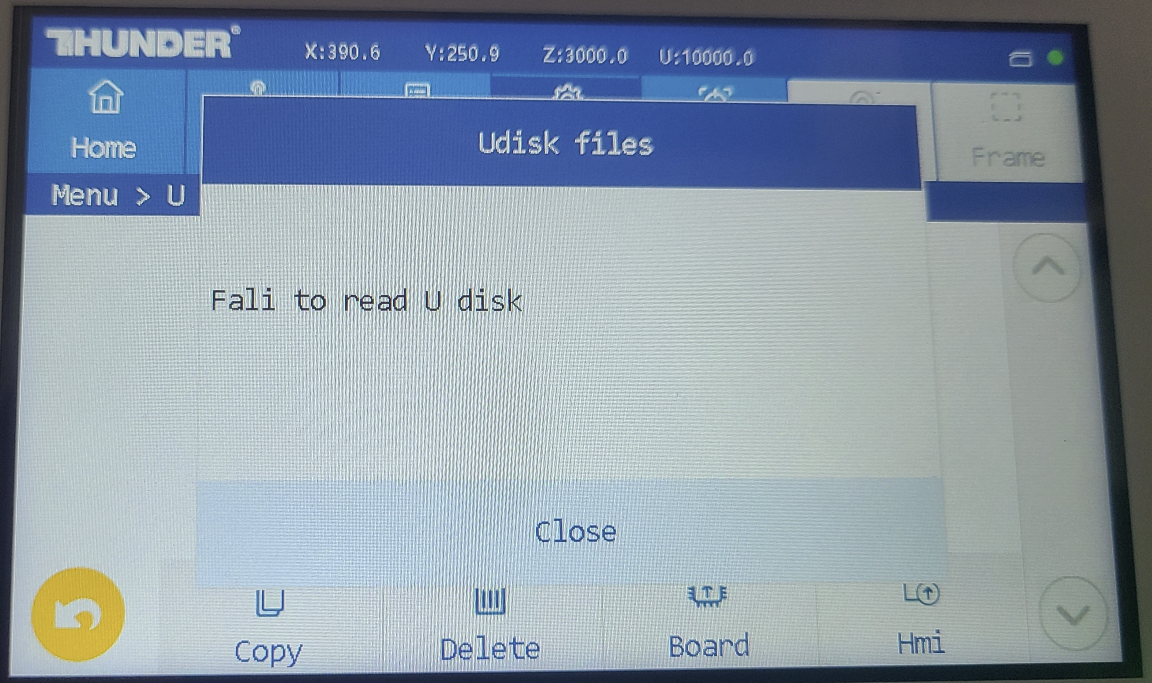
Upgrade Timed Out or did not complete:
Try it Again. If it fails repeatedly, email [email protected]. The screen update will likely fail a few times.
Error Condition After Trying to Flash
If you attempt to flash firmware without any files on the USB stick, the screen will continue to wait until it can read the file. Other Screen and Machine functions may not work properly. Remove the USB stick from the Screen and acknowledge the error message that pops up. If you leave the USB inserted, the screen will likely stay hung up on trying to read.
Reference Articles
- How to Flash a Thunder Laser Ruida DSP Controller Firmware using RdWorks for Windows
- How to Change Bolt touchscreen Ruida GT5 to English from displaying Chinese
Still stuck?
Fastest response times in the industry from our US-based support team.