
Nova 63 Offloading/Uncrating Important Notices & Best Practices v1.0a

Unboxing
The size of the Nova 63 dictates that the peripherals and accessories be packed beneath the machine.
Case Study 1
This is feedback from a new Thunder 63 user who documented his process:
Here are the steps I took.
- Pull top, top supports, then front and back, then sides. Then used a pry bar to remove all of the plywood pieces holding the feet in place.
-
Take a 2x6x24 and rest it against the edge of the laser, and lift it just slightly to get the weight off of the foot so you can screw it all the way up. Make sure the lock nut is screwed down first.

This shows it screwed all the way up.
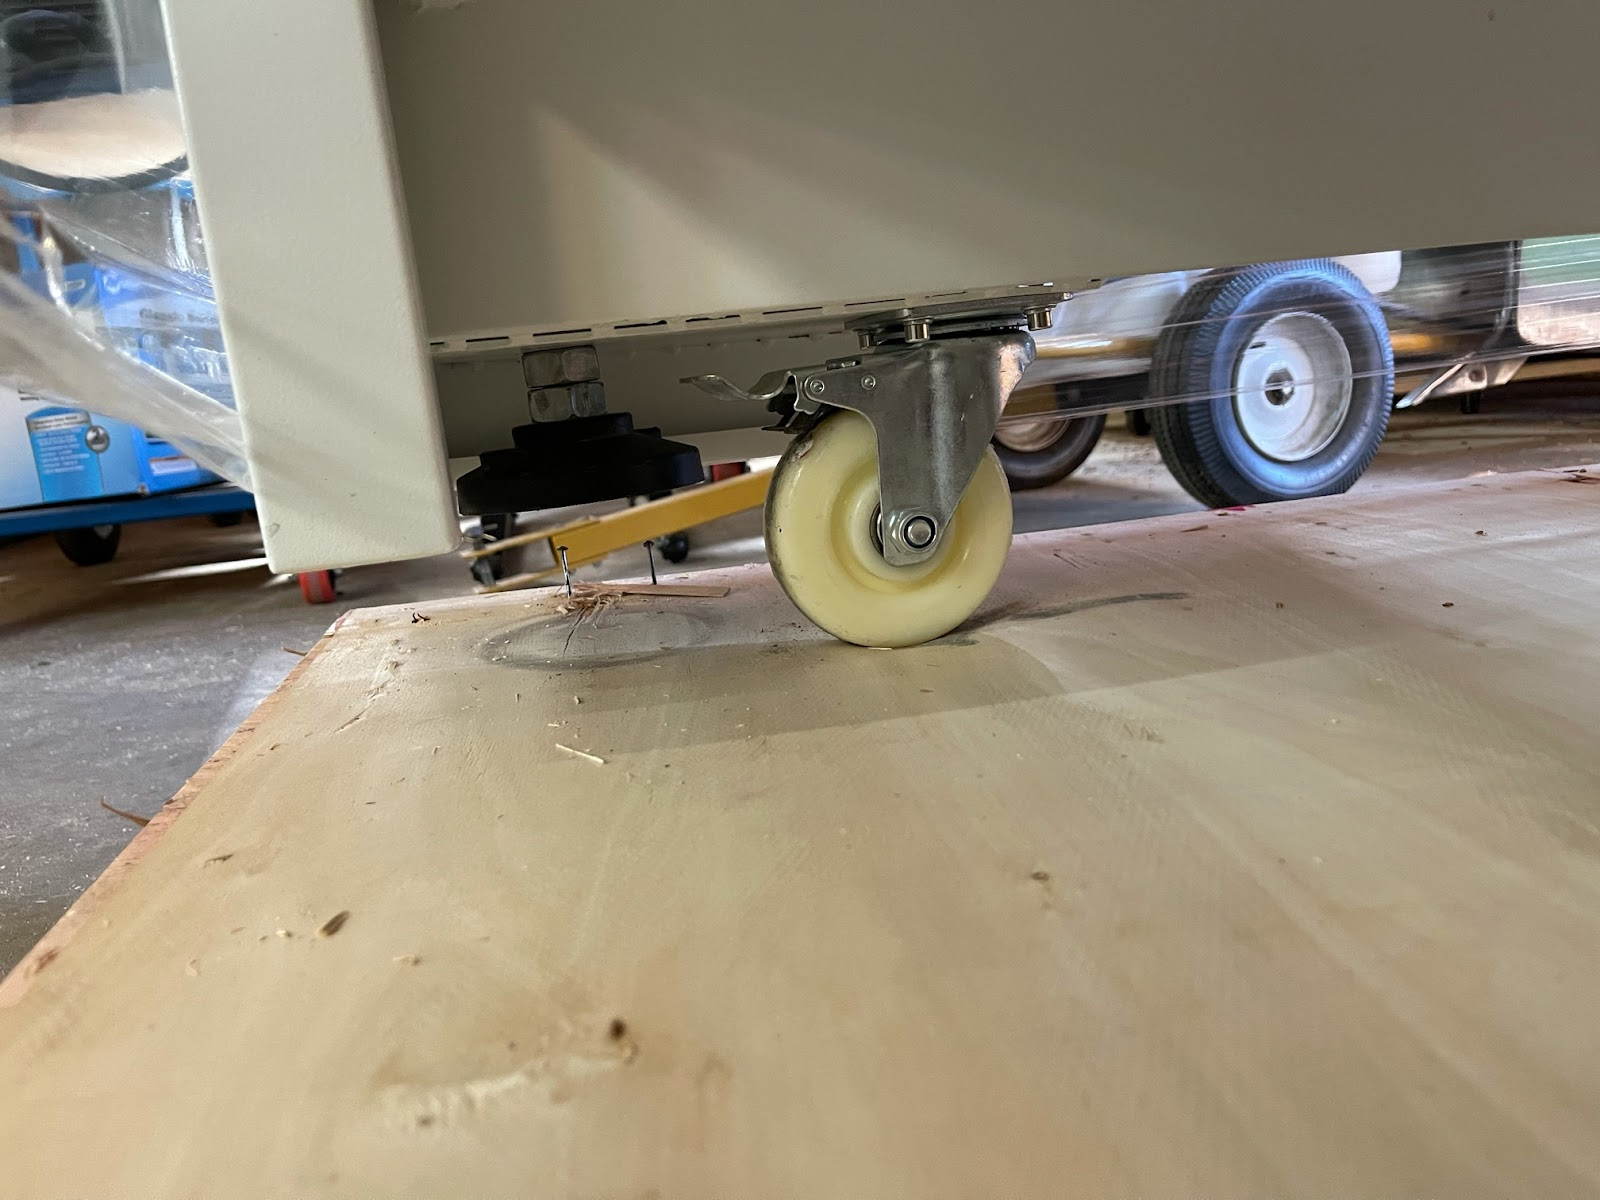
-
Using a pry bar, take off (or just relieve the pressure on) all of the plywood pieces underneath the laser. Remove the air compressor and tool box. Be careful on the chiller and fan to just take off the pressure (do not pry on the chiller or fan) so you can move these out of the way, then take a hammer and take the plywood pieces out.
Here is them locked in place:

This shows them with the pressure released:
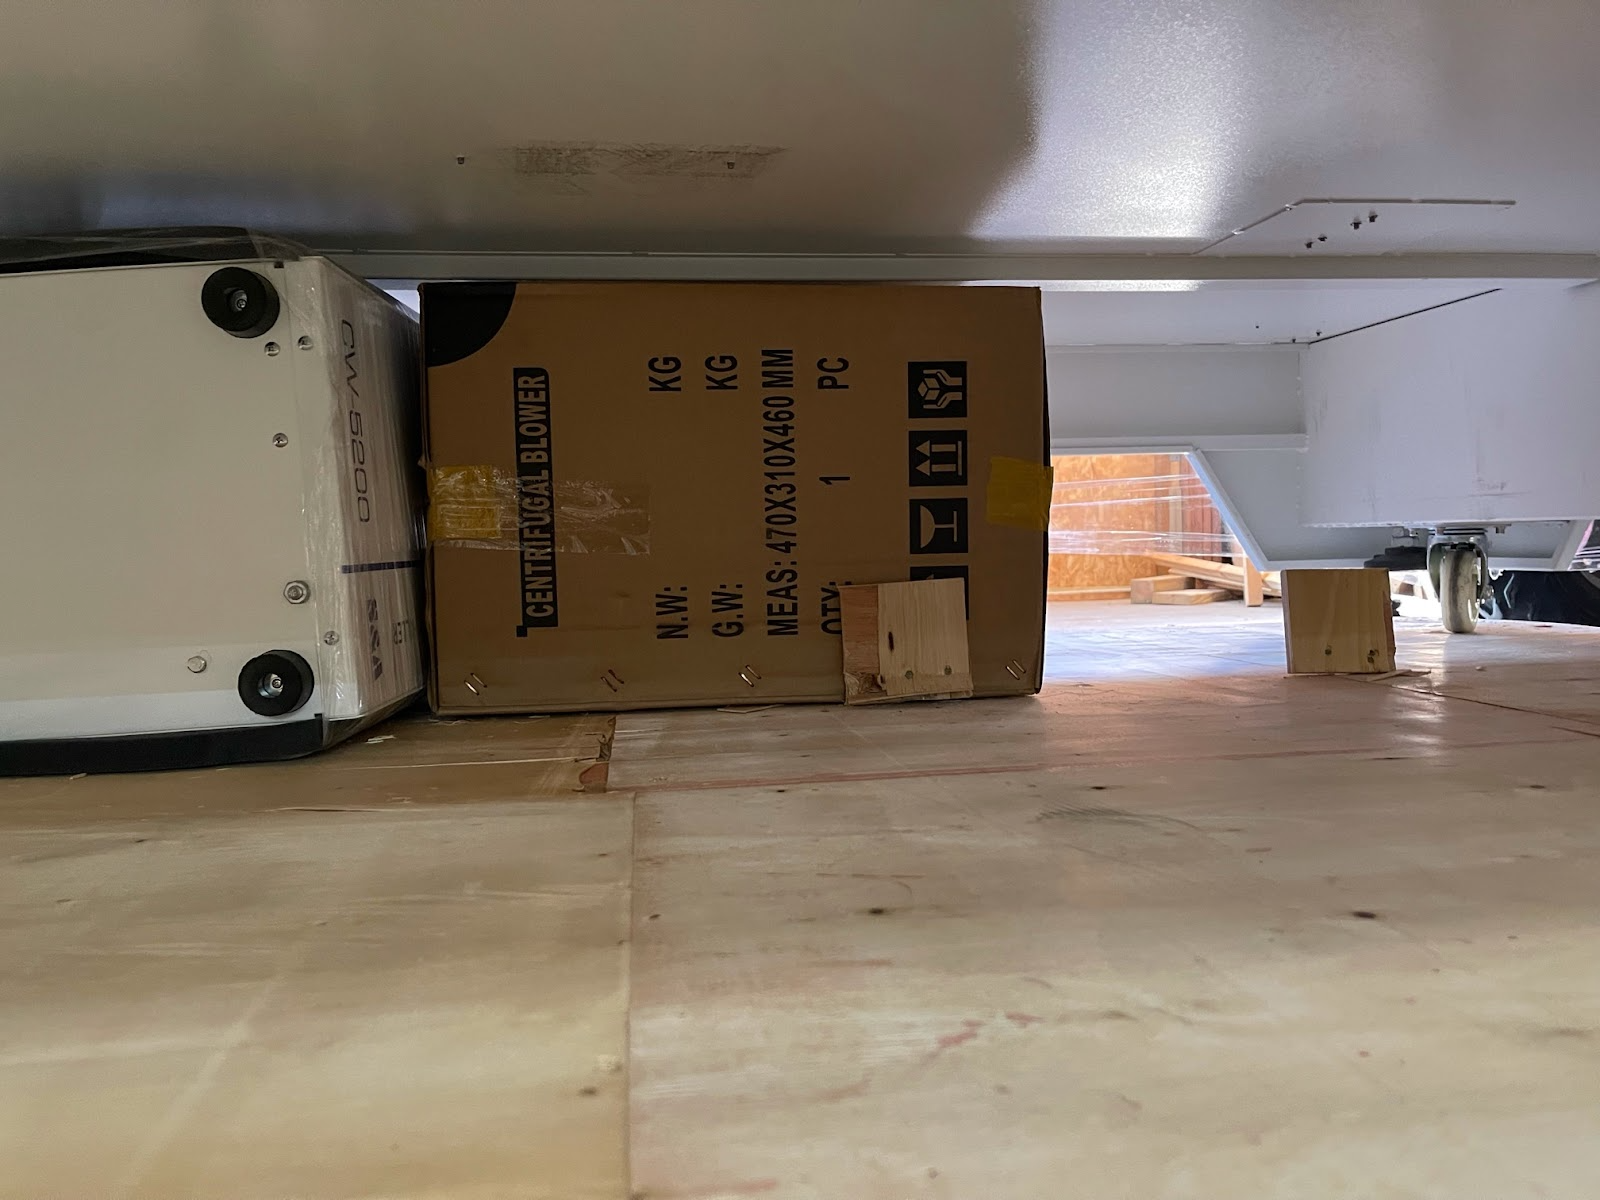
Then I just took a hammer and removed them.
-
Here are the ramps that I built. 3/4 plywood 12x24 and screwed them to the base and added supports under the plywood.
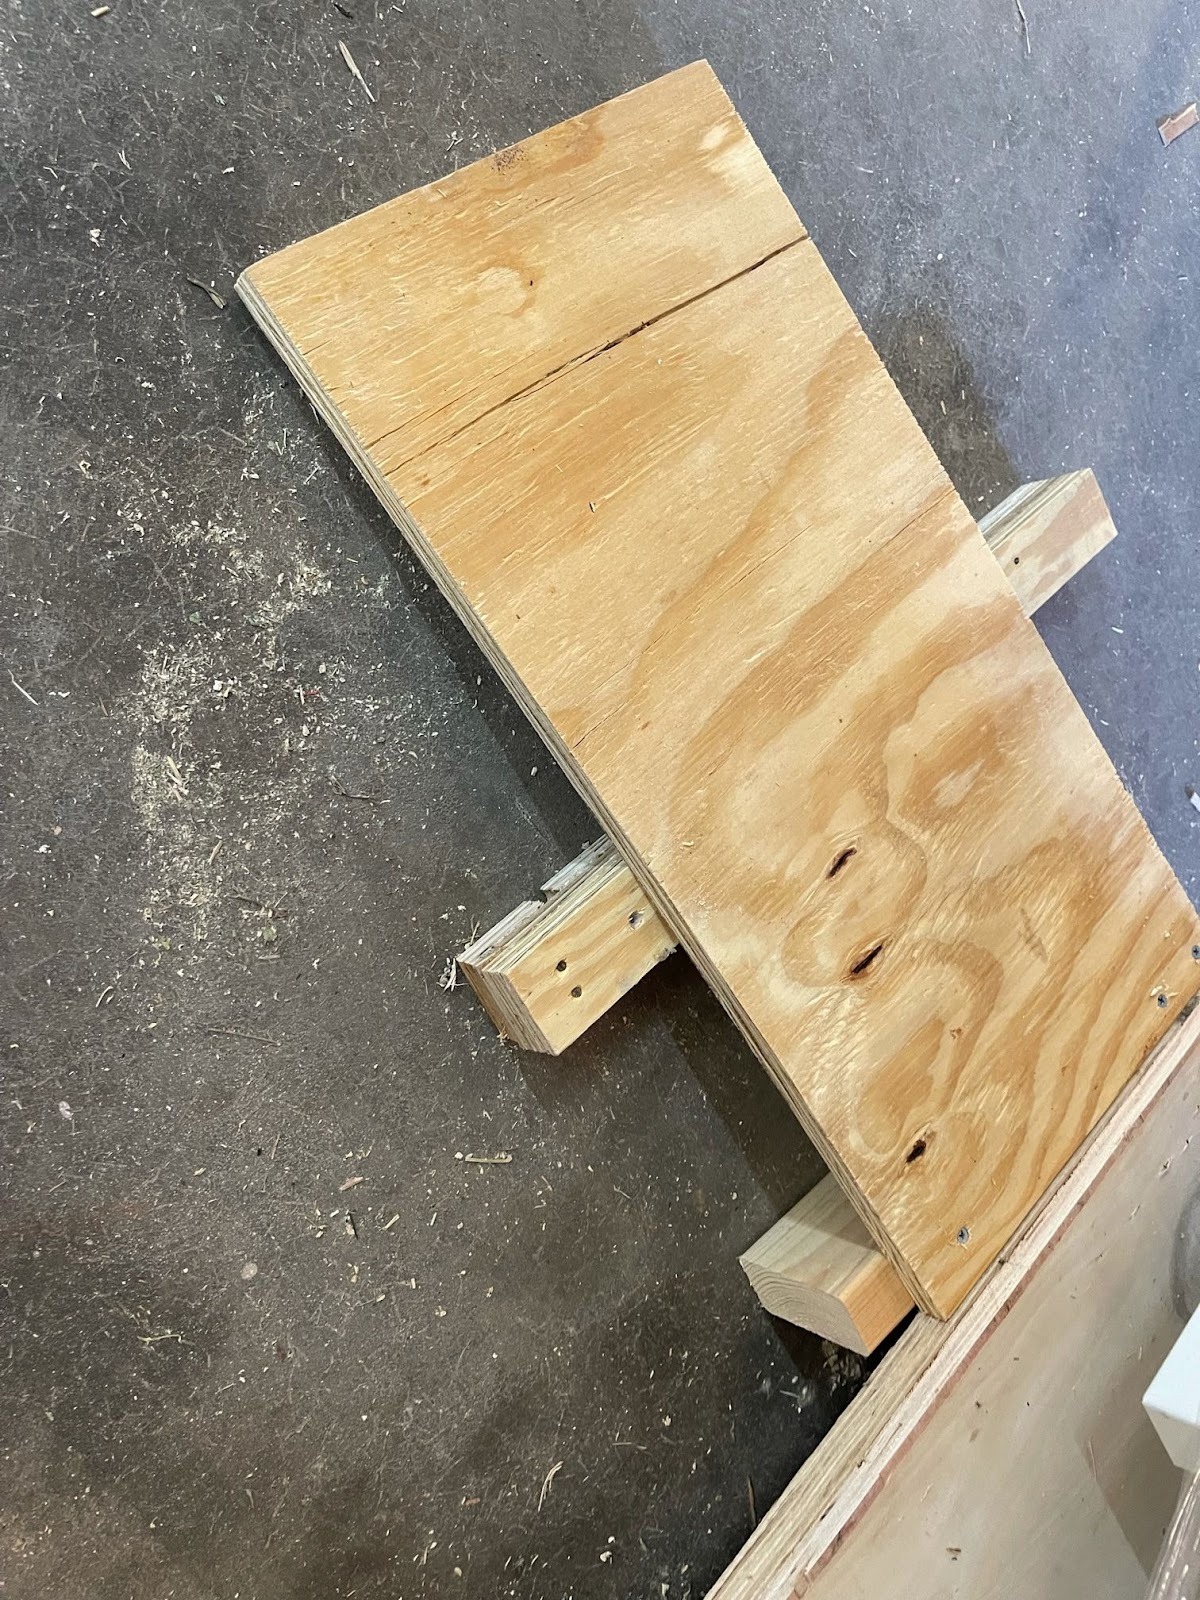

- Position the chiller and fan close to the edge that has the ramps, roll part way down, then keep the chiller and fan as close to the front as possible and keep working it down as the laser comes off of the platform.
-
Use the floor jack again with the 2x6 and jack up the laser to remove the chiller and fan.

These show the chiller and fan out from under the laser.
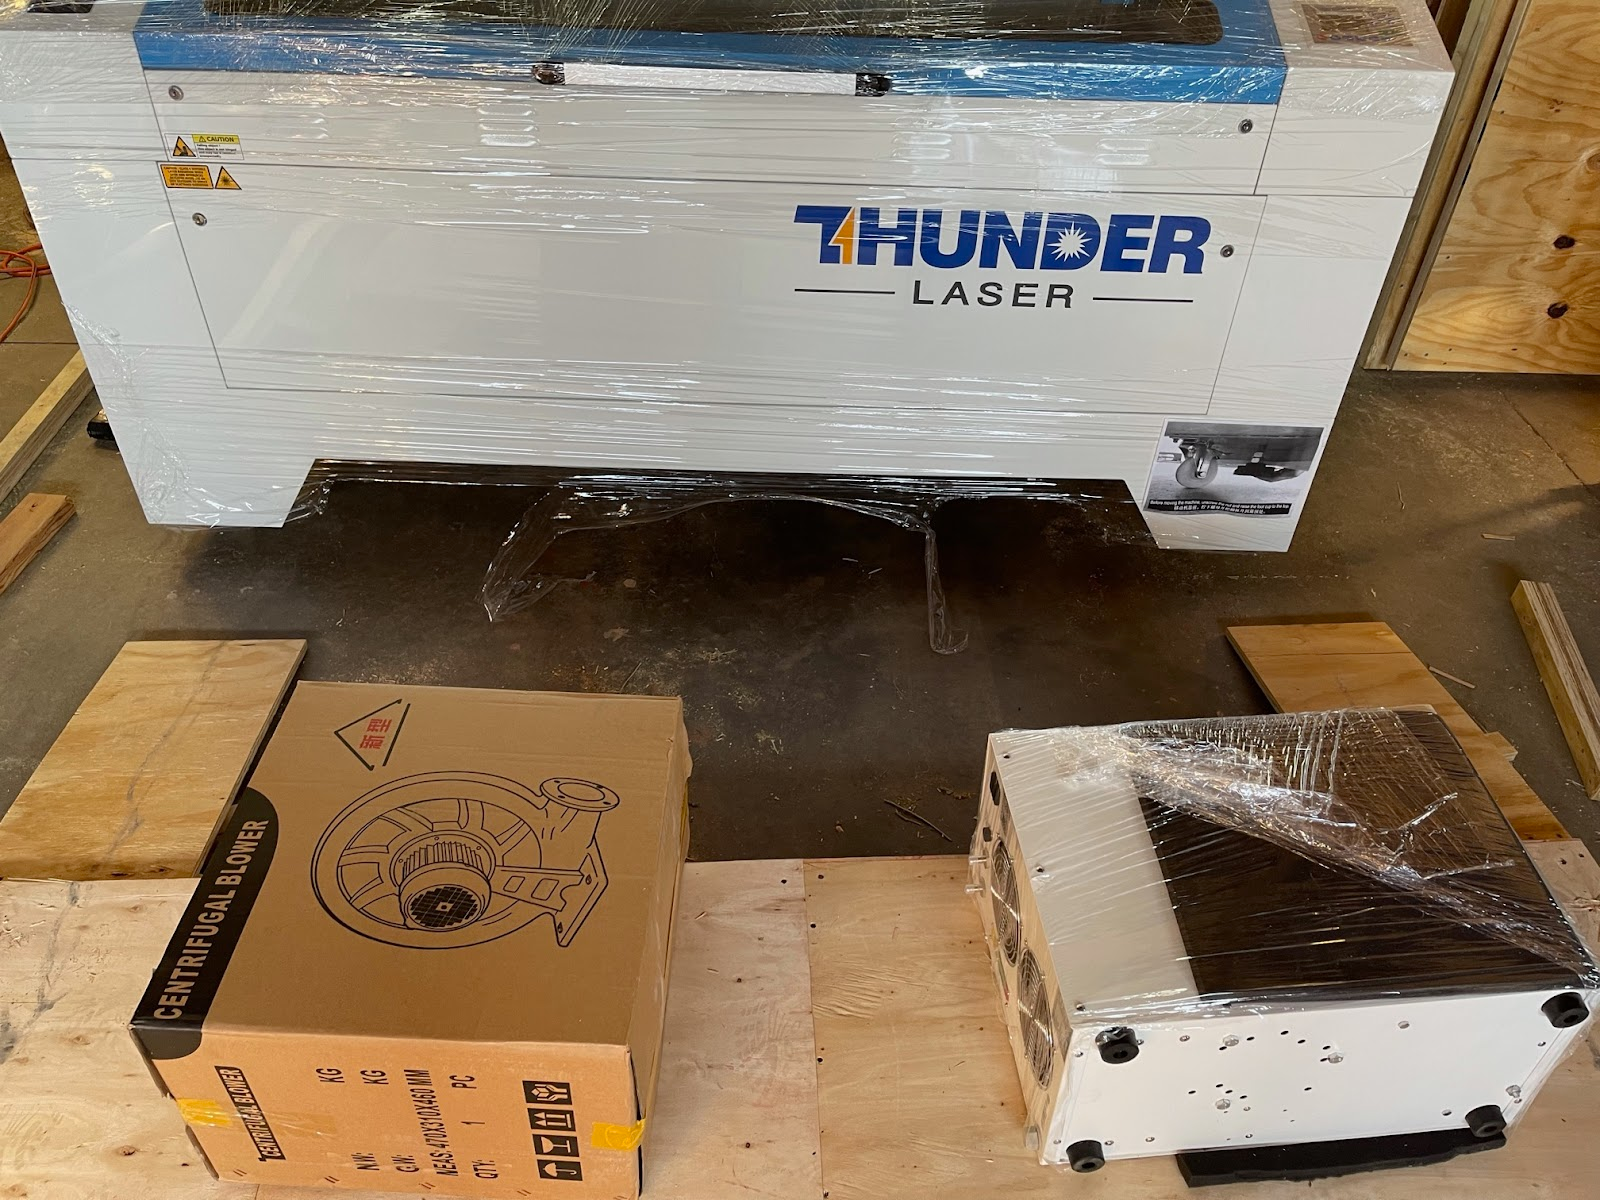
I hope this helps with your group.
Here is a great time-lapse:
Still stuck?
No bots, no runaround. Talk to a U.S.-based laser tech who knows your Nova inside out.