
Thunder Bolt Camera Information, Calibration and Setup
Applies toBoltTopicGeneral
Preface: This article covers information about setting up your Thunder Bolt Lid camera.
Please note that Lightburn V2.1 is not compatible with the camera file on the USB stick and this guide will not be applicable. We do not currently support V2.1 with Cameras. You will need to follow the standard Lightburn calibration procedures in the Lightburn documentation.
Camera Model and Specs
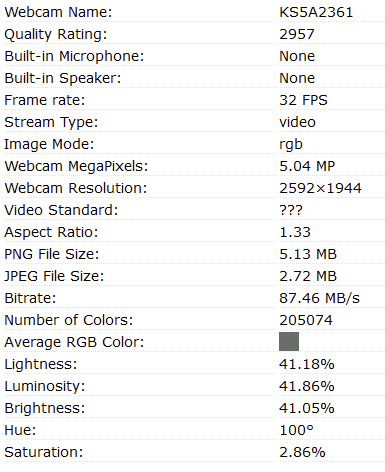
Model KS5A2361
Results from WebCamTests.com
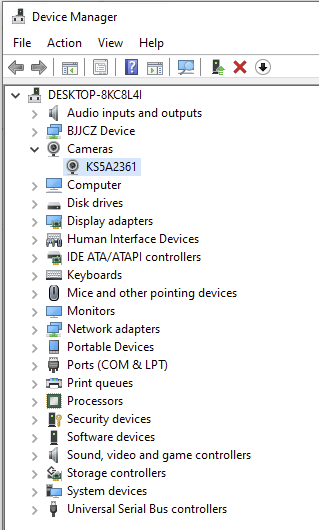
Windows Device Manager
How to Setup
Connect the Camera
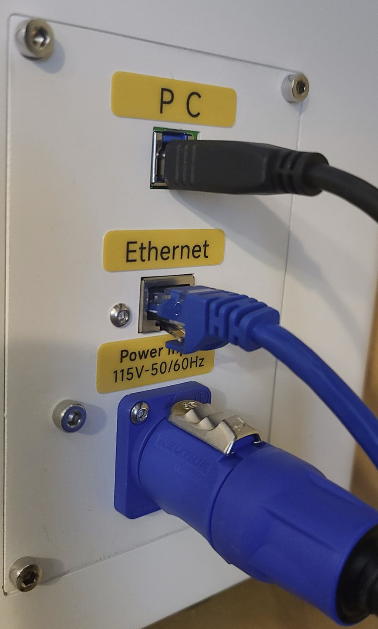
The camera is USB. Even if you are communicating with the Bolt through Ethernet, you must still run the USB connection from the Laser to the Computer.
The top connection with the black cable doubles as the Camera connection.
Import the Preset in Lightburn
- Select the KS5A2361 from the Camera Control Window dropdown menu
- Right Click on the camera preview and select "Import Camera Settings"
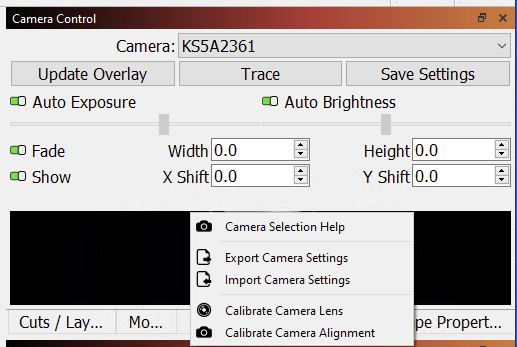
- Navigate to the preset.
The Preset File is located on the included USB stick:

- Select the Preset YourMachineSerial.lbcm and import into Lightburn
Notes about the Camera Usage
- Use with the Lid Down
- Use with Autofocus
- Lightburn will default to Absolute Coordinates when using the camera
Basic Camera Usage Steps
- Place your material
- Jog the laser head to the material and Autofocus the machine
- Jog the Laser Head to the Back Left corner out of the way
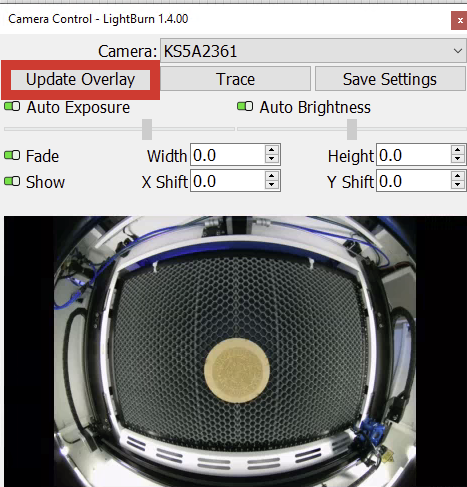
- Use the "Update Overlay" button in the Camera Control Window to snap a picture
- Place your Artwork
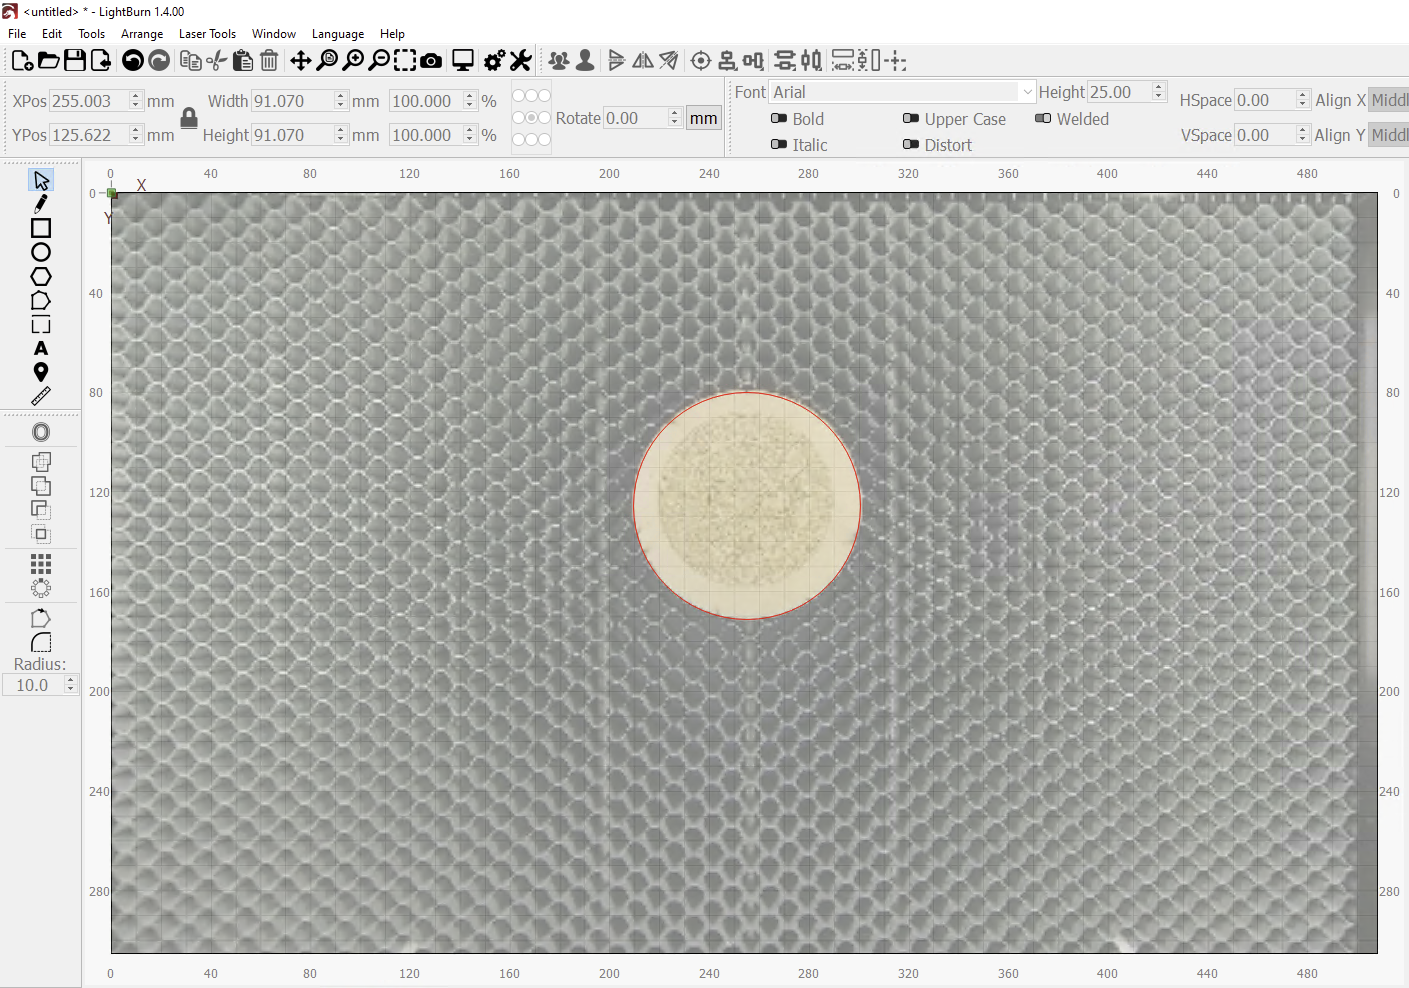
A sample Dot Calibration is attached, you can import it but you must still do a Calibrate Camera Alignment procedure
Downloads
Still stuck?
Fastest response times in the industry from our US-based support team.