
Tips and tricks for using the Job Origin and Start From in Lightburn with your Thunder Laser Nova, Odin and Bolt Series Laser
A complete guide to understanding Job Origin and Start From options in LightBurn, including the green square, machine origin, framing, and related alarms.
Preface: This article attempts to cover everything you need to know about Job Origin and the Start From options in Lightburn. There are many things that the Origin is affected by and the origin can affect other functions depending on how it is implet
Quick Start Videos
Basic Overview
Deeper Dive
Complete Guide
A Little Information about the Origin
A few things to note about Origin when setting up your project and workpiece, they are as follows:
The Green Square
Probably the most important part of the origin setup, the green square will be positioned and your artwork will be lasered based off its position. There are several options that the user can select that will modify where the green square shows up and how it is applied when running the job at the machine. Any changes to the the Origin setup in Lightburn should be sent to the machine and overwriting the old project file in order to take effect.
Machine Origin
The second most important part of the origin setup simply because it is not used in Absolute coordinate selections only relative types. This Origin is set on the machine by placing the red dot where you want the Green square to be placed in the machine when the job starts. This position is remembered by the machine and can be re-used from job to job. The User should set the appropriate Machine Origin for the material they are processing.
How to Check Where Your Machine Origin Is Set
The Frame
Tool Layers and Framing: Tool Layers only frame from the Frame button in Lightburn. When you send the job to the machine, the tool layer is accounted for on the Frames position but the outer bounds of the Tool layer may not be framed. You may notice a difference in the frames when comparing Lightburn to the Machine button and it is normal.
Framing from the machine or Lightburn will start from the Origin point and then draw the appropriate frame. Using the frame option is a good way to check if your Origin Setup is correct.
You can also frame from Lightburn, with two options:
Rectangular Frame
Commonly used option in Lightburn and what is used when you Frame at the Machine as well.
Rubber Band Frame
Not available on the machine but will give you a more exact framing option. You may notice that the motion is a bit more jerky, that is normal. The Rubber Band frame basically frames the high points and connects them with line segments. You can even use Lightburn to generate the Rubber Band path by selecting your artwork and then going to Arrange > Create rubber-band outline from selection.
More on Framing from the Lightburn Documentation.
| Absolute Coordinates | Top Left, User Origin |
|---|---|

Notice that the Green Square is "parked" in the top left of the Artboard in Lightburn. That will be the only position for the Green Square when in Absolute Coordinates. |
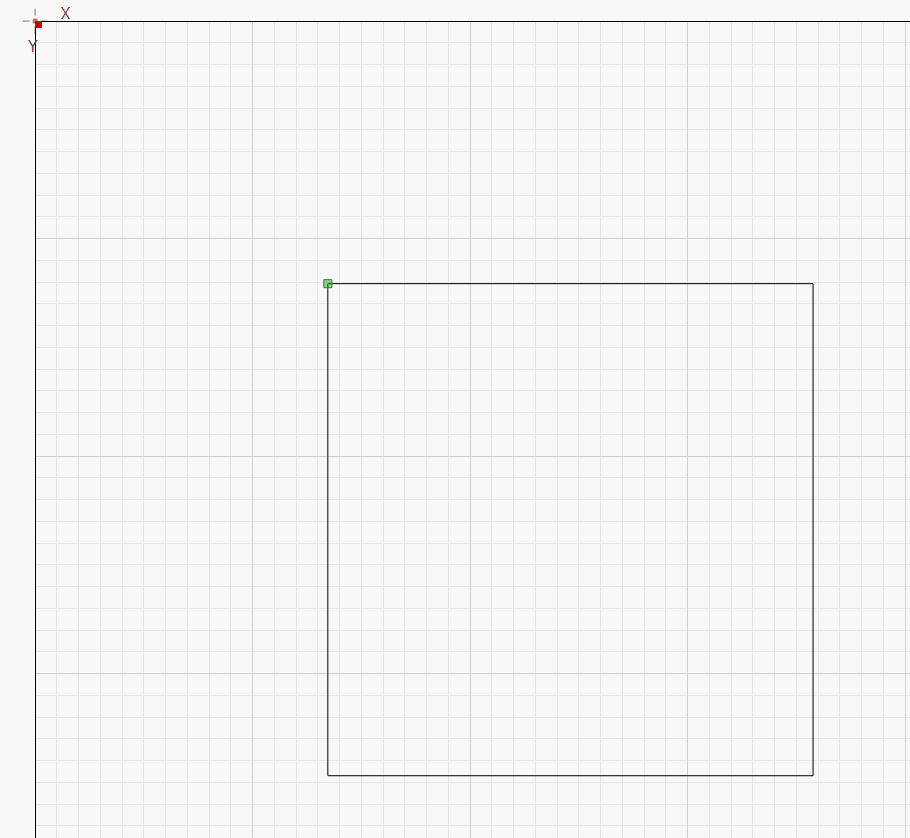
Notice that the Green Square is attached to the Top Left Corner of the drawn Square |
| Origin Button on Older Machines | Origin Button on Newer Touchscreen Machines |
|---|---|

|

|
| Use the ESC Button on Older Screen | In Lightburn |
|---|---|
|
Press the green ESC button from the home screen to send the head to the origin. 
(Note that you must have the Return Position machine setting set to Origin default) 
|

In Lightburn there is a button the the Laser control window to send the laser head to the current user Origin. |
| Frame Button on Older Machines | Frame Button on Newer Touchscreen Machines |
|---|---|

|

|
| Rectangular Frame Button | Frame in Action |
|---|---|

|
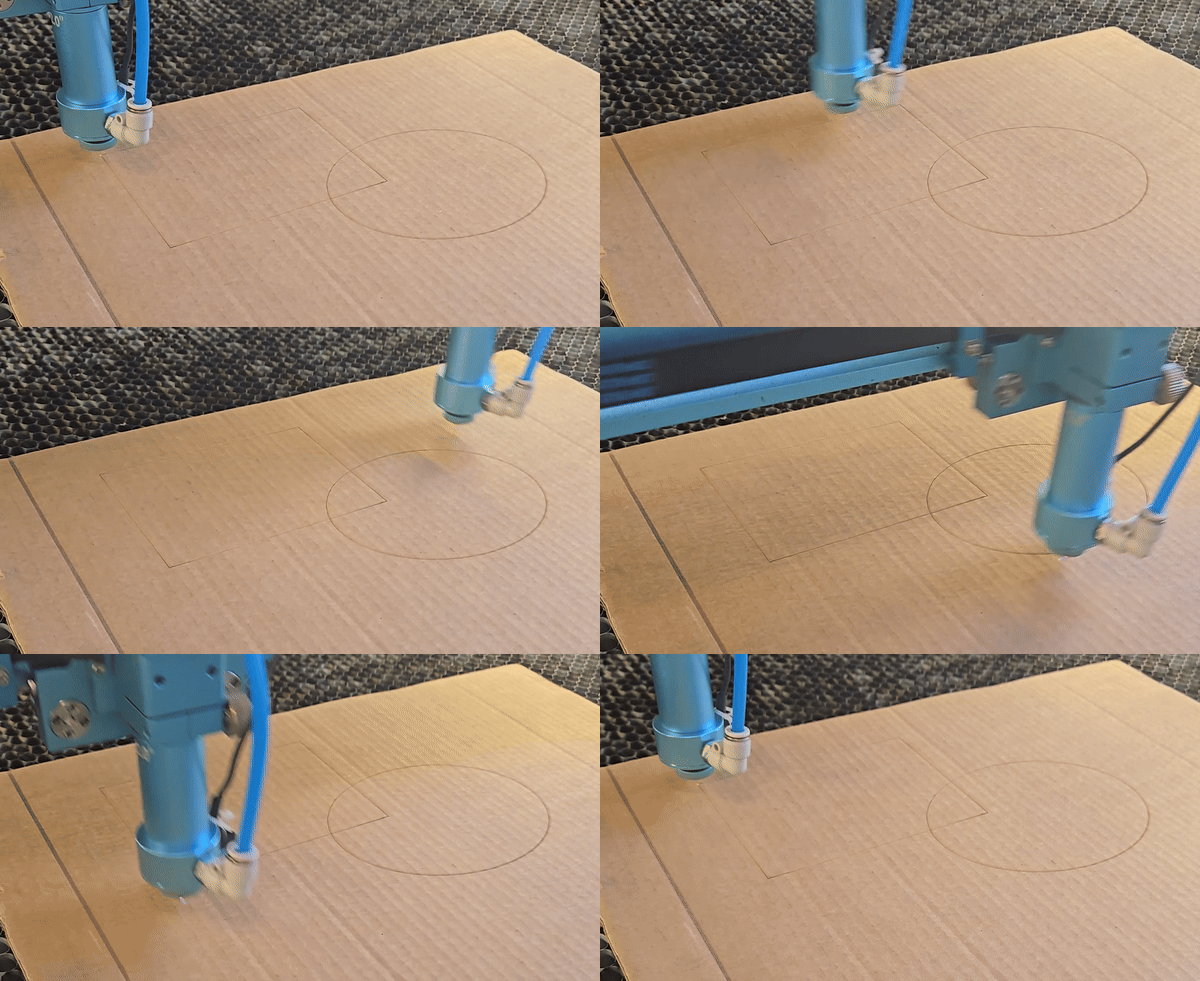
|
| Where to Select to Draw the Rubber Band Frame | Example |
|---|---|

|
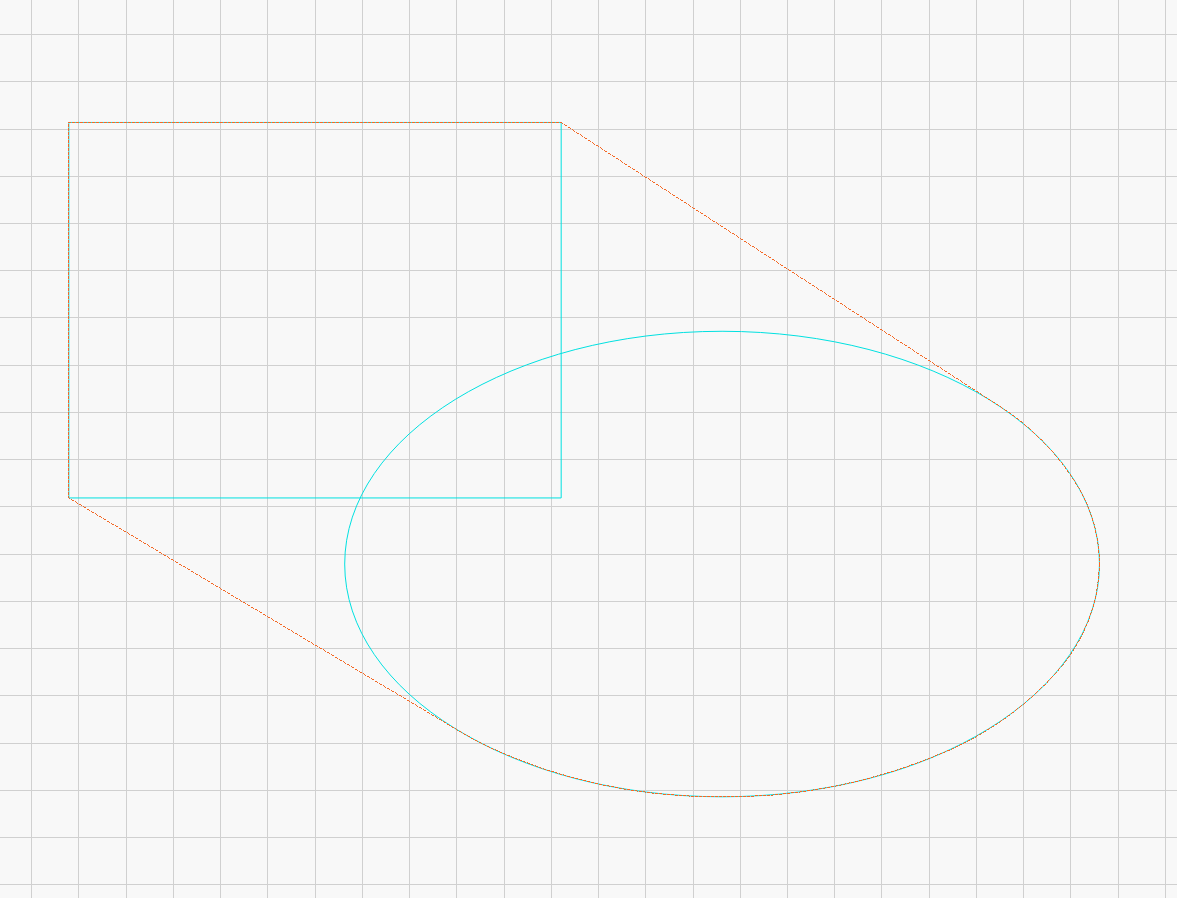
Blue Rectangle and Oval were selected, Orange T1 layer rubber band frame was created by Lightburn. That orange T1 layer is the path the head would Frame in when using the rubber band frame button from Lightburn. |
| Rubber Band Frame | Rubber Band Frame in Action |
|---|---|
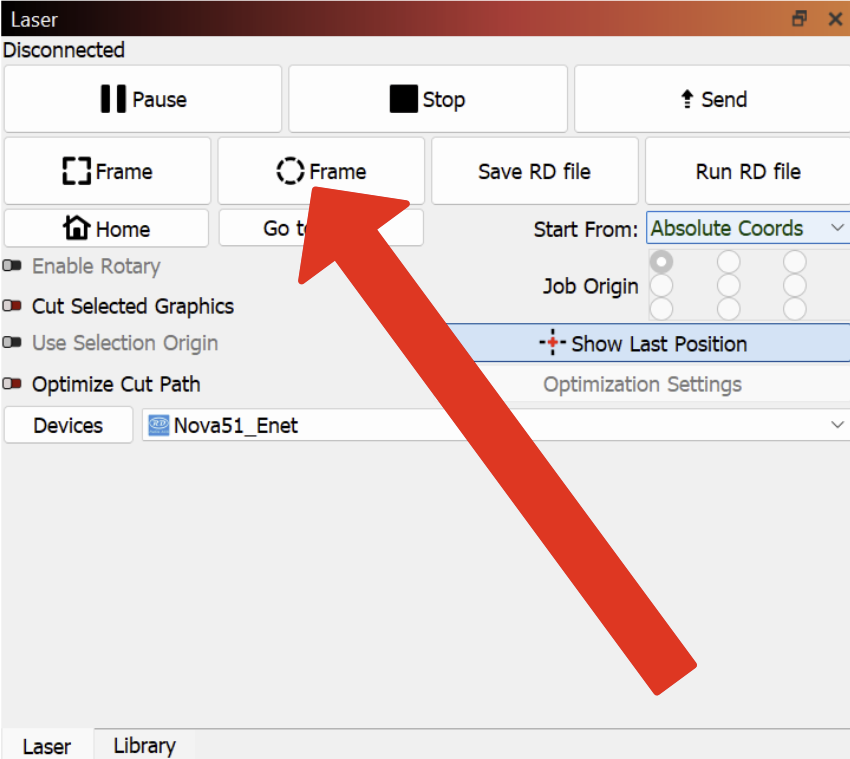
|

|
Things that Affect the Origin and Green Square
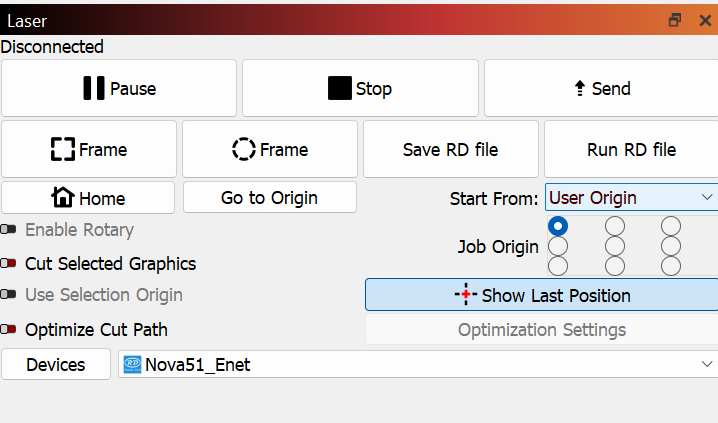
Start From - Circled in the red box in the picture above, is a dropdown selection between the options of Absolute, User Origin and Current Position.
Start From - Absolute - A non-relative type coordinate system. The Green Box will be in the 0,0 position in Lightburn and everything will cut and engrave in the position that it is drawn in the artboard space. All artwork that is to be cut/engraved must be within the confines of the artboard area else you will generate alarms for over traveling bounds or frames. The option for "Use Selection Origin" will not be available in Absolute coordinates. Absolute coordinates cannot be used with a rotary project.
Start From - User Origin: A relative type coordinate system, nothing is locked into cutting in the position it is drawn. At runtime, the Green Square will line up to the Machine Origin that the User sets. You can move the Machine Origin without having to re-send the project since the work to move the Green square to the Machine Origin is automatic and done at run time. Artwork can be off the artboard but still selected to cut/engrave as long as the total selection of artwork does not exceed the working limits of the machine. Works great for Rotary projects.
Start From - Current Position: A relative type coordinate system, nothing is locked into cutting in the position it is drawn. At runtime, the Green Square will line up to the current position of the laser head. Artwork can be off the artboard but still selected to cut/engrave as long as the total selection of artwork does not exceed the working limits of the machine. Thunder Laser USA does not recommend using Current Position. It does not rely on a save position and can sometimes track improperly.
Job Origin - Based on what is selected for the start from, a relative Job Origin may be allowed. It is one of the 9 relative positions shown in the blue box on the right in the picture above. The blue box is positioned based on the artwork that is drawn in Lightburn and the selections of "Cut Selected Graphics" and "Use Selection Origin".
Cut Selected Graphics - This option allows you to just select your specific graphics in a busy file that you want to cut and ignore the rest. You can confirm this with the Preview function as it will show what all plans to be cut/sent to the machine. Cut selected by itself does not affect the origin, only what is cut so be careful and pay close attention to the location of the Green Square. We will use a simple graphic of 1 row and 4 columns of numbers from 1 to 12. We have the file set up with a Start from - User Origin and a Job Origin Top Left point.
Use Selection Origin - When you have "Cut Selected Graphics" enabled and are using either Start From - User Origin or Start From - Current Position, you can also enable "Use Selection Origin". When enabled, the relative origin marker (the green square) will adjust based on the selected graphics instead of the entirety of what is drawn in Lightburn.
Be sure to watch the location of the green square, see the differences below. This file is set up with Start From - User Origin with a Job Origin - Top Left point with Cut Selected Graphics enabled.
Tool Layers - These special layers, T1 orange and T2 blue, can be used to set up jigs and special frames/origins using drawn shapes in the project file. They can help create a common origin point even as you cut different objects out of the material that wouldn't normally have a common origin. The tool layers can be set to "Frame" in the Cuts/Layers window. When set to frame, the Tool Layers will also be used as part of the Green Square positioning when in a relative coordinate Start From.
Tool Layer used as frame, note the position of Green Square:
Tool Layer not used as frame, note the position of the Green Square:
| Absolute Coords - Disables Job Origin | User Origin/Current Position - Enables Job Origin |
|---|---|

|

|
| Basic Graphics | File Set Up |
|---|---|

|
|
| Preview with "Cut Selected Graphics" disabled | Preview with "Cut Selected Graphics Enabled" and selecting 6, 7, 8, 10, 11 and 12 |
|---|---|

All graphics in the file are cut |

Only the selected graphics will be cut |
| Use Selection Origin Disabled | Use Selection Origin Enabled |
|---|---|

|

|
| With "Use Selection Origin" Disabled | With "Use Selection Origin" Enabled |
|---|---|

Notice how the Green Square is by the 1 even though the 1 is not selected to be cut |

Notice how the Green Square is by the 6, the option to "Use Selection Origin" is enabled, so the row and column with the 1 in it are being ignored |
| Cuts/Layers | Green Square |
|---|---|

|

Note how the green square is on the Top Left of the Orange T1 graphic |
| Cuts/Layers | Green Square |
|---|---|

|

Note how the green square is not on the Top Left of the Orange T1 graphic since the Frame option was disabled for the T1 layer in the Cuts/Layers window |
Alarms for When the Origin Has Setup Issues
Frame Slop - Common when you have the Job Origin set to the wrong point in Lightburn (Find your green Square, check the preview) or you did not set the Origin point on the machine correctly. The machine is basically telling you that if it frames the file with how the set up is currently, it will exceed the machines physical travel limits and likely crash. Always hit ESC/Cancel when this alarm occurs.
Not Enough Extend Space - You are trying to engrave and there is not enough room on the left or right side to speed up and slow down. You need to move the machine Origin closer to center, Slow Down the engrave layer or check that you have your Job Origin set properly in the Lightburn Project. If the error was in the Job origin, be sure to correct and re-send and overwrite the old file on the machine.