
Preface: This article covers connecting your computer to the Thunder Laser Mars, Mini, Nova, Odin and Bolt with Lightburn and USB for Windows. If you have a MAC, it is strongly suggested to use an Ethernet connection, see here: Connecting A Thunder Laser To LightBurn Via Ethernet with a MAC. This article is not applicable to the Titan series.
Keep in mind, if you are using a USB to ethernet adapter, this guide is not the guide for you since you are technically connecting to the machine with the Ethernet connection and not the USB FTDI connection.
Quick Start Guide
Complete Guide
This guide will cover how to make sure the FTDI driver is installed on your computer, plugging the cable into the proper ports and how to configure Lightburn to talk to the laser over a usb connection.
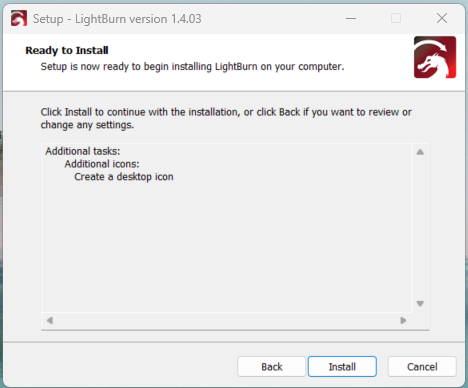
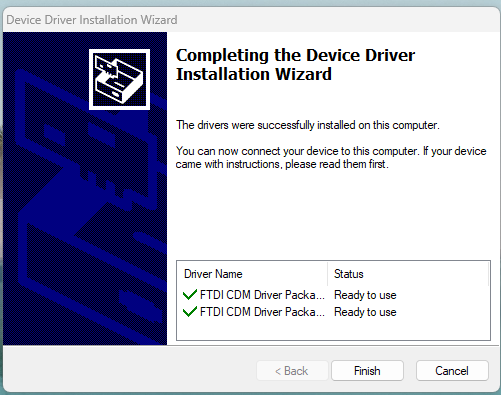
1. Install the FTDI Driver Using Lightburn Installer
You can re-run through the Lightburn installer to get back to the prompt to install the FTDI driver. You do not need to uninstall Lightburn to be able to install the FTDI driver. Locate where you saved the Lightburn installer .exe file (usually in your downloads) and re-run it.
| 1. Run the Lightburn Installer | 2. Install Lightburn | 3. Check the Box to Install the FTDI Driver |
|---|---|---|
 |
 |
 |
| 4. Extract the driver | 5. Click NEXT to install the driver | 6. Accept the Agreement and Click Next |
|---|---|---|
 |
 |
 |
| Success. Go to the next step |
|---|
 |
2. Connect Cable to Machine and Computer
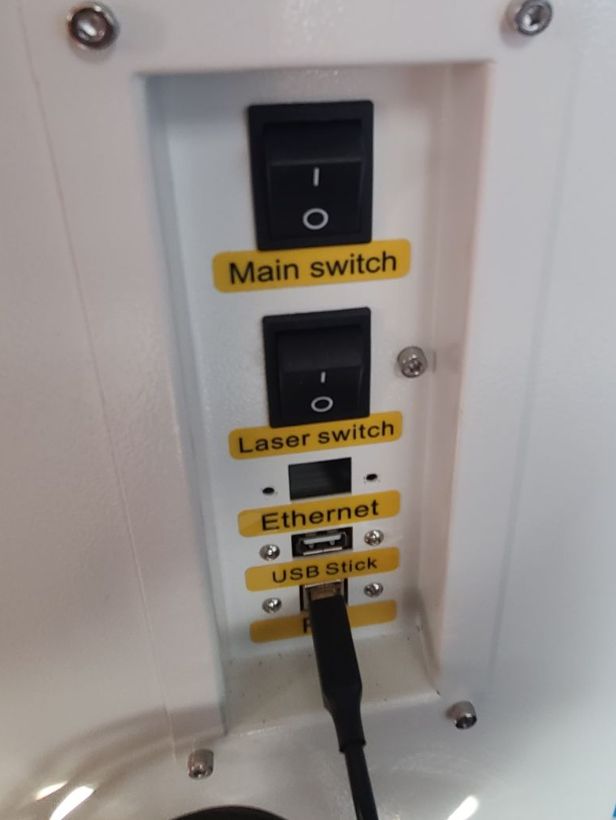
Take note that your USB cable must be connected to the machine's port labeled PC and will be of the USB Type A connection.
| Bolt USB | Nova USB | Odin USB |
|---|---|---|
 |
 |
 |
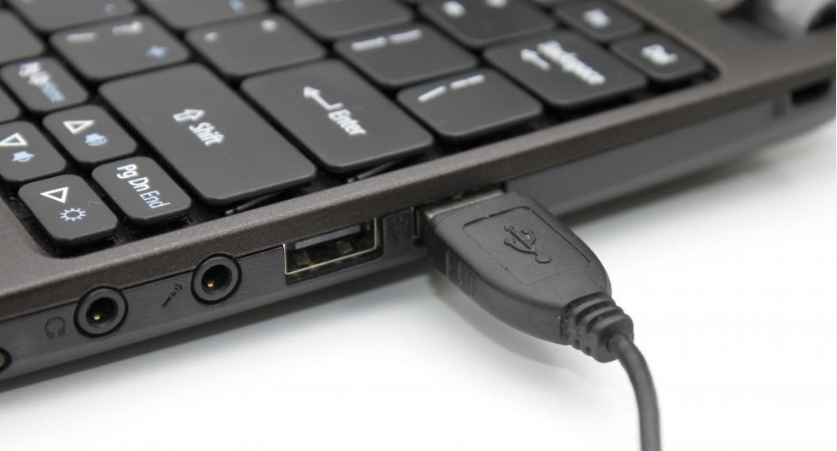
| Plug USB Cable into Computer |
|---|
 |
3. Confirm Driver and Device Connection
Optional step, but recommended. If you have trouble connecting later, be sure to check this.
Open up the Windows Device Manager by typing that into the start bar. Go to the Ports section and expand it out. You should see a USB Serial Port for your machine.

4. Configure Lightburn
| 1. Create a Device | 2. Used Find My Laser | 3. Click Next, let it scan |
|---|---|---|
 |
 |

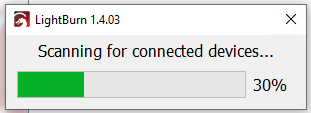
|
| 4. Pick the Packet/USB Device | 5. Name the Device and confirm the Dimensions | 6. Select\confirm Rear Left |
|---|---|---|
 |
 |
 |
| 7. Summary Page |
|---|
 |
Laser Should Show "Ready"

If it shows "Disconnected", then Right Click on the "Devices" Button to trigger Lightburn to look for the Controller.
If it shows "Ready" but you still get file transfer issues, please see the guidance below, in the Troubleshooting section.
Troubleshooting
If you have multiple versions of "USB Serial Port (COM#) in your device manager, you may not be able to use the Auto port selection in Lightburn. You may have to manually select the Com# or Unique ID that is assigned to your Laser in the Windows Device Manager / Lightburn Find My Laser prompts. Even better, would be to swap to ethernet and unplug the USB-B communication from the Thunder Laser so that you do not interfere with your other similar devices or other lasers.
For this troubleshooting example, we will be using the Windows Device manager and the "Find My Laser" tools in Lightburn that you used up above during the initial set up.
| Com Ports Numbering | Find My Laser Window |
|---|---|

Pulling up the Windows Device Manager and then checking what is under "Prots (COM & LPT) yields that I have COM4 and COM25. One is definitely a Thunder Laser, the other could be (And it is in this example, but doesn't have to be). |
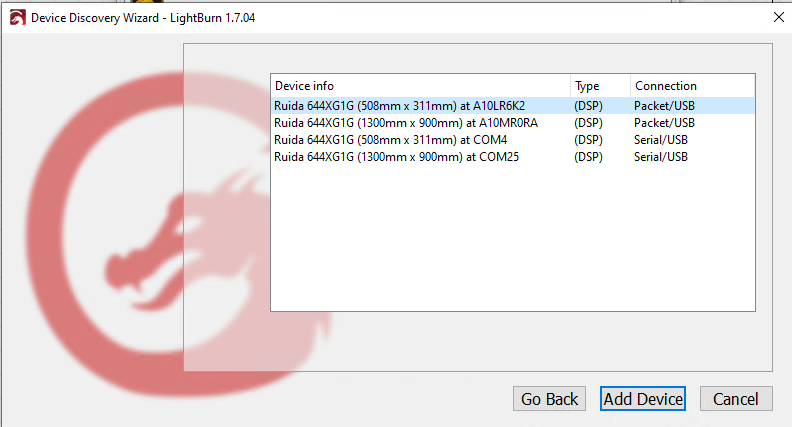
Using "Find My Laser" in Lightburn, the results show 4 total instances for lasers to connect to (2 types of connections per laser, 2 lasers) and lists them out by a COM# and what looks to be a unique ID for the Packet/USB connection type. This is a Bolt and a Nova 51, you can tell by the sizes of the beds. If the second USB Serial Port device was not a Laser, it would likely not show up here or may show up a GRBL type device. |
So since there are multiple devices that may try to communicate with Lightburn, we need to be diligent and tell Lightburn explicitly which device we want to connect to.
| Auto Selected for USB Device | Auto Options |
|---|---|
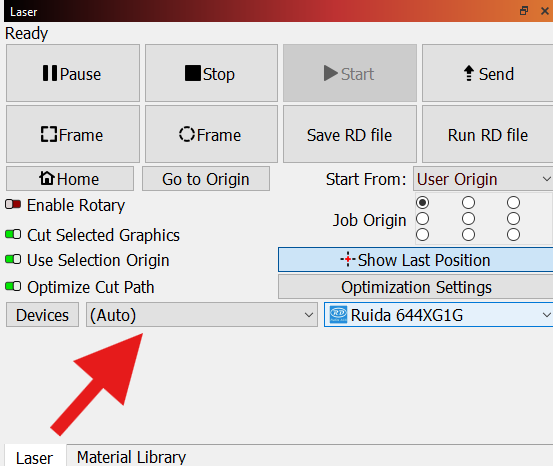
Typically we just let Lightburn sort out the connection and leave the (AUTO) setting active |

But...since the NOVA 51 has a Higher Numbered COM port it may be at the bottom of the list and not get selected, especially if the first device is actually a Laser that is compatible |
But in this case since we have multiple Com ports available so we should manually pick the correct one and test communication.
| With Com4 Selected for this Nova 51 Example | With COM25 Selected for this Nova 51 Example |
|---|---|

Notice how I can manually select COM4 for the Nova 51 which is INCORRECT but it will still communicate, read files, send files etc. AUTO will do the same thing. And if the device is NOT a Ruida Controller, you will get file transfer errors, unable to use the move button, read files etc. |
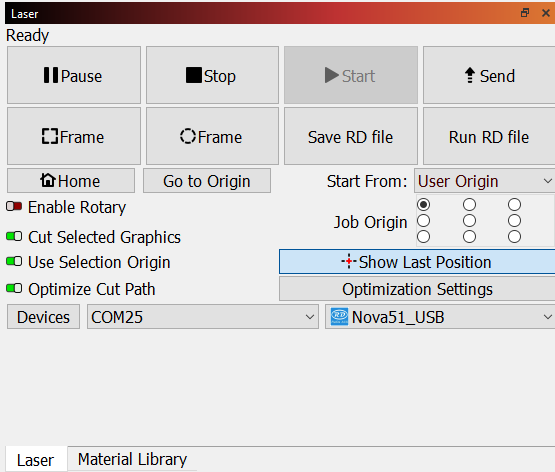
COM25 is the correct choice for this machine and everything should perform as expected. |
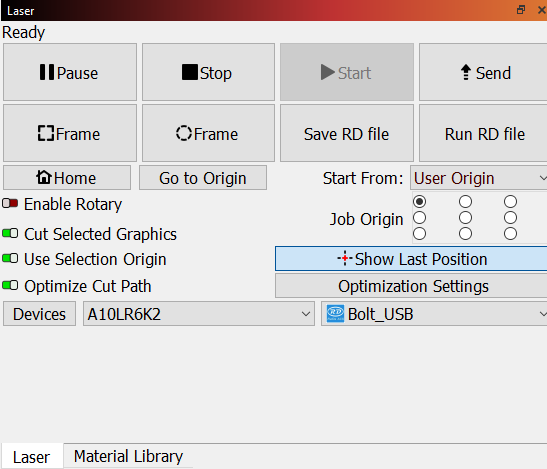
If you used the Packet/USB connection, you will need to select the ID that matches the Device Profile that you have selected.
| Bolt with its Unique ID Selected | Nova 51 with its unique ID Selected |
|---|---|
 |
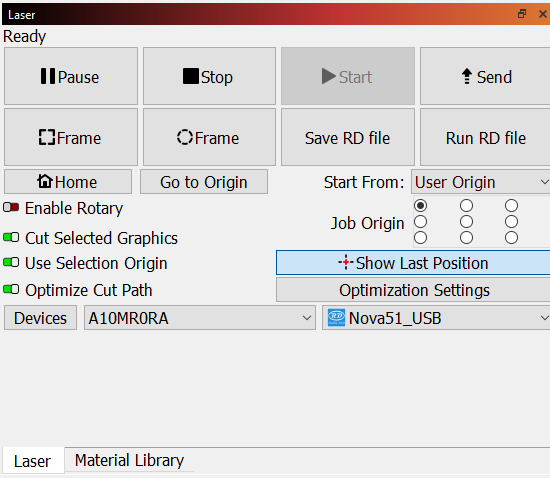 |
As you can see, this can be a bit tedious, and you will likely mistake one day and send the project file to the wrong machine or experience communication issues. Thunder Laser USA suggest swapping over to Ethernet and unplugging the USB-B Communication cable from your Ruida Controller in your laser.
Additional Resources
- FTDI Drivers (external link)
- LightBurn Software
Still stuck?
No bots, no runaround. Talk to a U.S.-based laser tech who knows your machine inside out.