
Thunder Laser Bolt and Odin X and Y Driver Replacement or Swap
Step-by-step guide to uninstalling, replacing, or swapping the X and Y axis drivers on Thunder Laser Bolt and Odin series machines, including dip switch settings.
Preface: This article covers how to uninstall and install a driver for the Bolt and Odin series machines. The information here can also be used to swap the X and Y driver with each other for troubleshooting.
Depending on the vintage of your bolt, the driver may be an open case Oriental Motor or a silver'ish box Leadshine. Pay attention to the dip switch settings. Everything else in the process is the same.
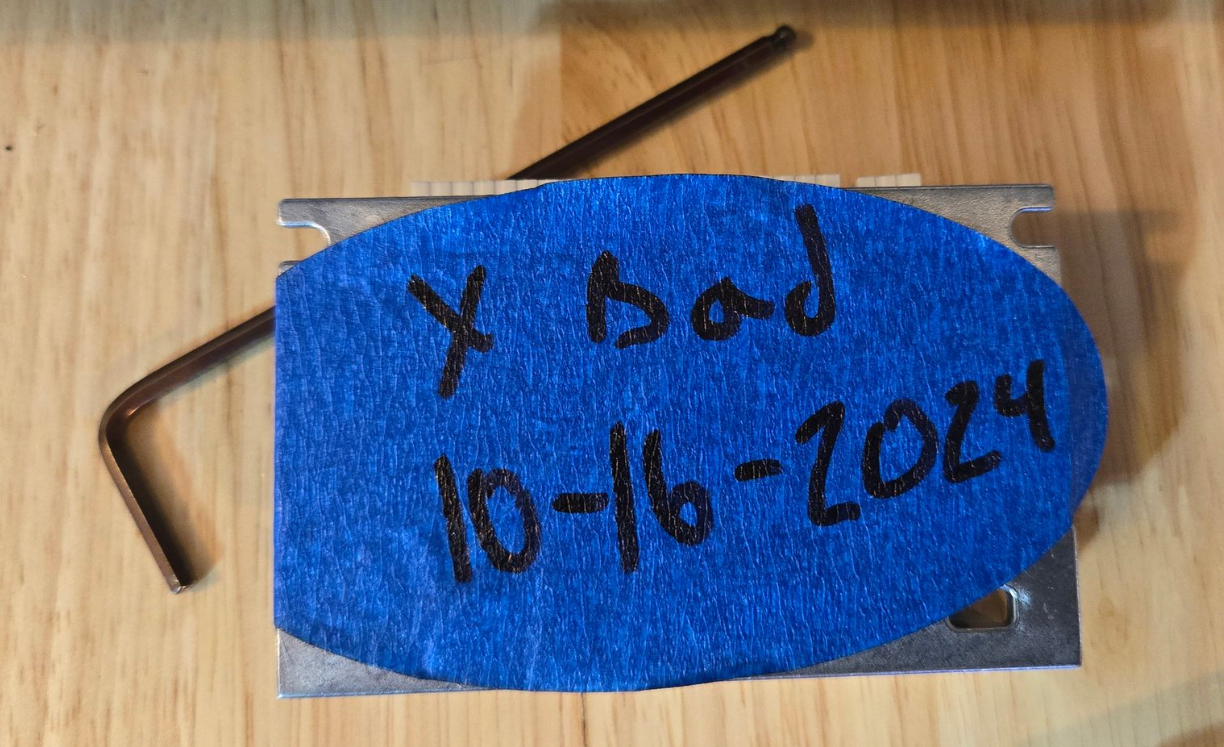
This guide can be used to replace a driver or to even swap the X and Y driver with each other for troubleshooting. The most important part will be making sure the driver you are installing is configured for the location you are installing it. The dip switches and rotary switch settings are listed below, but it is best to take pictures of your existing driver settings and to mark each driver as X or Y, good or bad using painters tape or similar.
Warning: The machine should be powered off and disconnected from the main power source prior to starting this work.
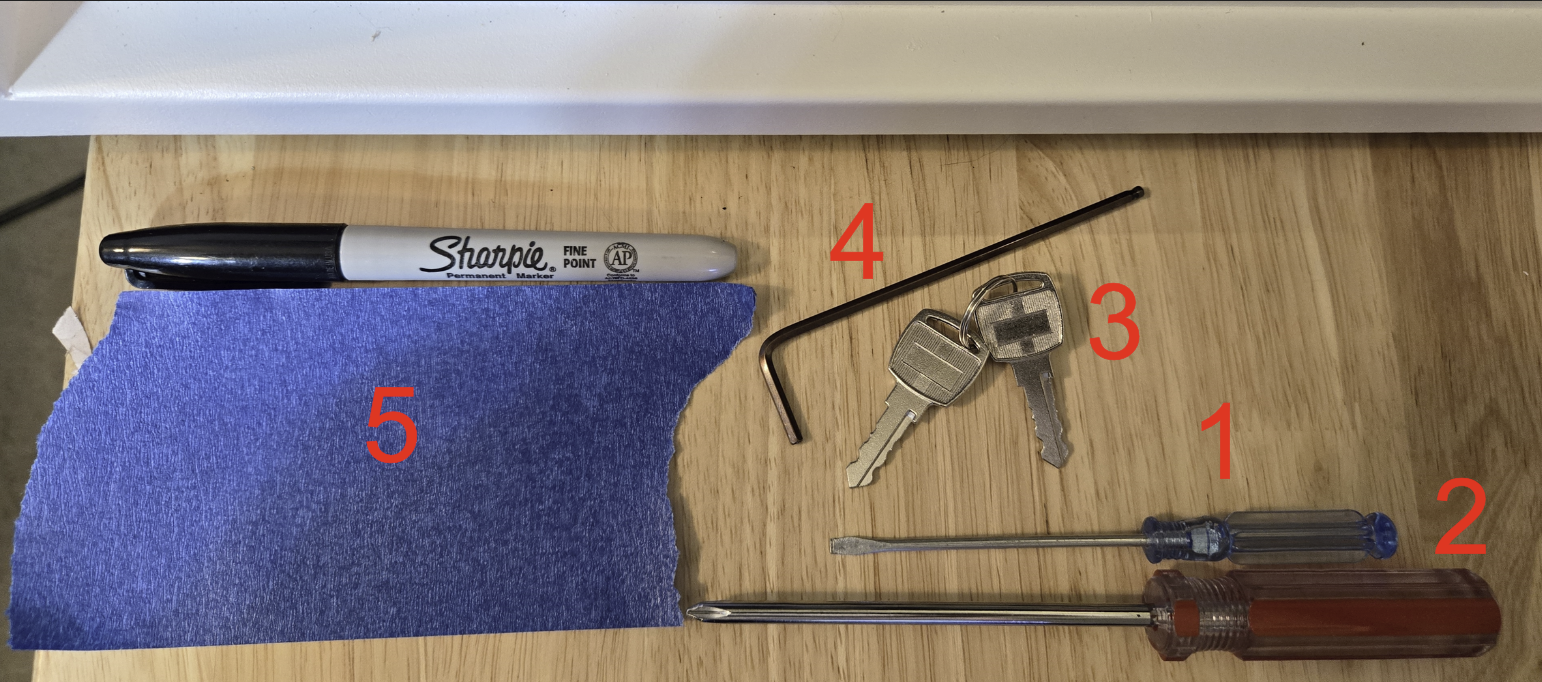
Depending on which machine or vintage of machine, there may be a need for a key for the door or even unbolting the door from the inside. Here is a list of suggested tools to have on hand before beginning:
| Tool List | Reference Image |
|---|---|
|
1. Small Flat Head Screwdriver 2. Phillips Head Screw Driver 3. Door Key (If Applicable) 4. 3mm Allen Wrench (If Applicable) 5. Painters Tape and Sharpie |
|
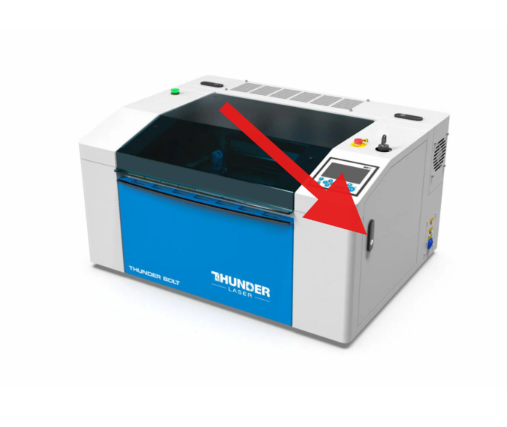
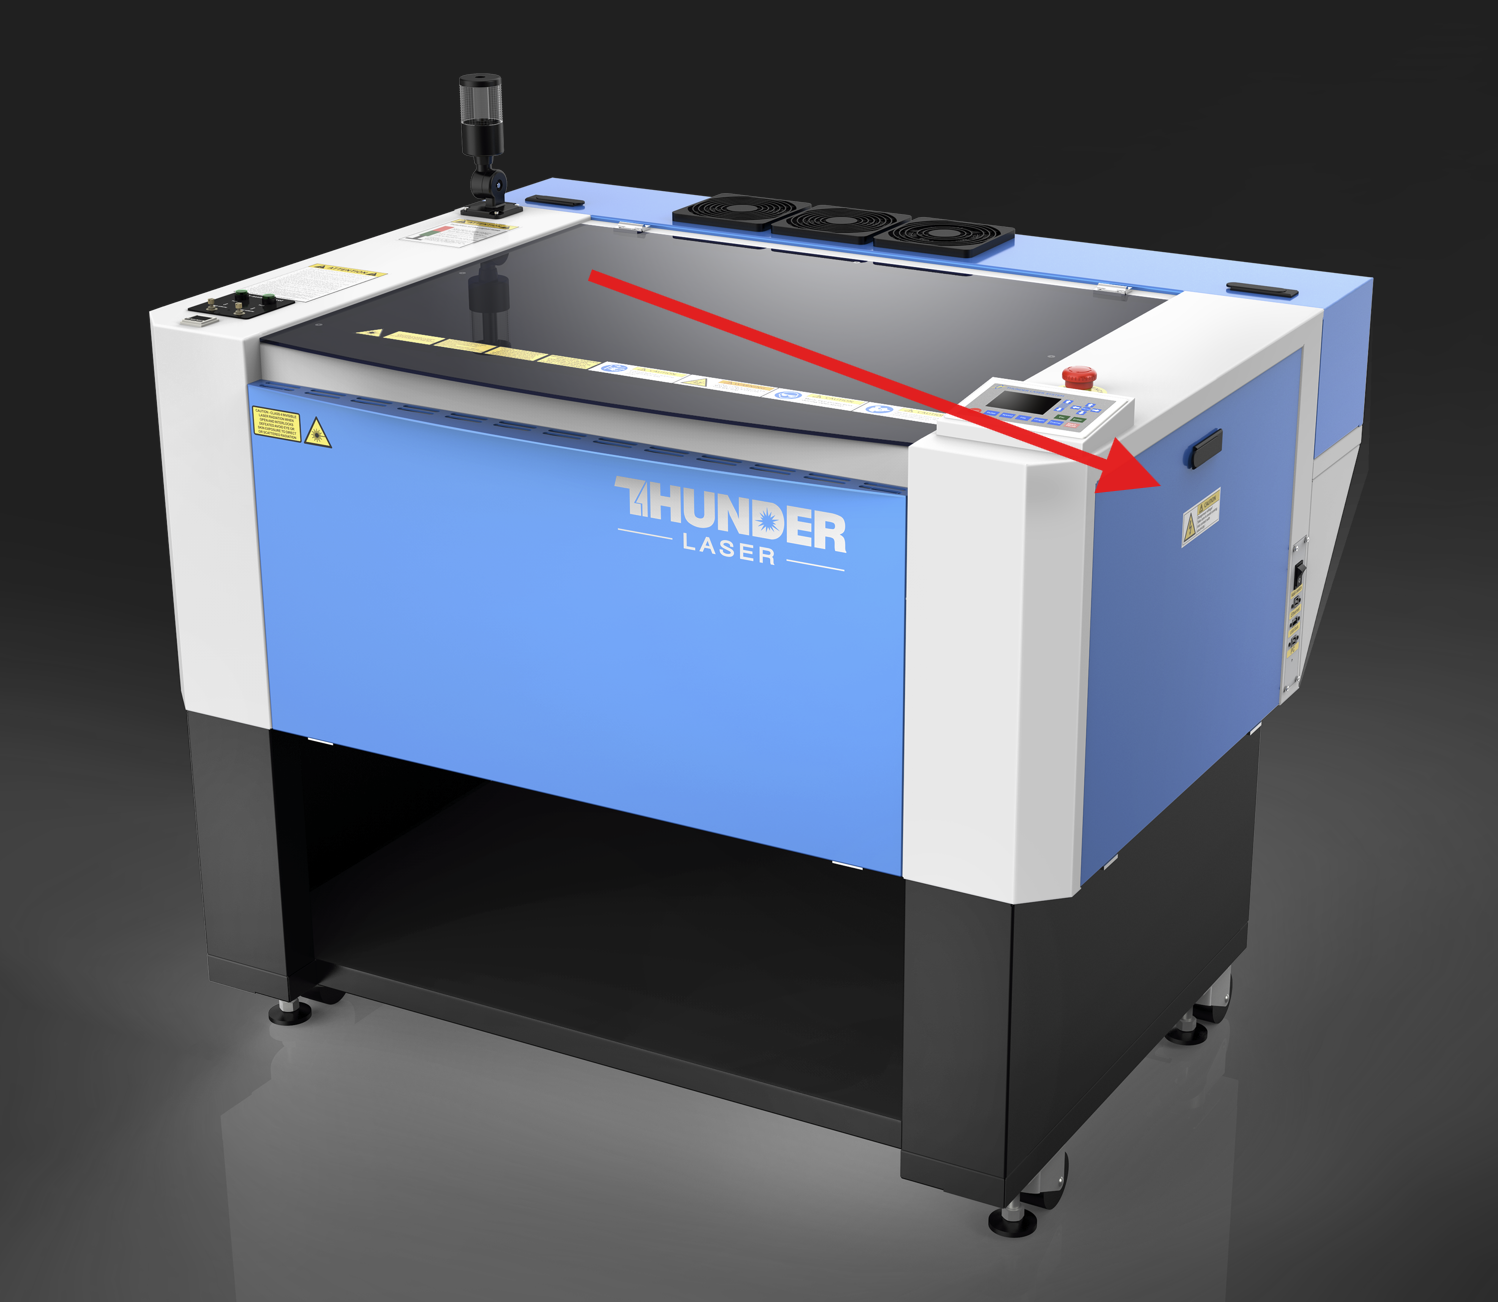
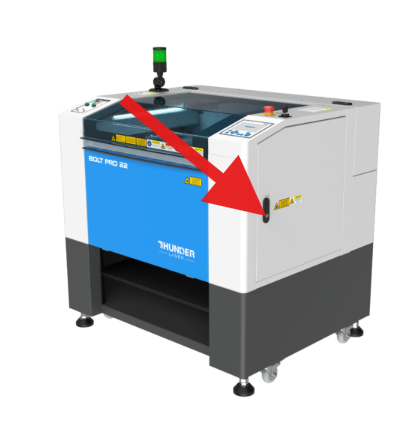
The drivers should be on the right hand side of the machine for both the Bolt and Odin Series. You will need to open the door which may require unbolting from the inside or unlocking the door lock lever and then lifting the lever and rotating the lever 90 degrees.
Locate the corresponding door
| Bolt and Bolt Plus | Odin Series | Bolt Pro |
|---|---|---|
 |
 |
 |
Things to know about opening the door
| Unbolt if needed | Unlock if needed | Lift and Turn Latch |
|---|---|---|
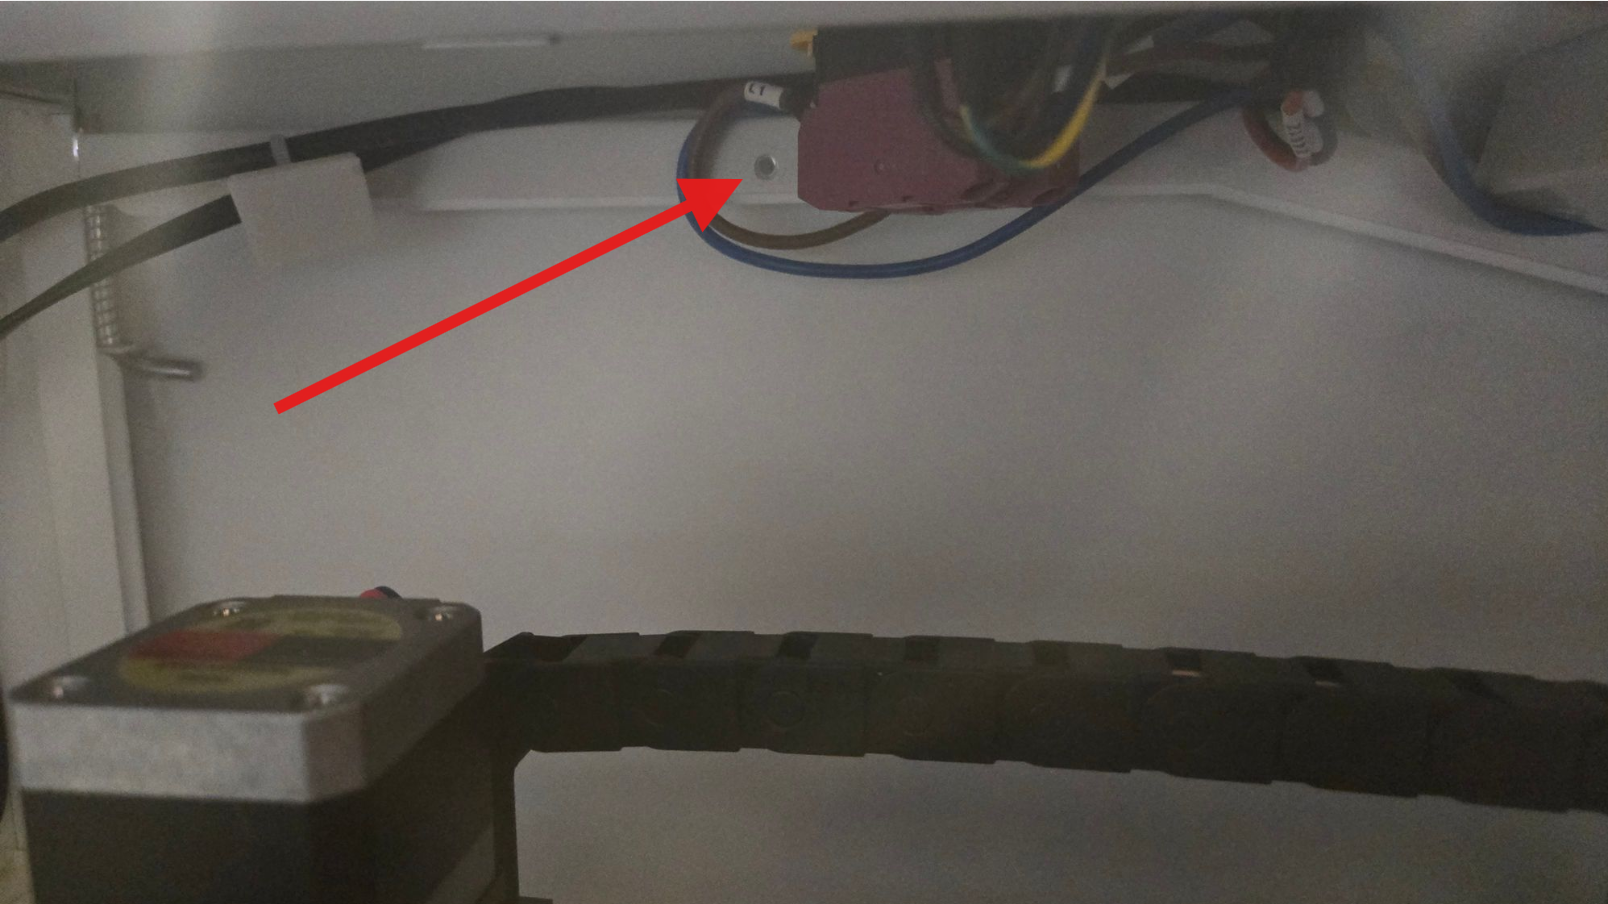
Depending on the model there may be 2 bolts holding the door closed. Reinstall once the work is complete. |
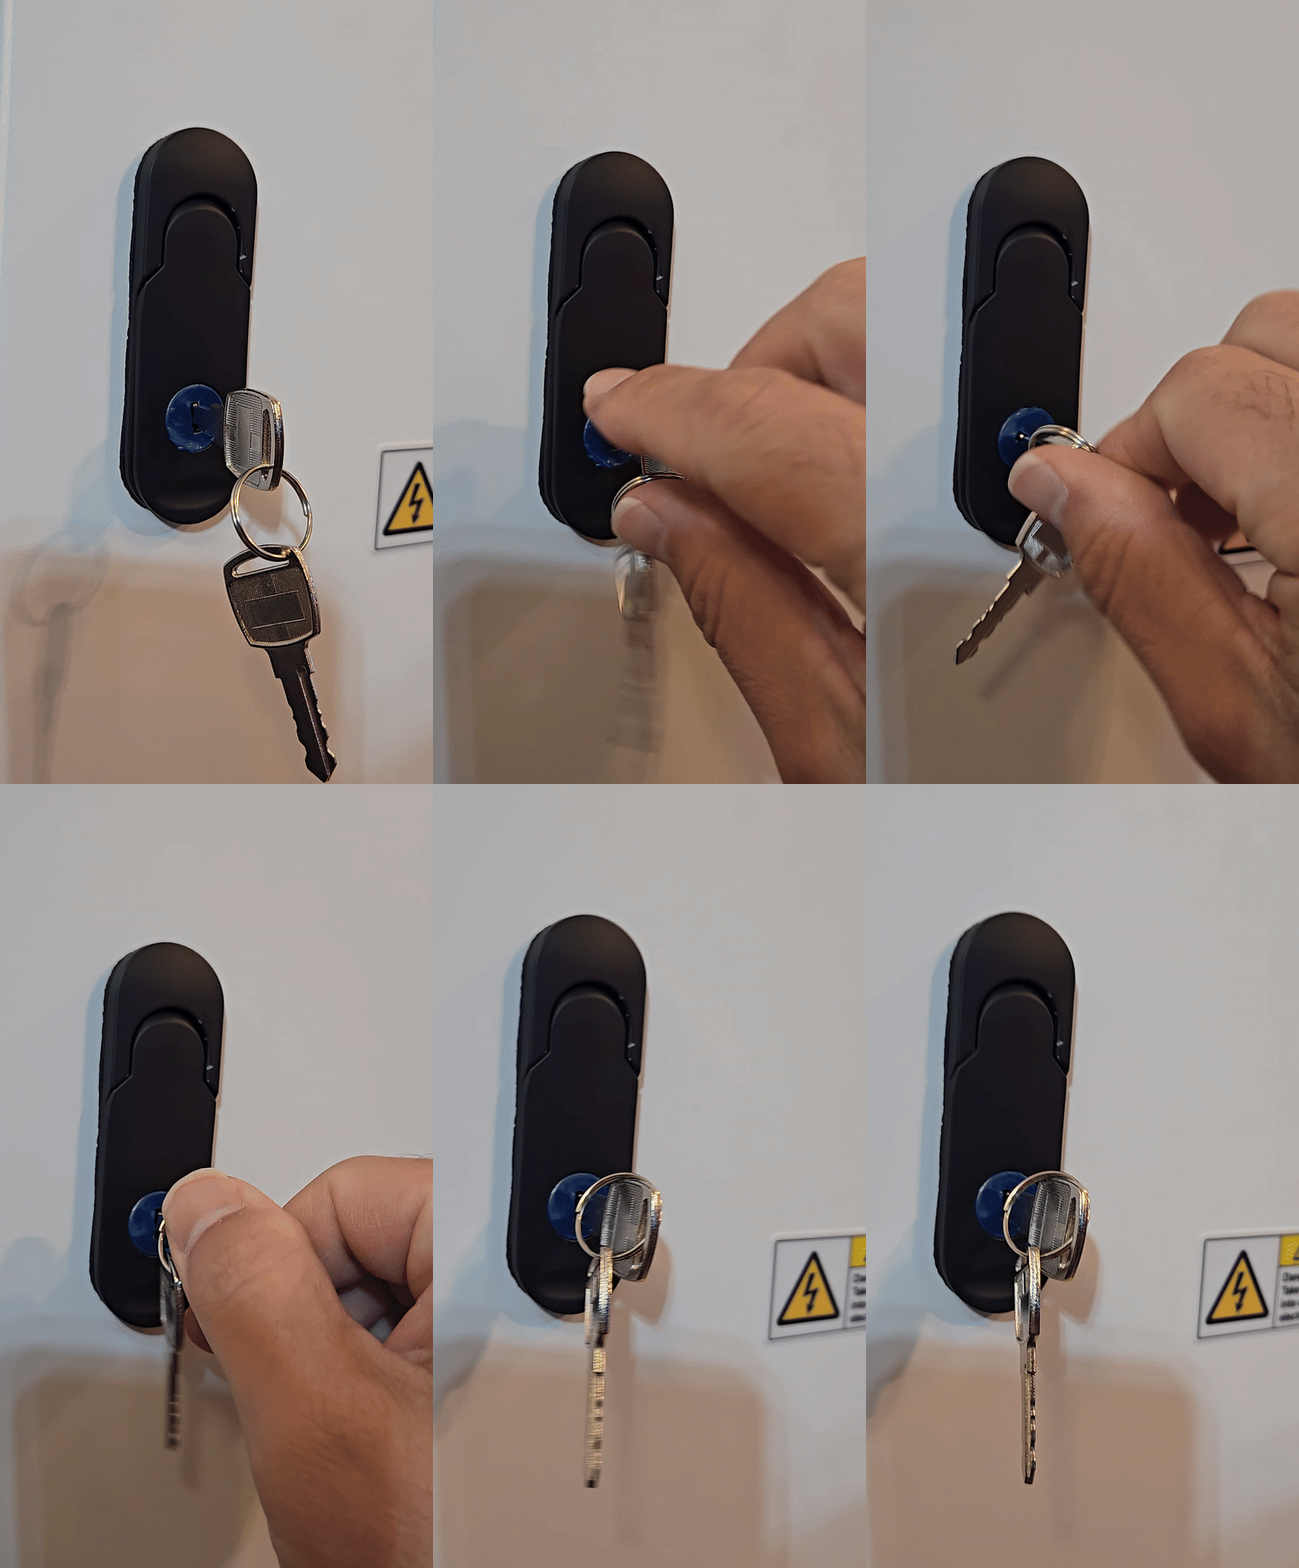 |
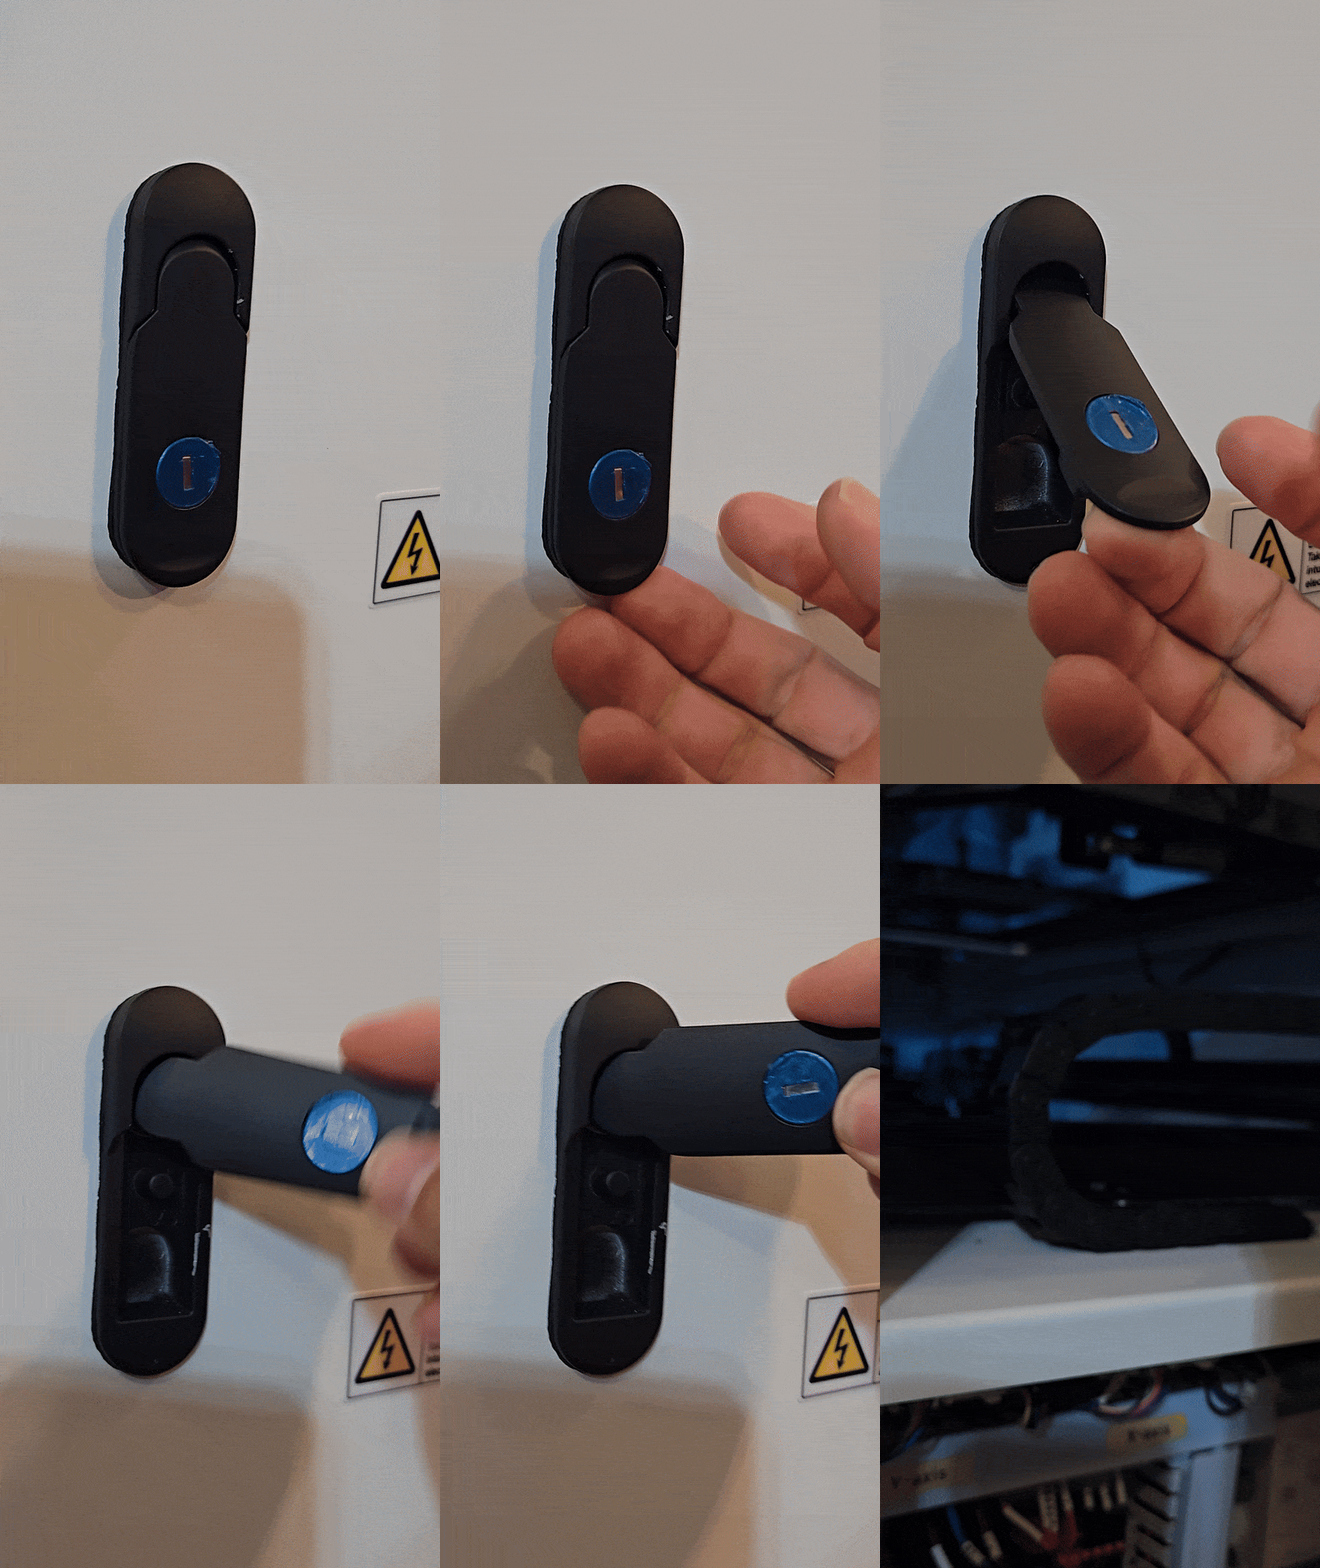 |
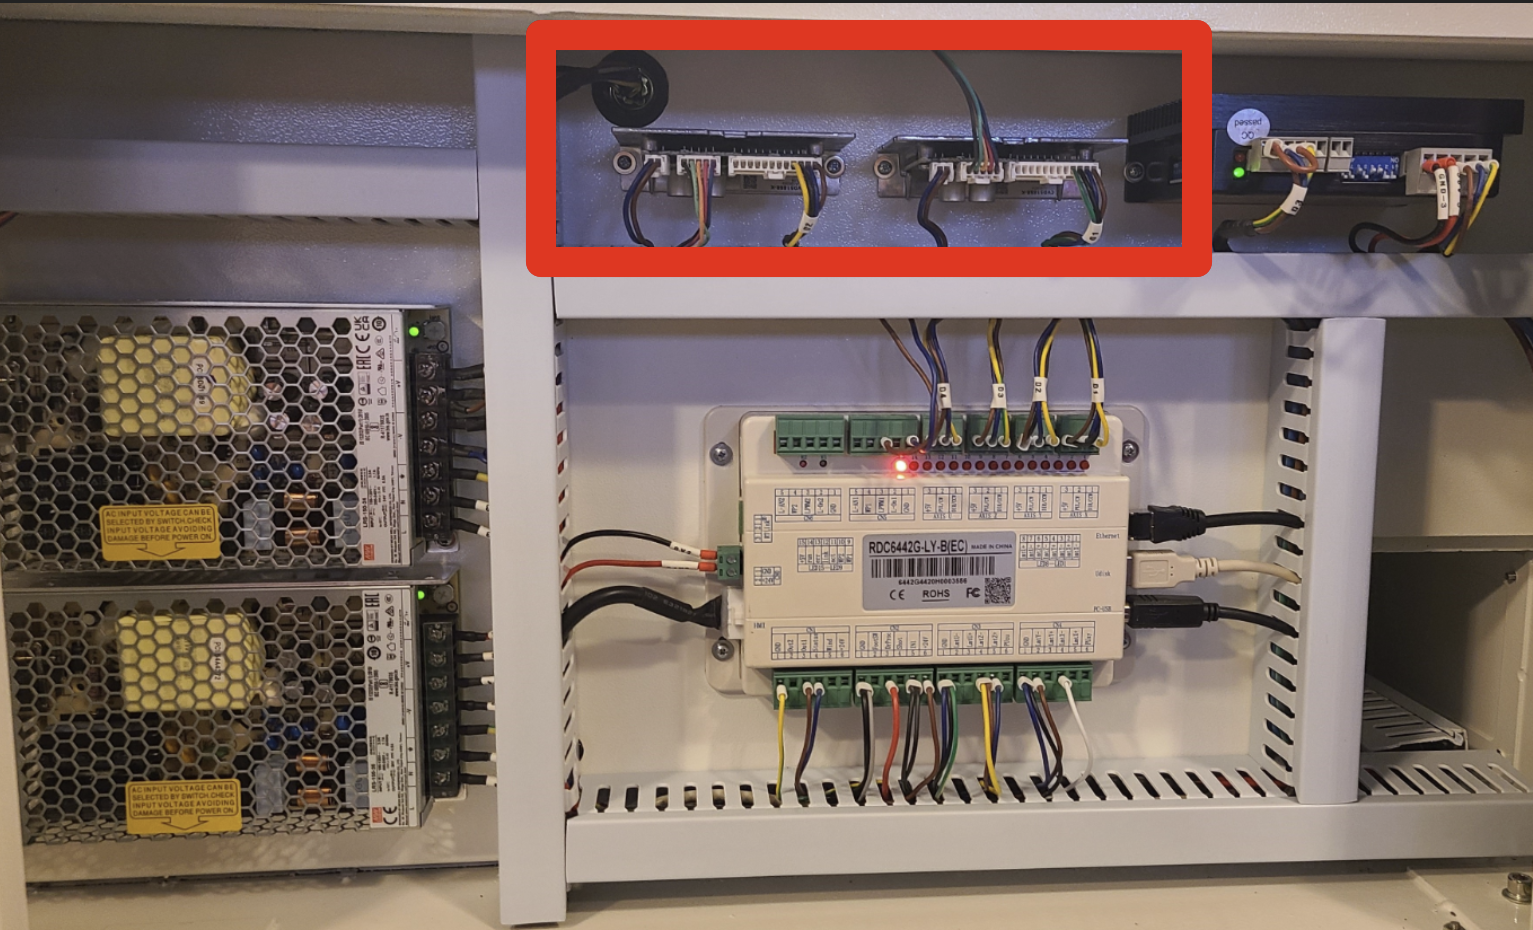
The X driver is generally on the right and will have a cable marked D1 going to it and the Y Driver will be on the left with a D2 cable going to it. There may also be yellow stickers indicating which driver is X or Y.
Here are some examples
| Bolt | Odin |
|---|---|
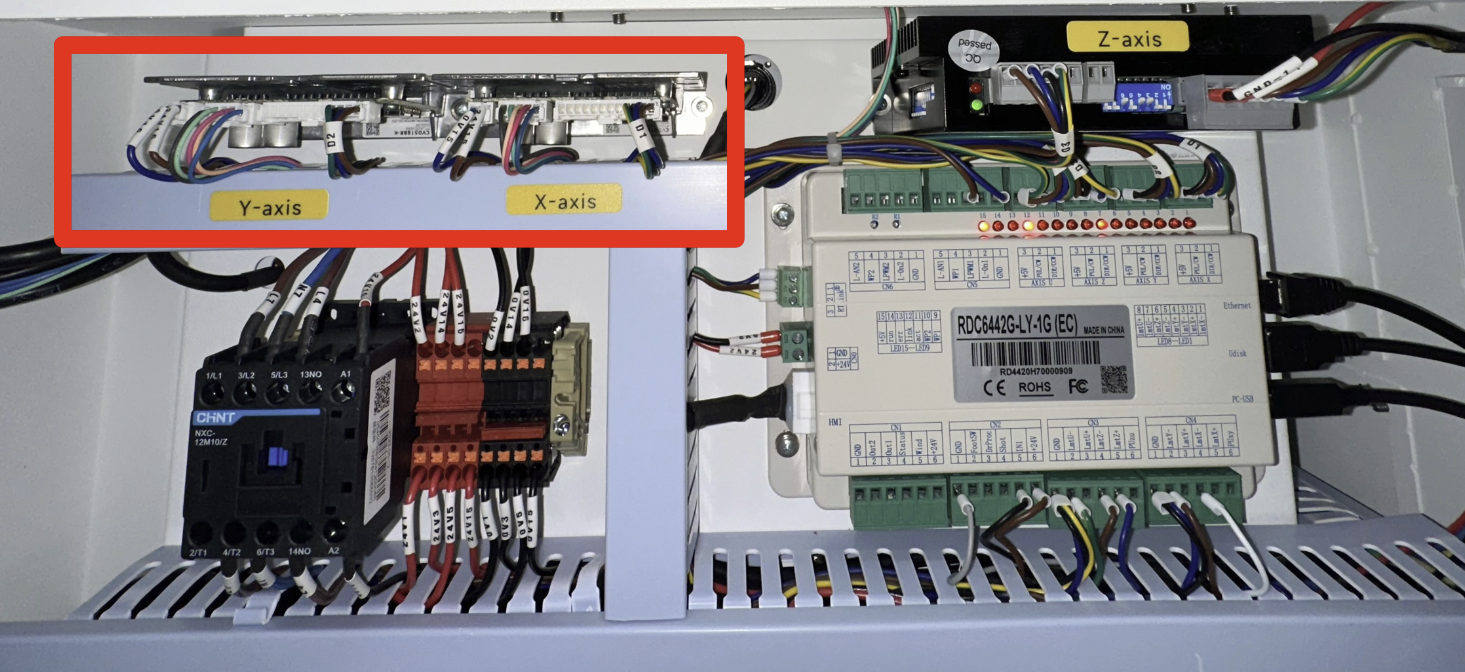 |
 |
Ok, now that you have found the drivers, they can be uninstalled, replaced and swapped.
The basic steps to uninstall are to power off the machine and disconnect it from the power source, unplug the connections on the driver, unbolt the driver from the machine and remove.
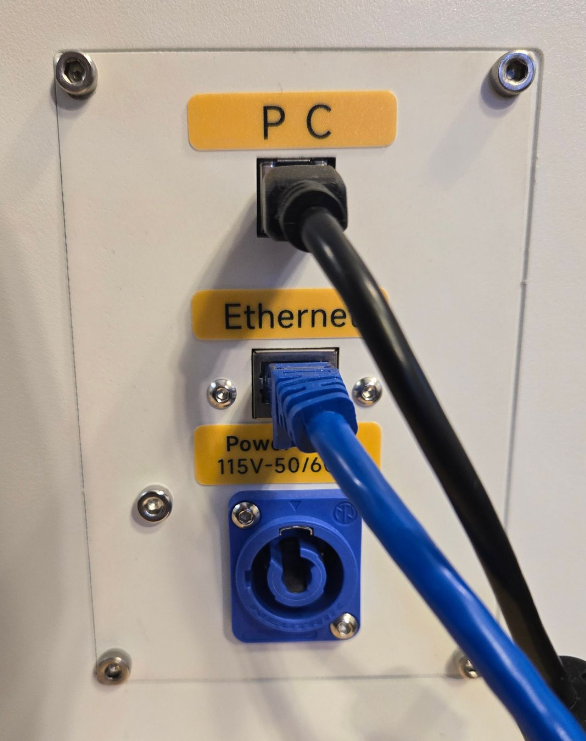
Make sure the machine is disconnected from the main power source by removing the blue power plug from the machine or unplugging at the wall:
Unplug the Driver Connectors
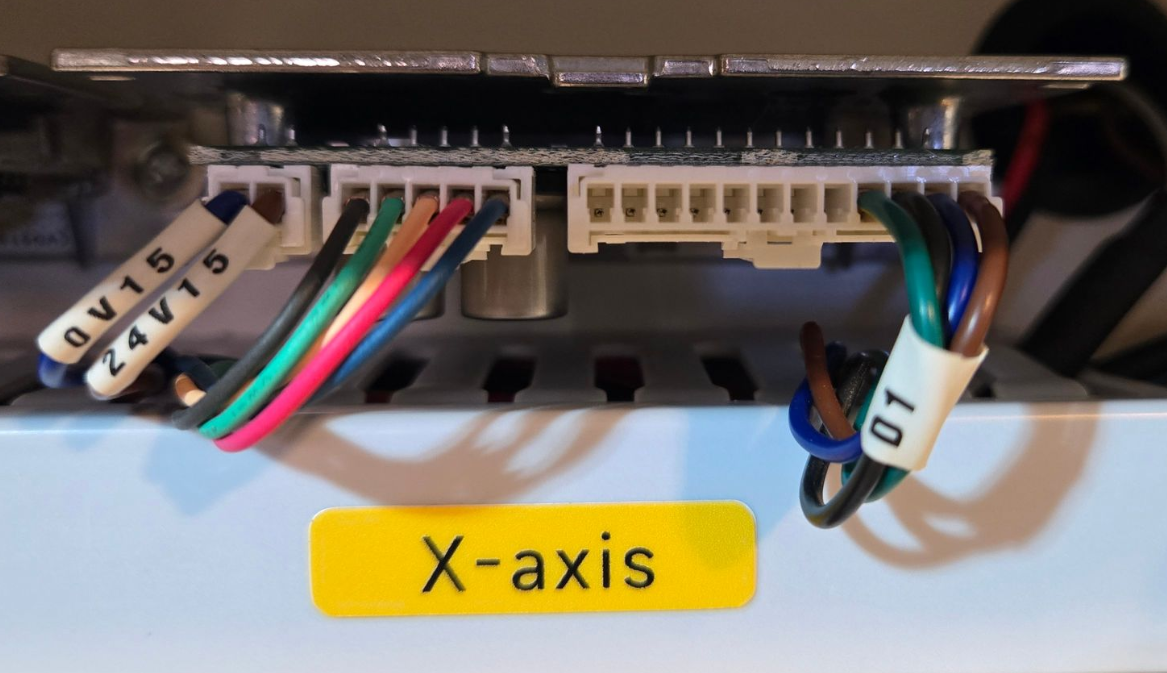
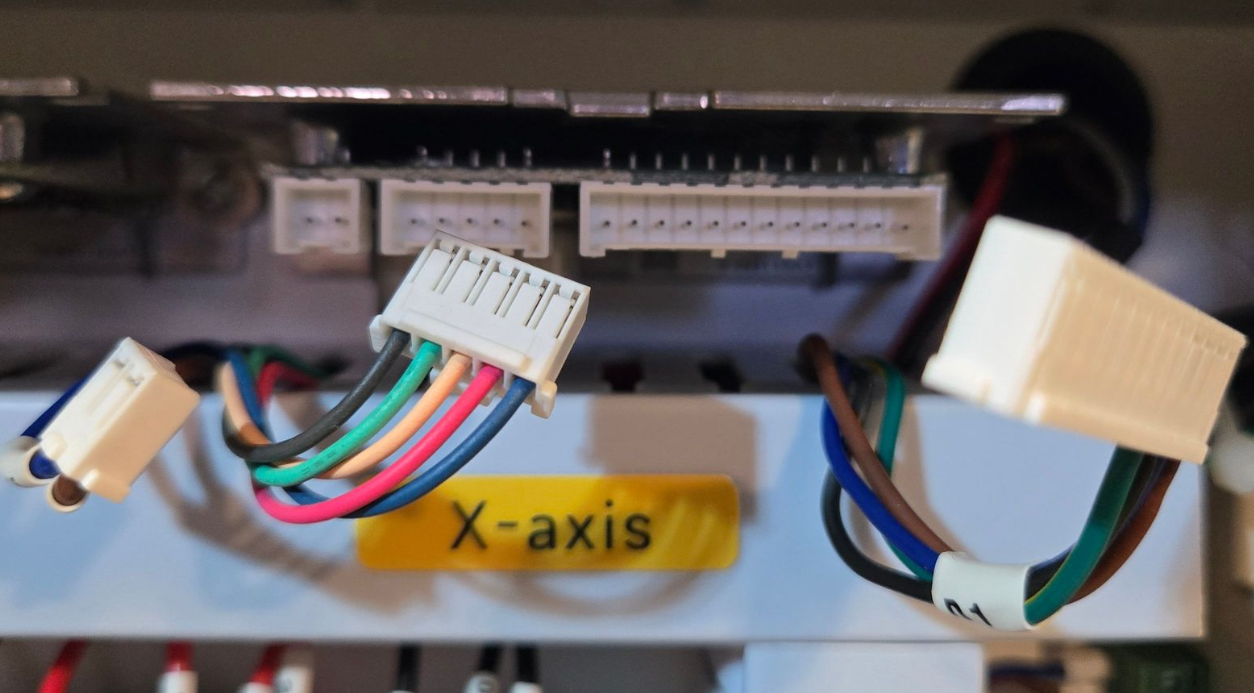
There are 3 connectors on the driver that will only fit in one location. Depress the white tabs to release and pull out the connector. Do not use the wires as the method to pull the connector out. Your drive may look a bit different (Leadshine vs Oriental Motor brand but the process is similar).
| Before | After |
|---|---|
 |
 |
Unbolt the Driver from the machine
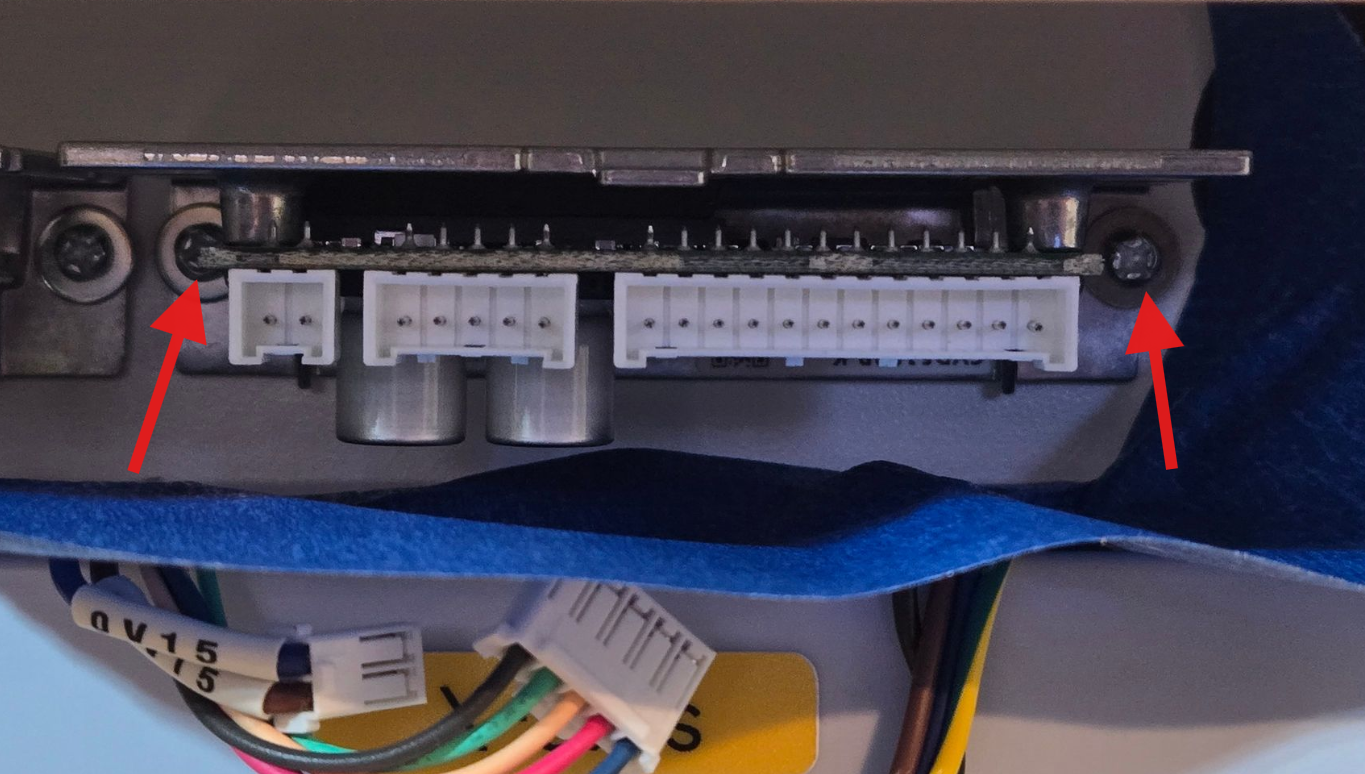
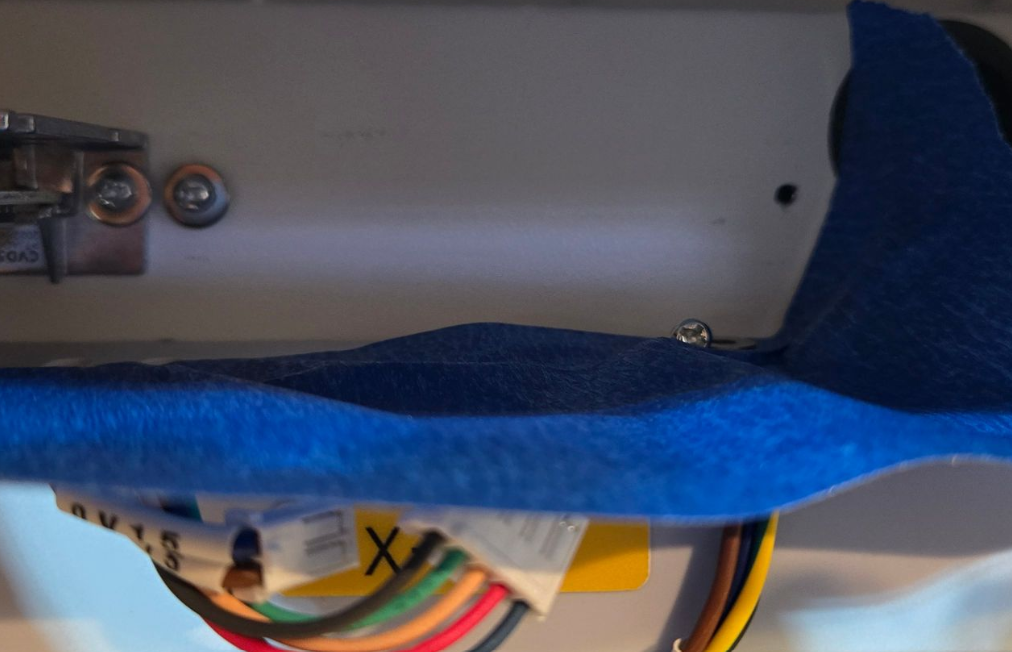
You will only need to remove 1 of the bolts completely and loosen the other. This will allow the driver to be removed. Use the phillips head screw driver to remove the bolt, in this example, the right side bolt was removed.
Pro-Tip: Place a piece of painter tape below the driver, cover up the grey wire duct just in case the bolt falls off the screw driver it will not go down into the wire management and get lost.
| Before | After |
|---|---|
 |
 |
Label the driver you removed so that you do not accidentally mix it up with the other driver or a new driver.
Once you have your driver removed, take a picture of the rotary and dip switch settings. If you are swapping or replacing the driver, you need to transfer the dip switch settings to the replacement driver. Note that X and Y axis are not the same settings.
Oriental Motor CVD518BR-K Driver
| X Axis | Y Axis |
|---|---|
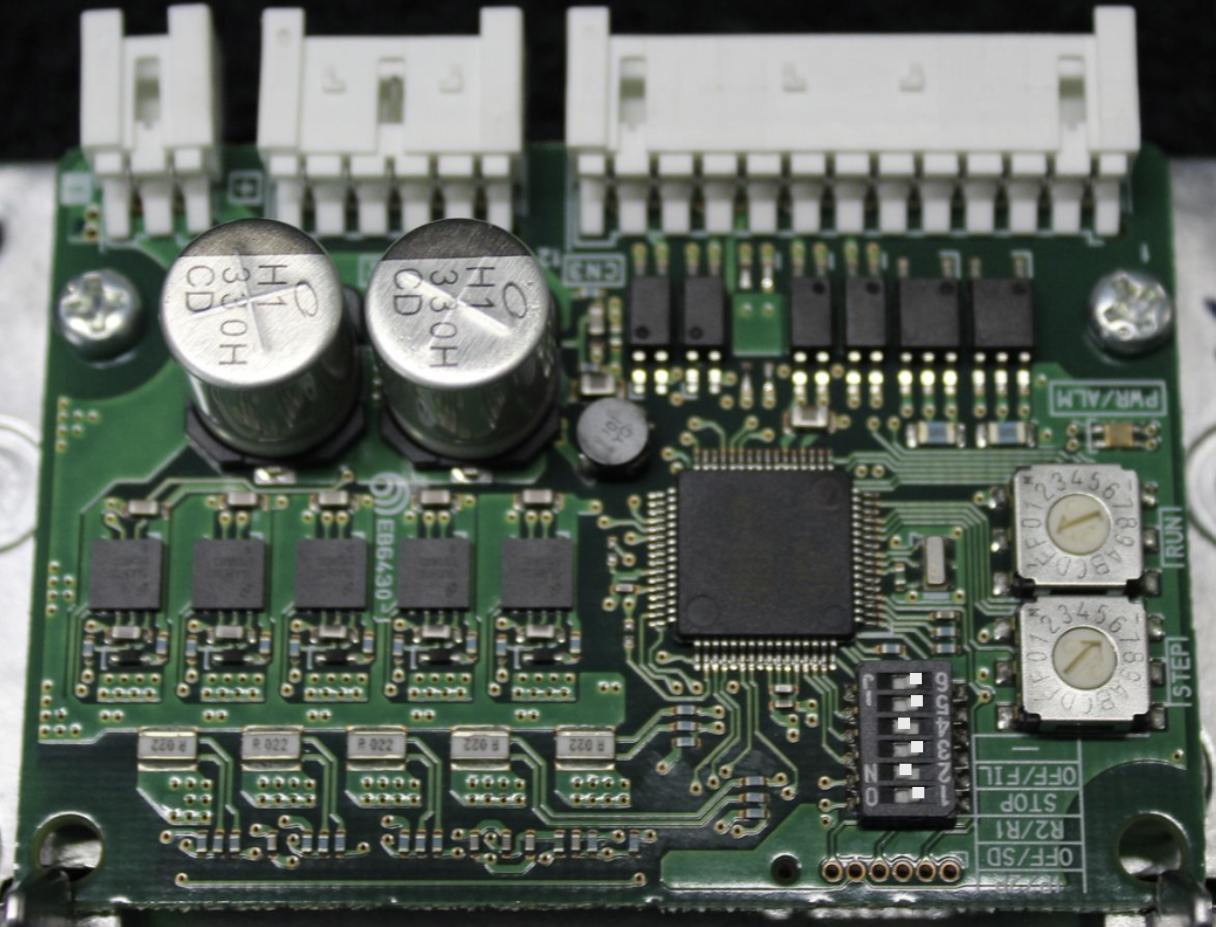
Rotary Step - 6 |

Rotary Step - 8 |
Leadshine DM5-432A Driver
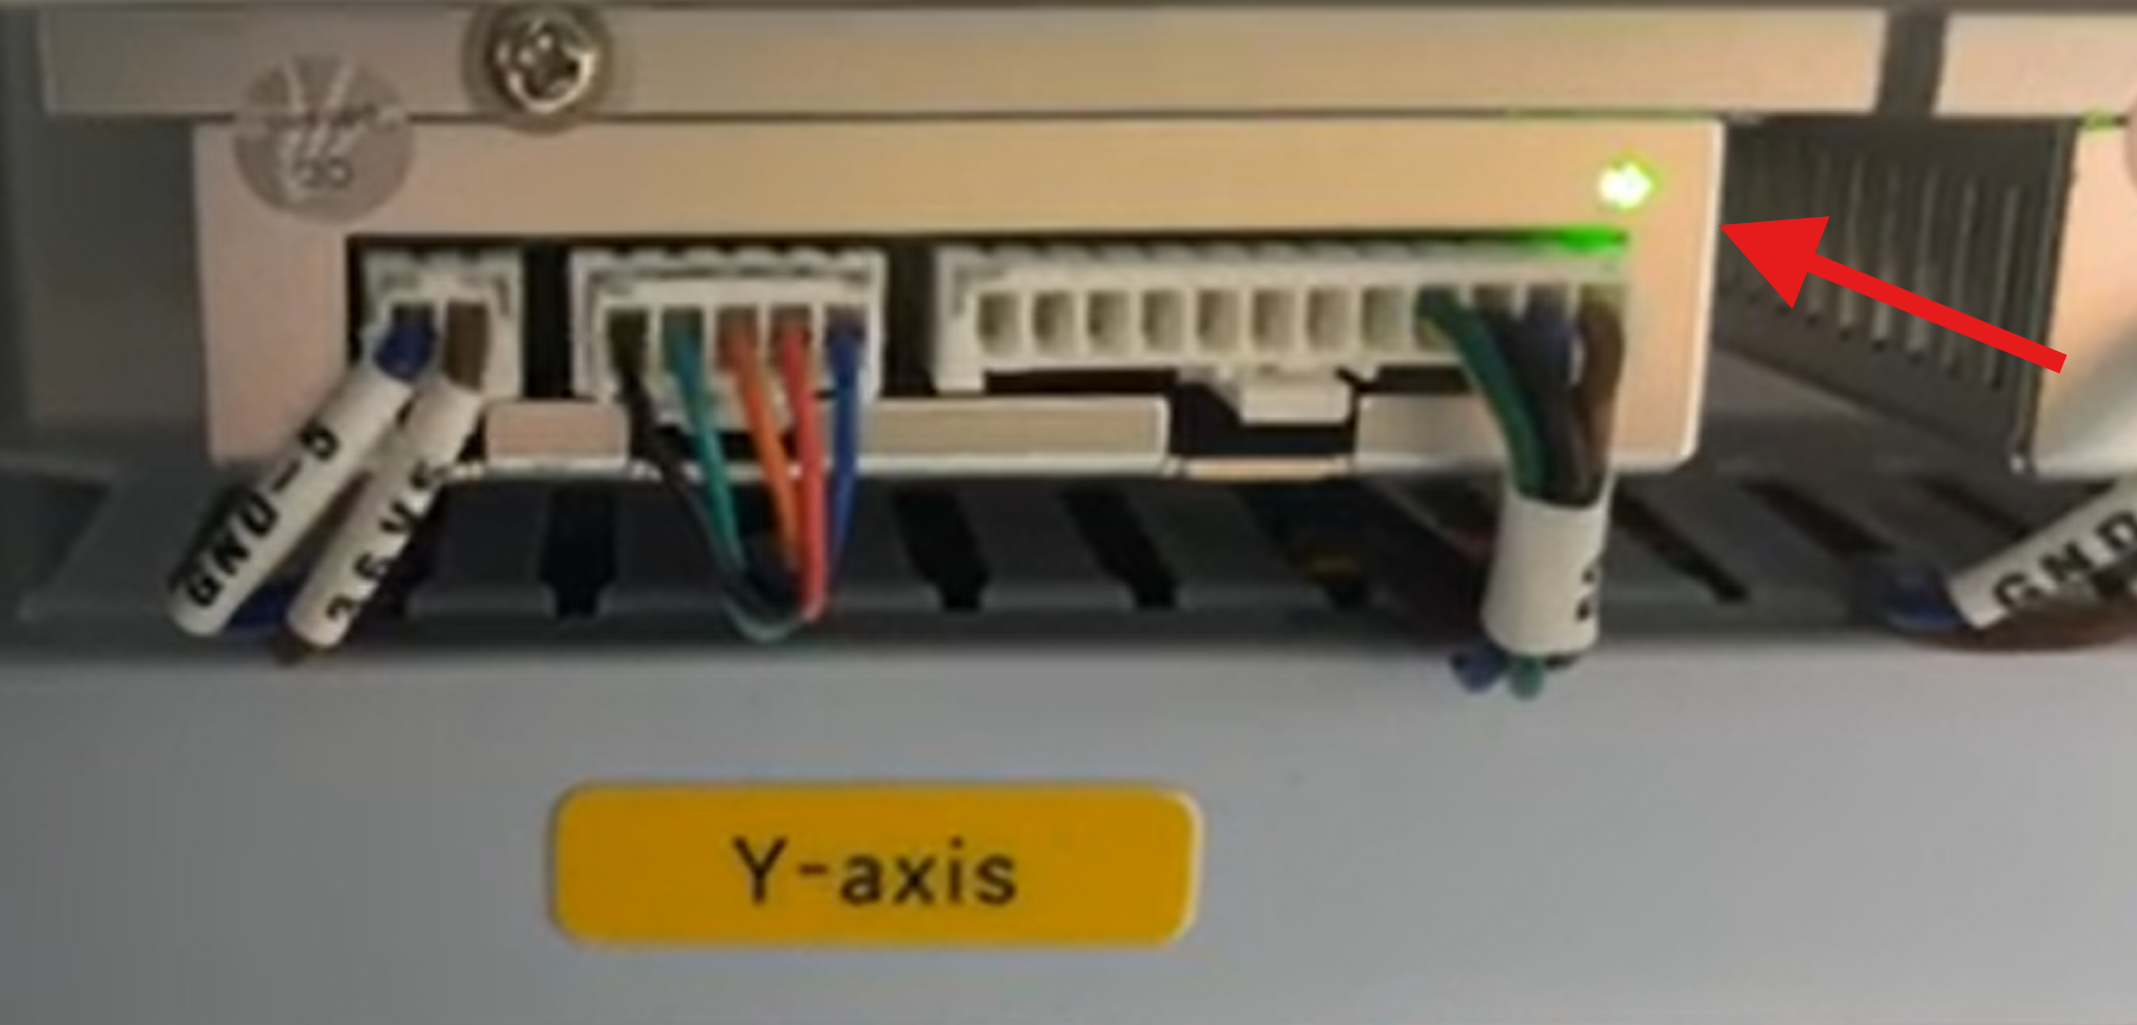
On the right hand side of the driver, the dips need to be changed to:
| X Axis | Y Axis |
|---|---|
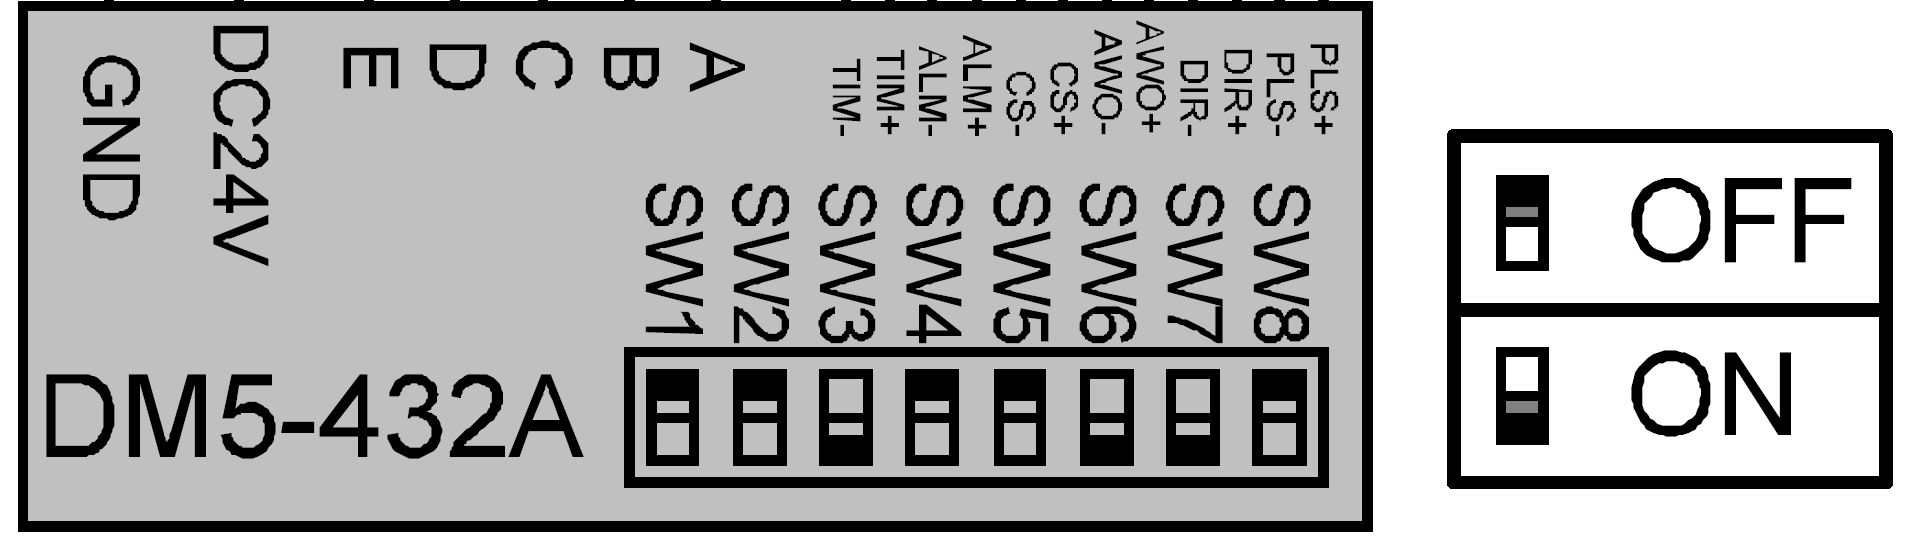
Switch 1 OFF |
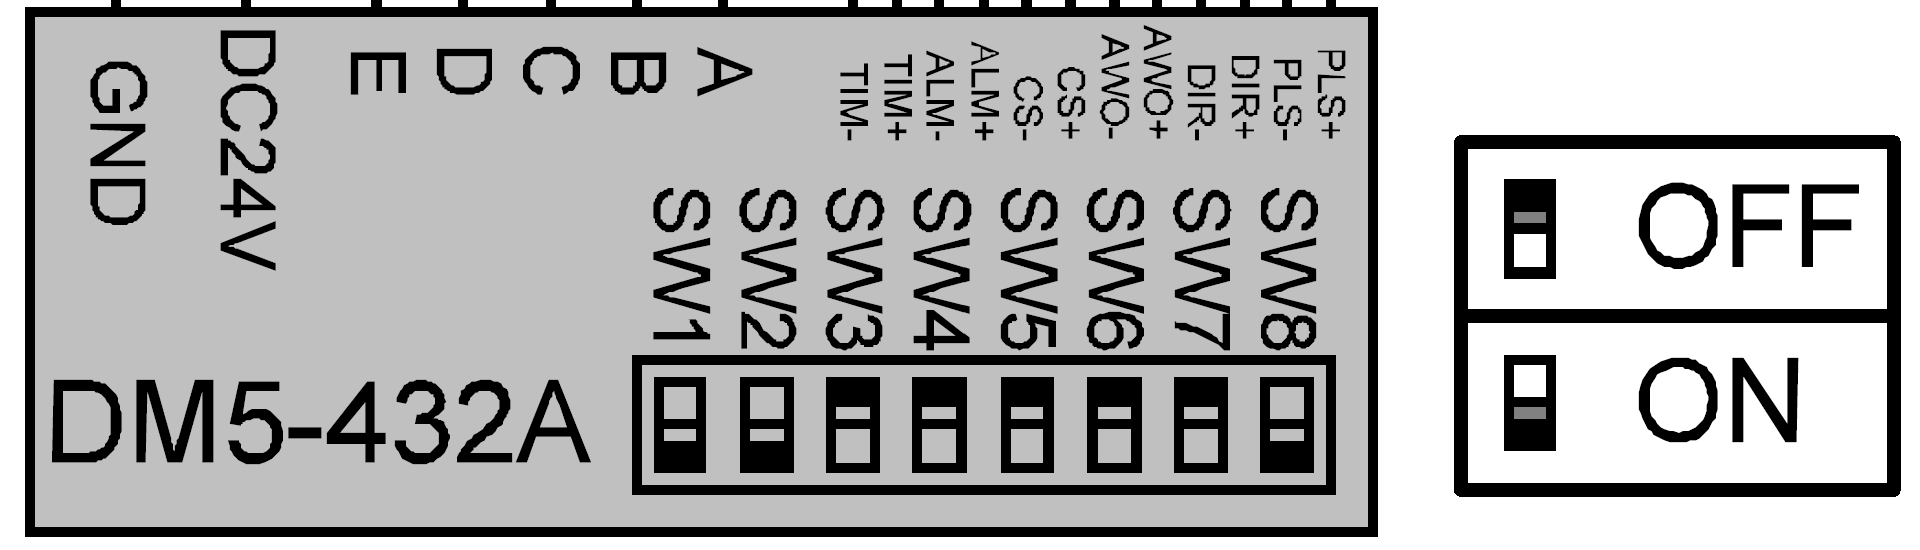
Switch 1 ON |
Complete the install in reverse. Once you have installed the drivers and buttoned everything up, power the machine back on and watch it home. If everything looks normal then go back to lasering. If you still have issues, please email [email protected].
- Bolt and Odin Driver Manual
- CVD518BR-K Driver
- DM5-432A Driver
Still stuck?
Fastest response times in the industry from our US-based support team.