
How to square your X and Y Axis gantry on a Thunder Laser Bolt Machine
Preface: This article covers how to manually square your gantry back for the X and Y axes. This procedure is most often done after a head crash and is useful to check your gantry prior to a re-alignment of the laser beam.
Quickstart Video
***coming soon***
Complete Guide
Symptoms
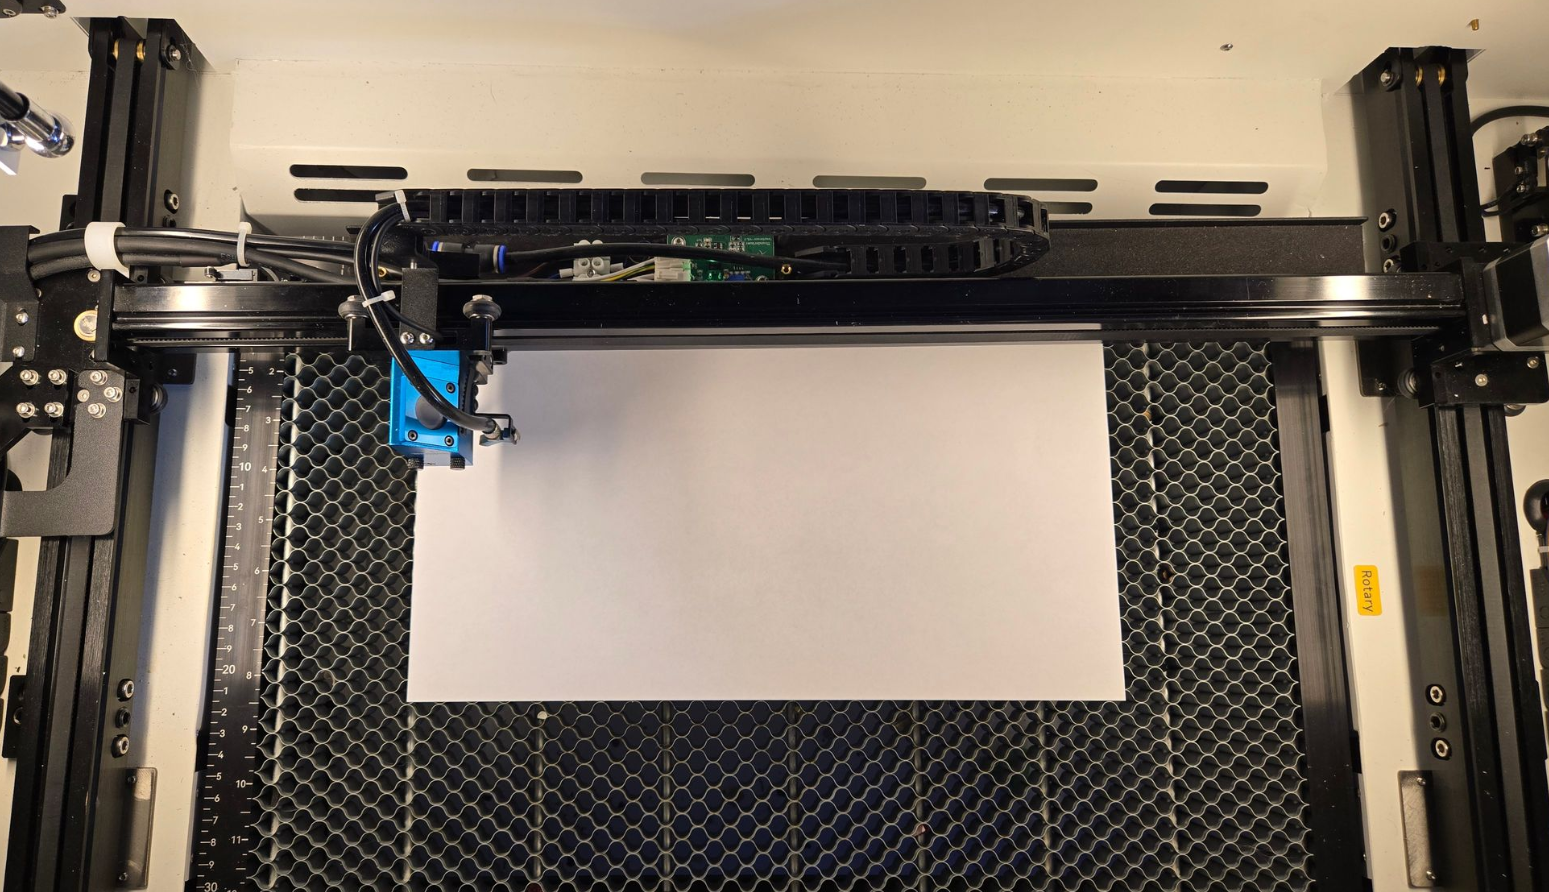
- Gantry is visually out of square
- Y Axis will attempt to move but only make chattering noise
- Cutting power or engraving power diminishes rapidly in Y axis direction (front to back)
- Shapes are not square when they should be
Example Gantry Issue
Tools Needed
- Ruler
- Caliper/Measuring Tape
- 2mm Allen Wrench
- Test Material
Before We Begin
Familiarize yourself with the Manual movement and Nudge function of the control screen.
How to Fix
Please read and follow the steps below.
Step 1: Test Square
Start off by cutting a 5" square on a flat piece of material, then proceed with the adjustments of the bearings and couplers as needed. You may need to cut the square again after making an adjustment to recheck and adjust. The diagonal lines on a 5" square should be ~7.07" (Your actual measurements will be shorter due to kerf).
The larger the square you are able to draw and measure, the more accurate you can adjust your gantry motion.
If you cut the square out, you can rotate it 90 degrees and lay it back in the cut pocket and see how off the sides are from being square. Take note of the gaps in the top right and bottom left in the picture below. (If your X and Y axis are not calibrated properly, the square will be a rectangle; that can be fixed using the information in this article about Calibrating your Axes.)
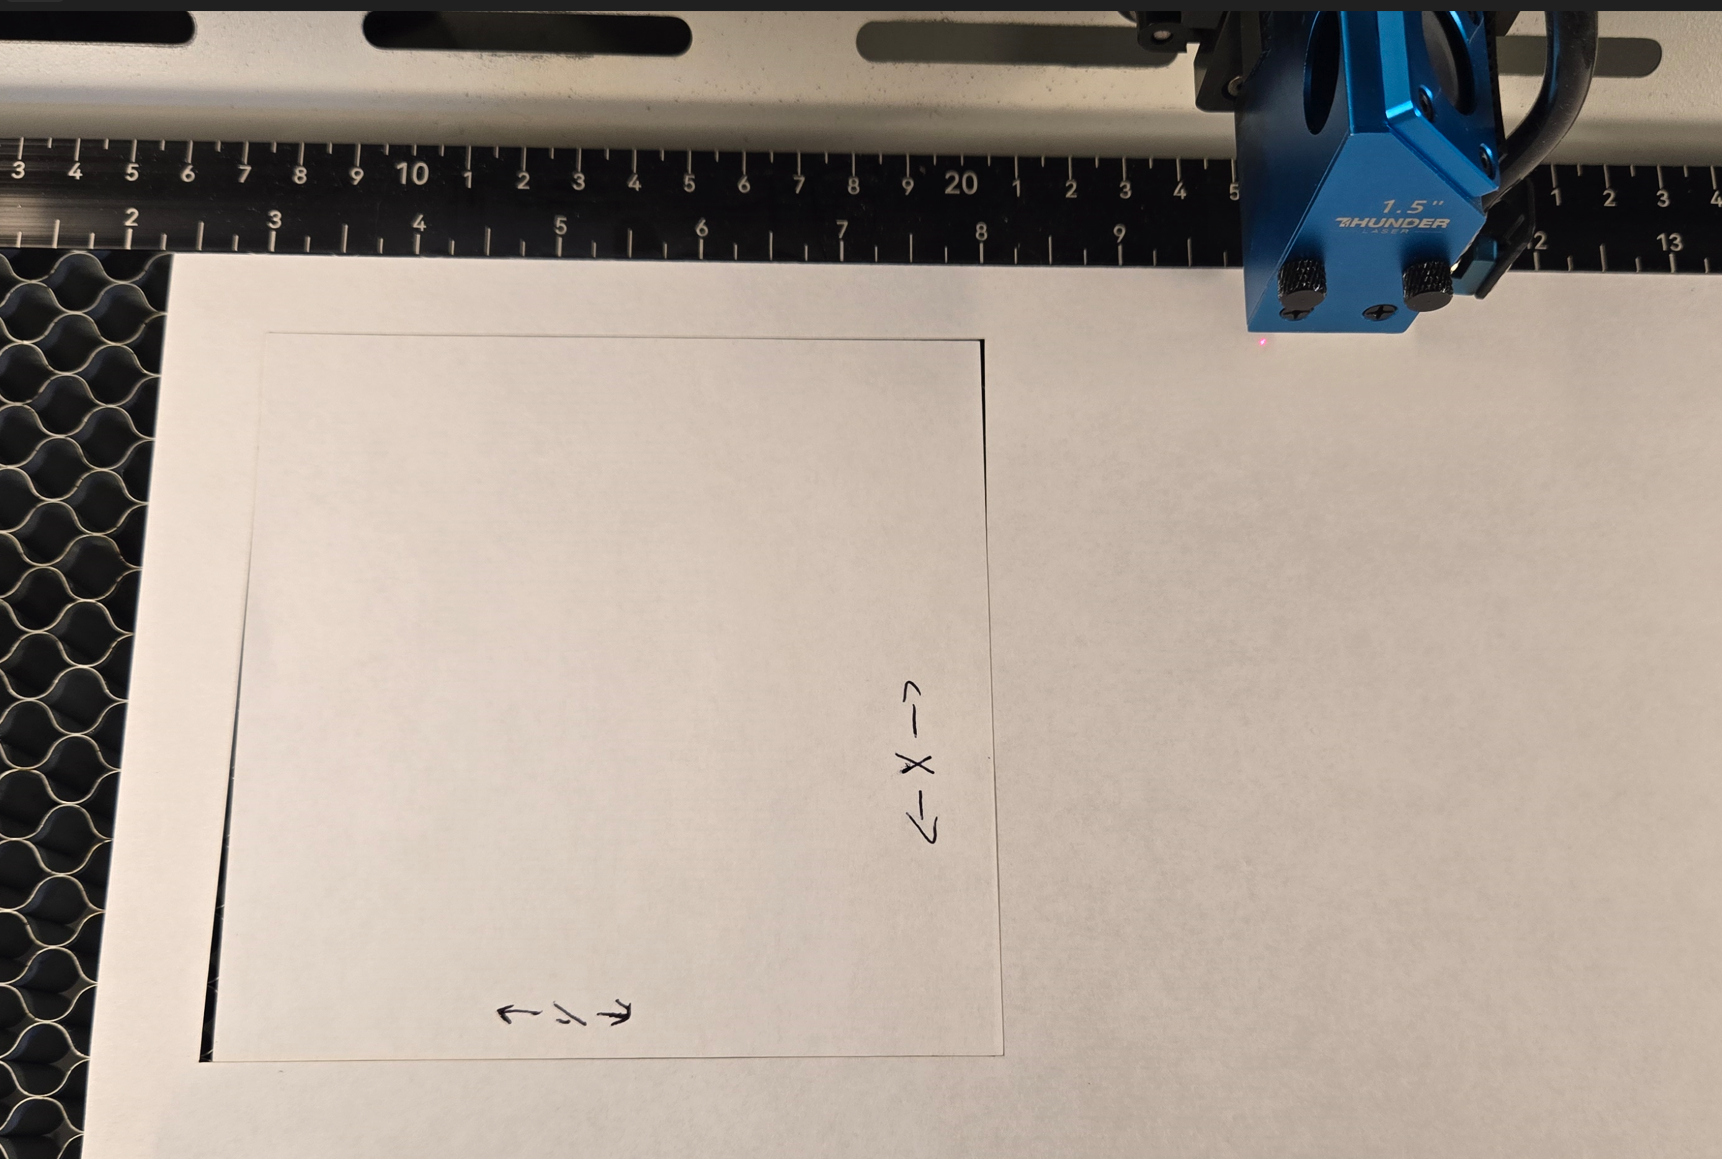
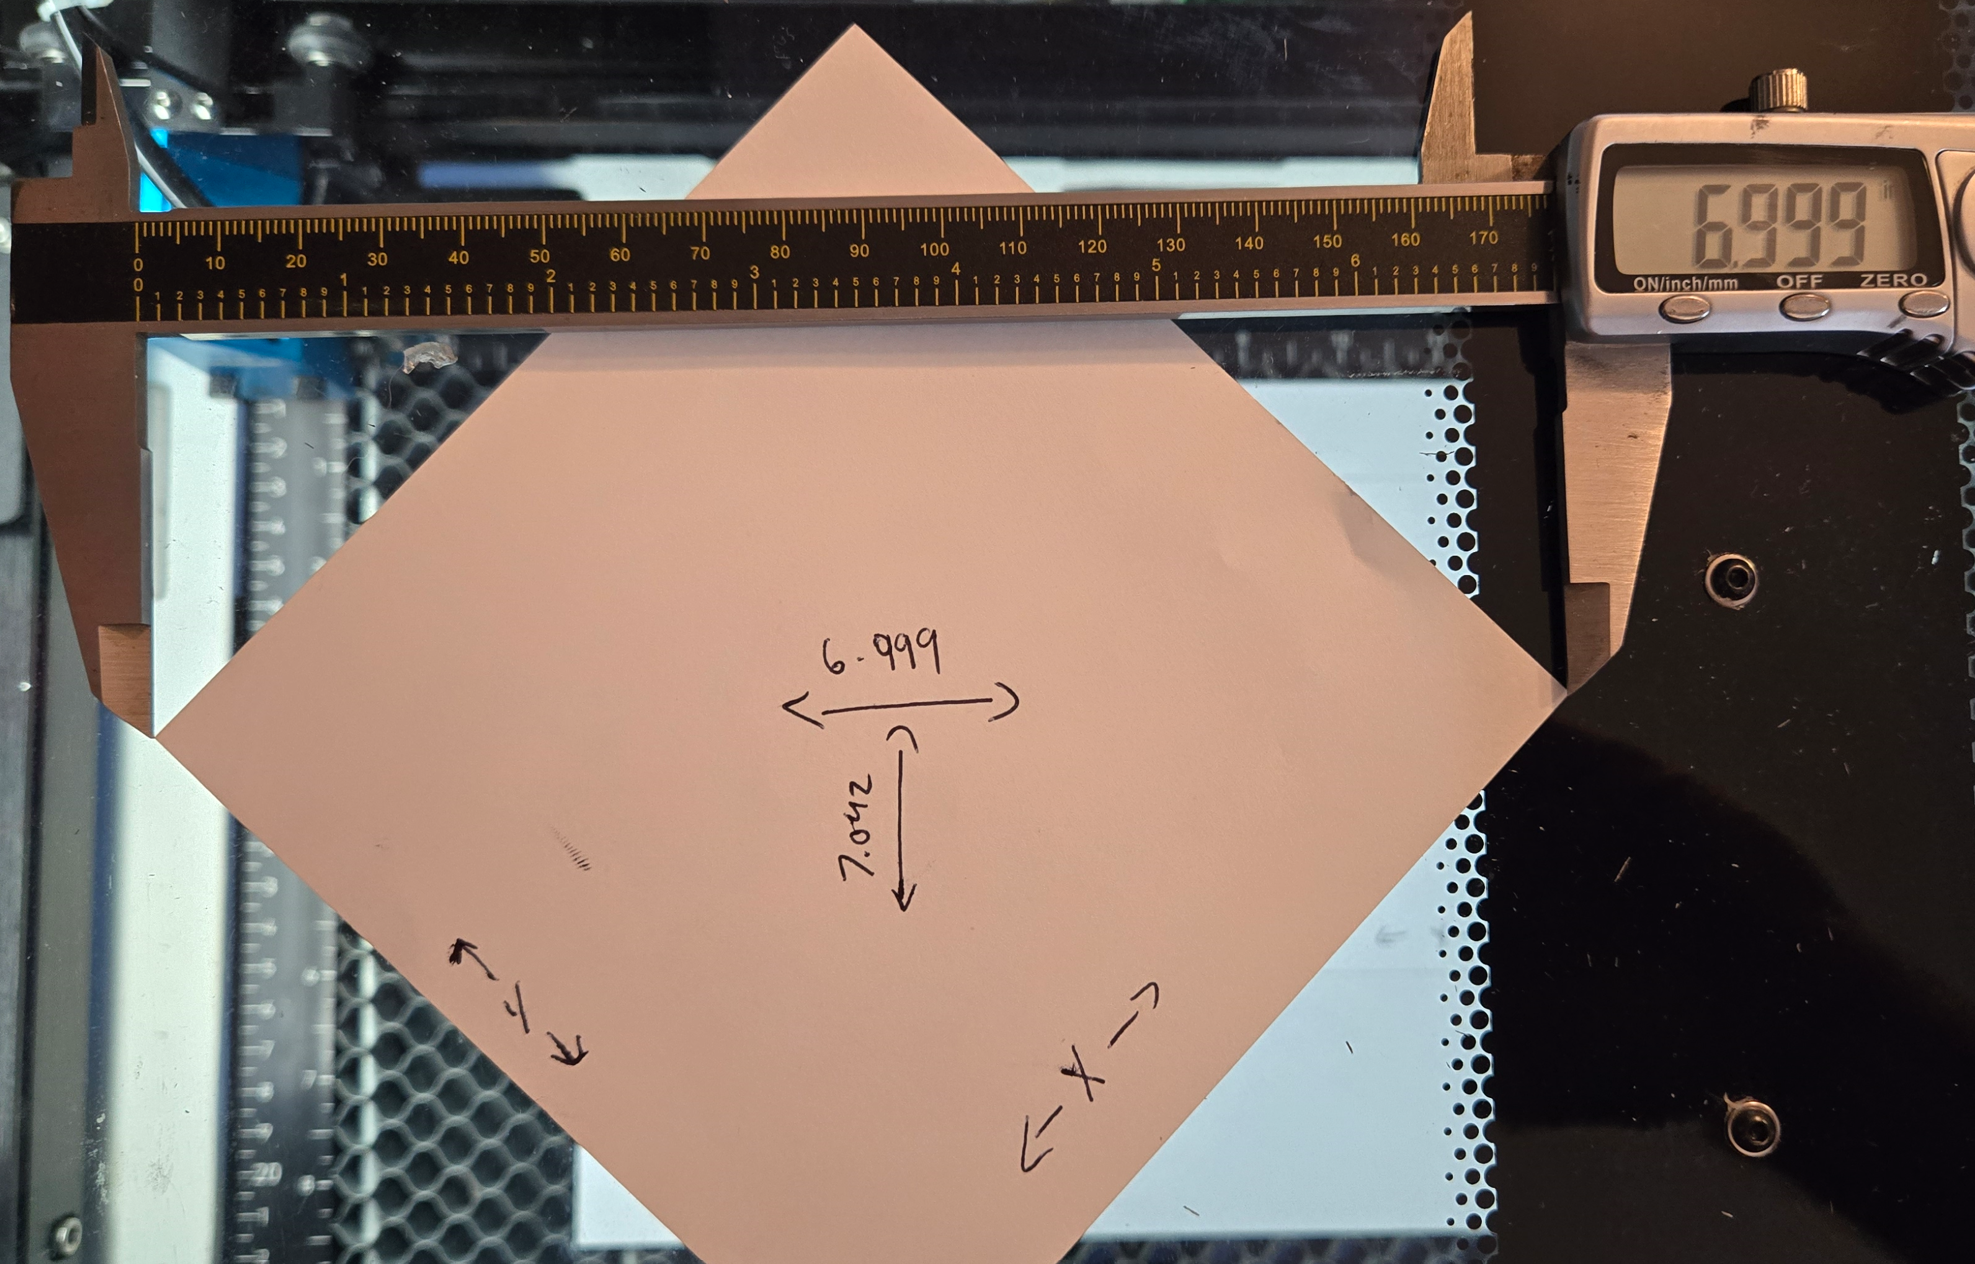
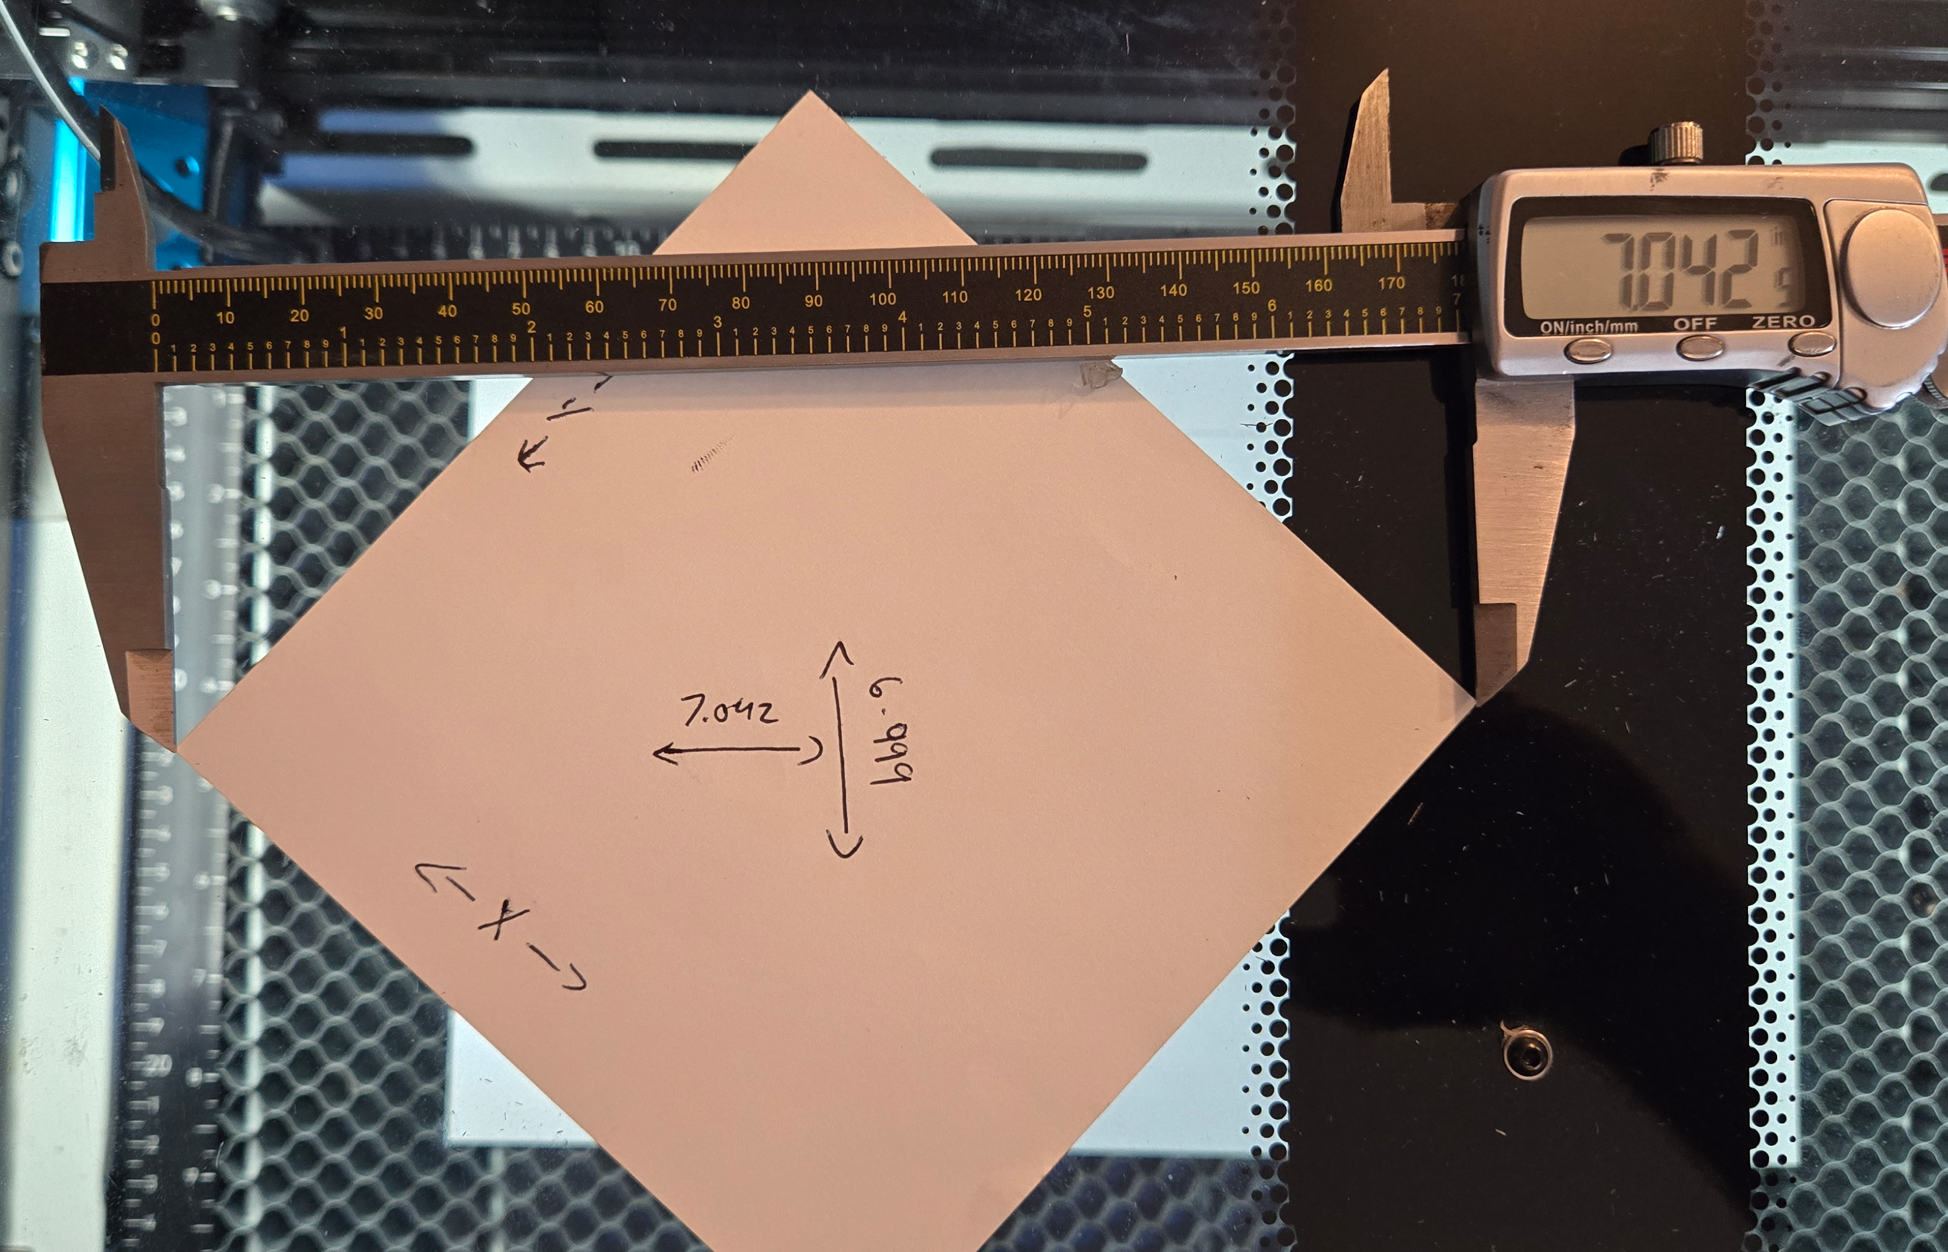
In this example a 5" square was cut and the diagonals measured 6.999" and 7.042" so an adjustment is needed.
| Diagonal 1 Measurement | Diagonal 2 Measurement |
|---|---|
 |
 |
Step 2: How to Adjust
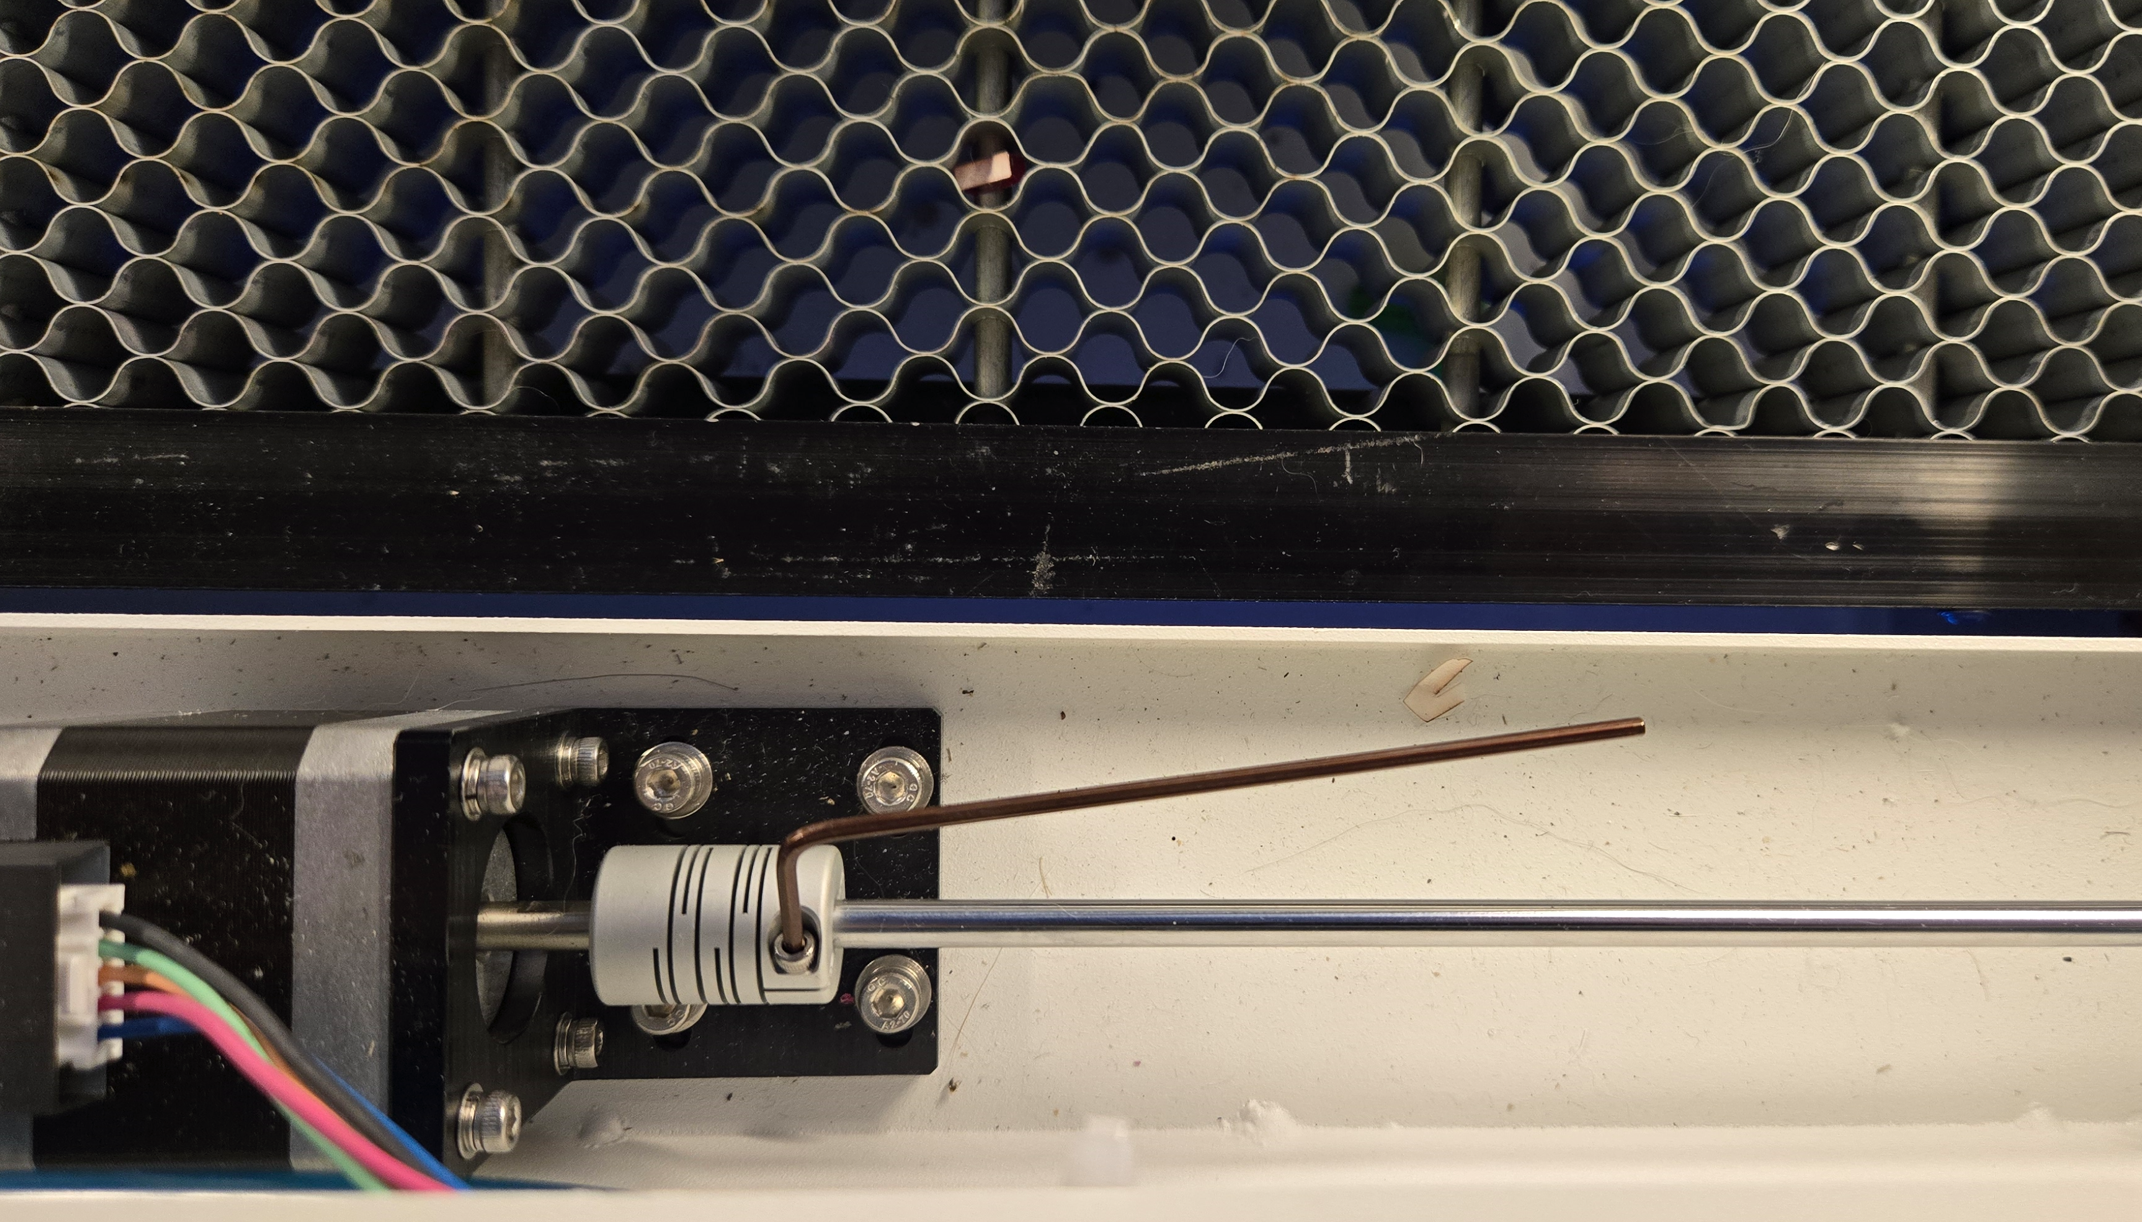
You will need to familiarize yourself with the couplers that hold the Y axis shafts. The motor on the Y axis has a split shaft, one for each side of the machine. The relationship between the belts on each side of the machine can be adjusted by loosening and adjusting one side's coupler at a time and keeping the other one constant.
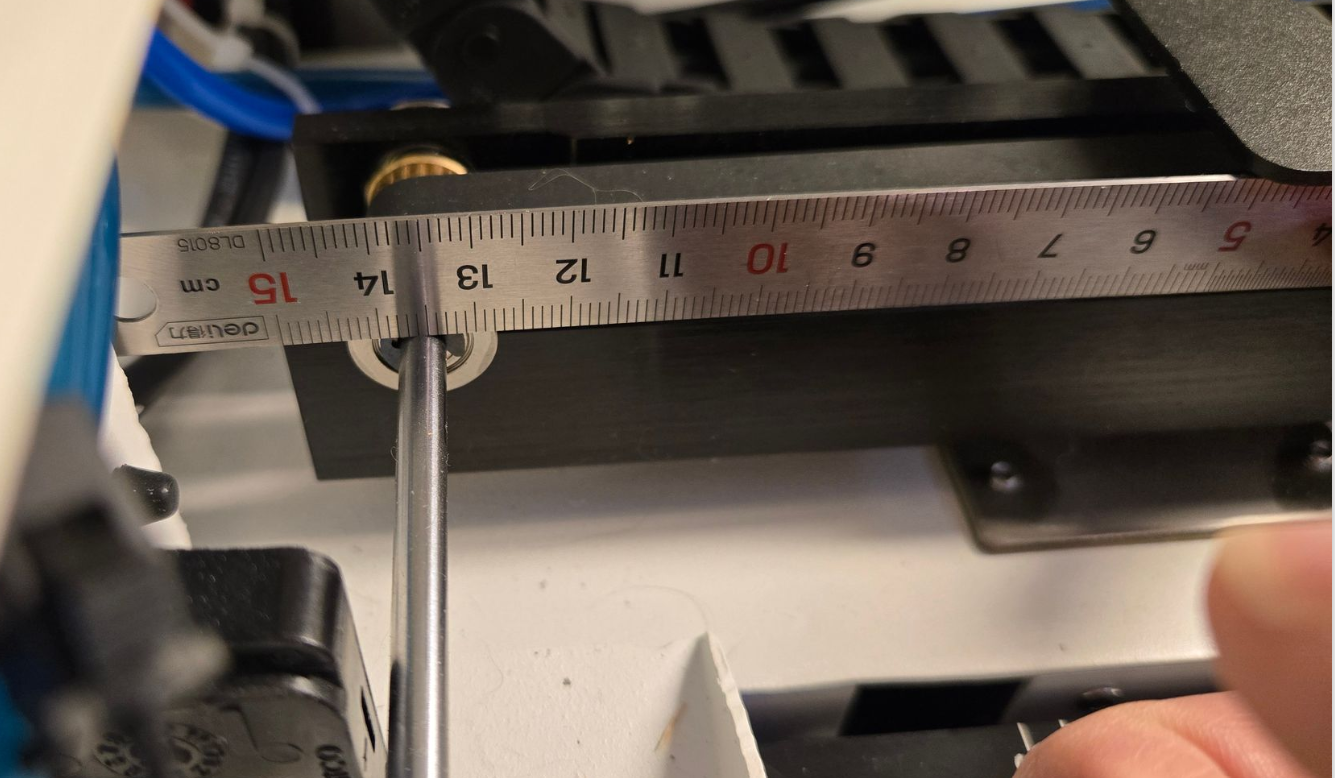
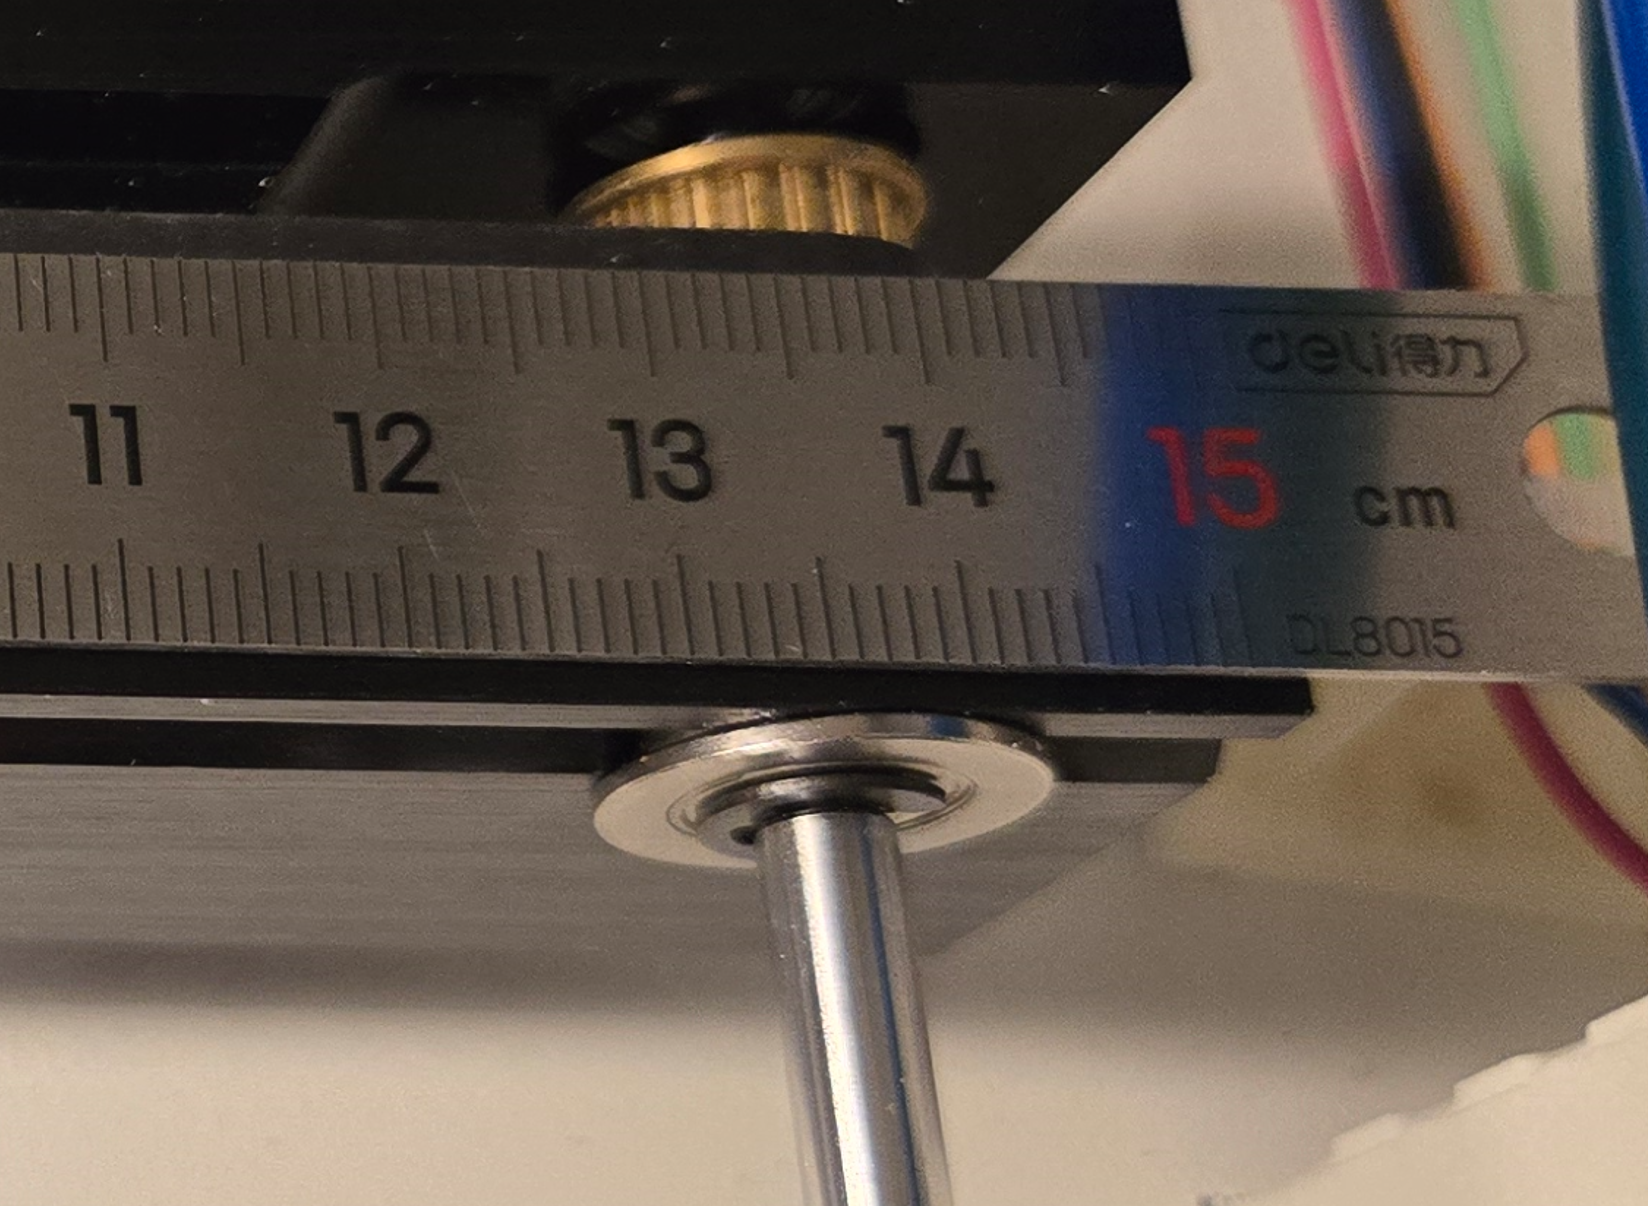
Use the control panel to move the gantry to a spot that you can measure the distance to the end of the rail to a relative common spot on the gantry on the left and right sides.
| Left Side At 15cm | Right Side Greater than 15cm |
|---|---|
 |
 |
Loosen the right side coupler:
Use the 2mm Allen wrench to loosen the coupler on the right side of the Y motor. The coupler will be at the front of the machine.
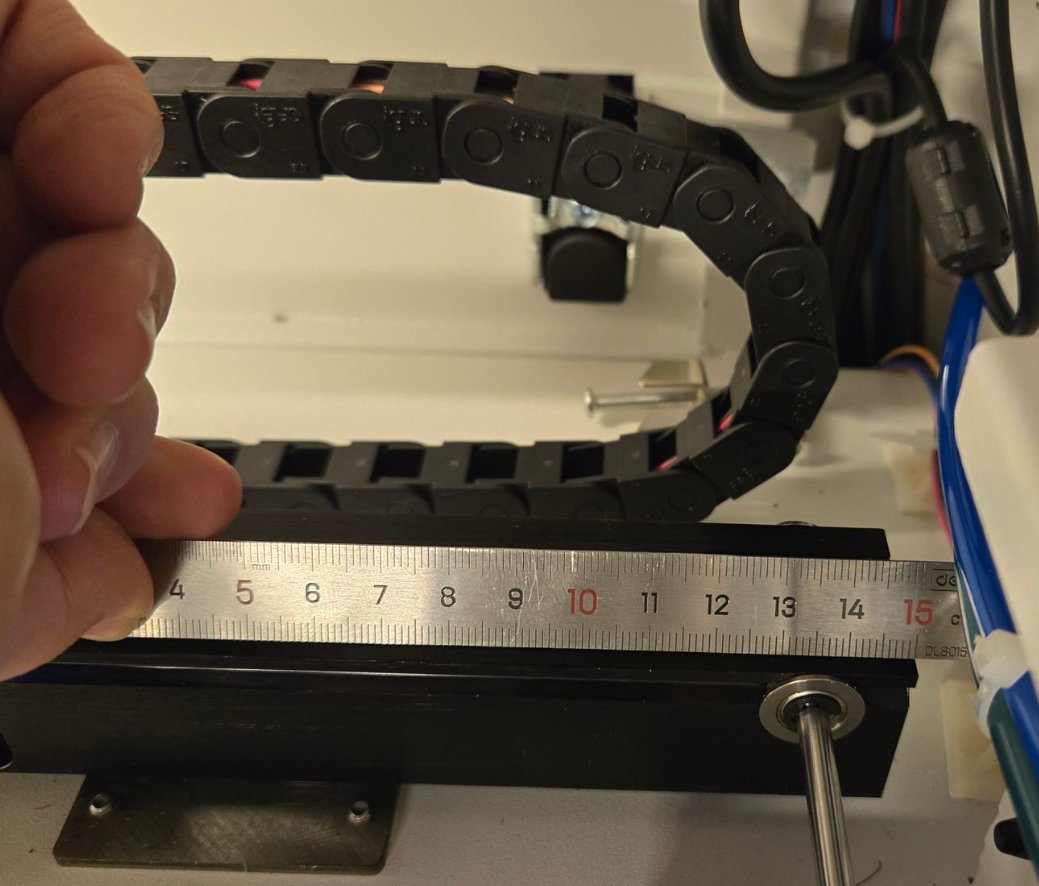
Adjust the right side to match:
In this case it was 15cm; your measurement value may be different.
Step 3: Final Adjustment Step
Tighten the coupler back. Be sure to keep both sides of the gantry even as you tighten the coupler back. Once tightened, power cycle your Bolt and then re-measure the left versus the right side and adjust again if needed.
Once the adjustment is complete, perform another cut/score test and measure to confirm the results:
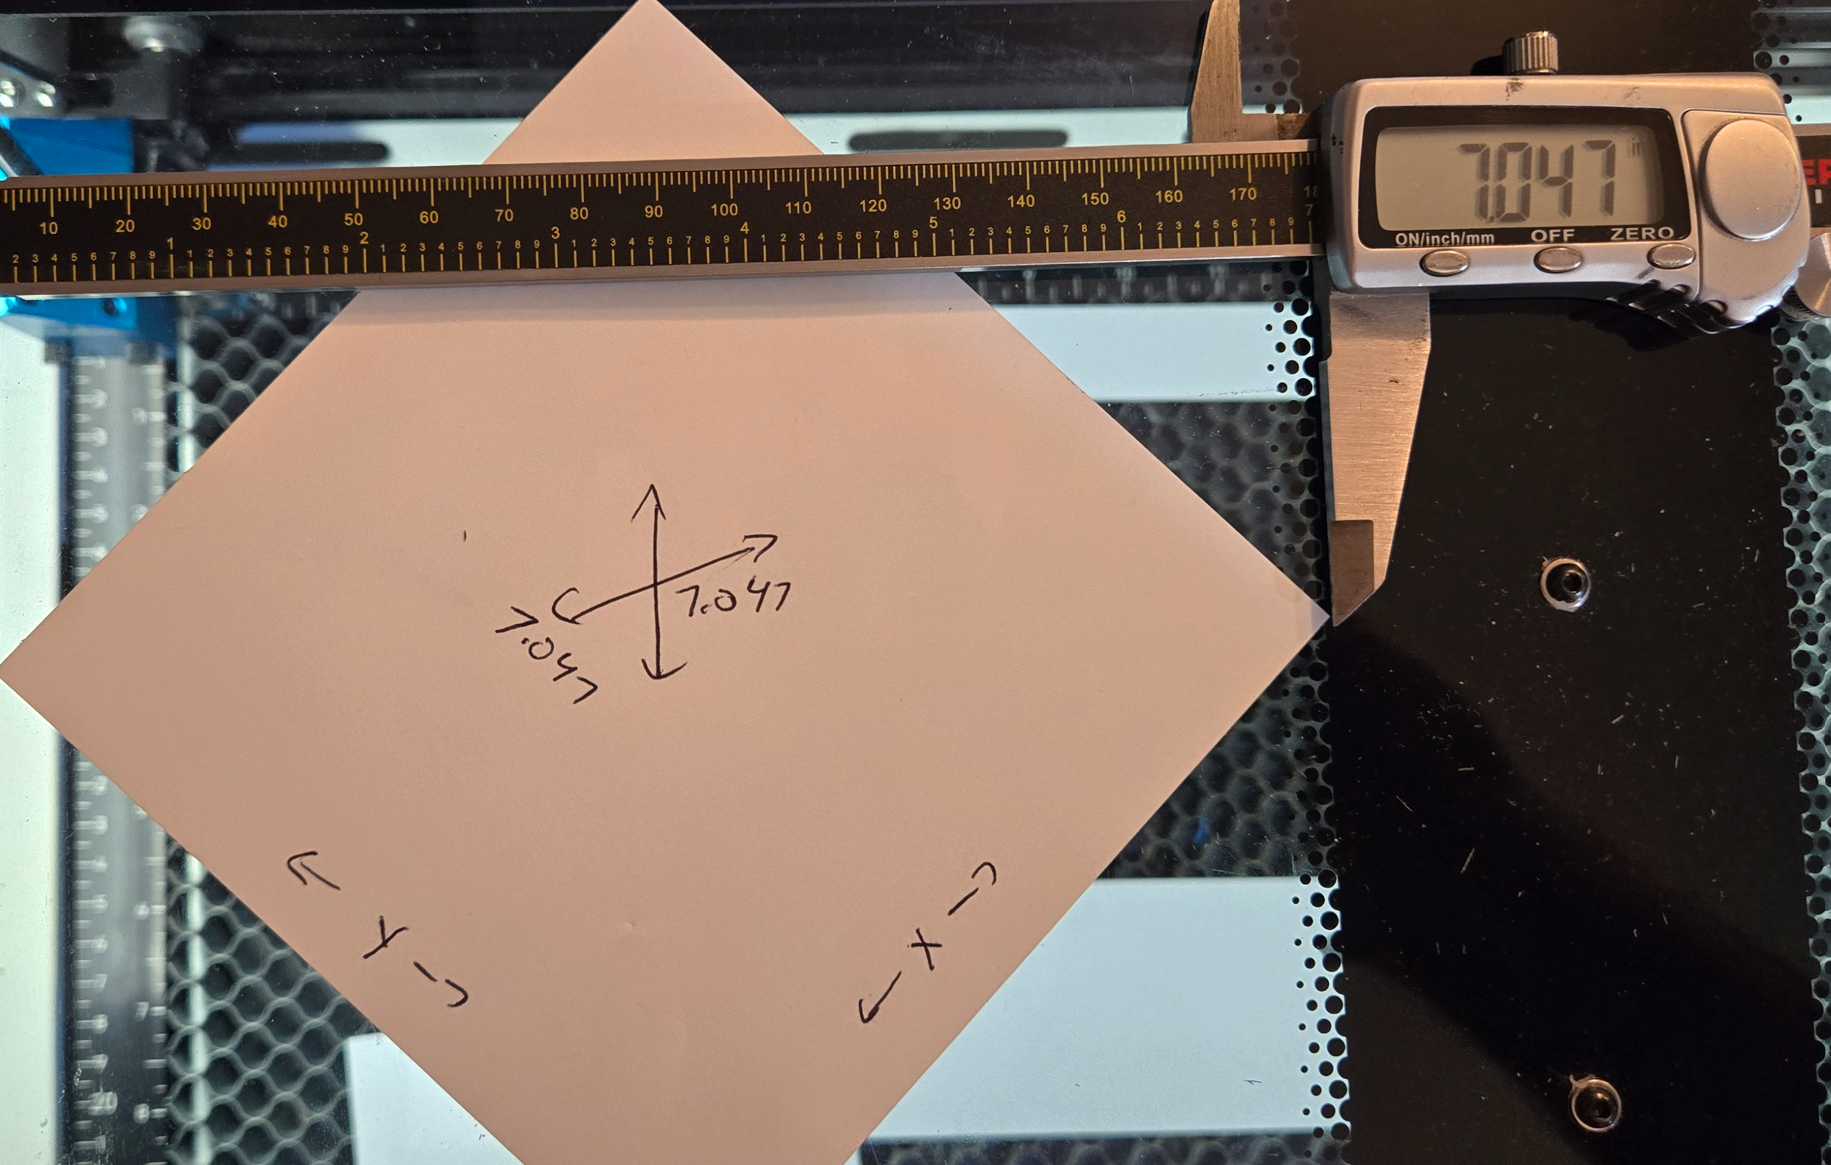
A new 5" square was cut and measured.
| Diagonal Measurement 1 | Diagonal Measurement 2 |
|---|---|
 |
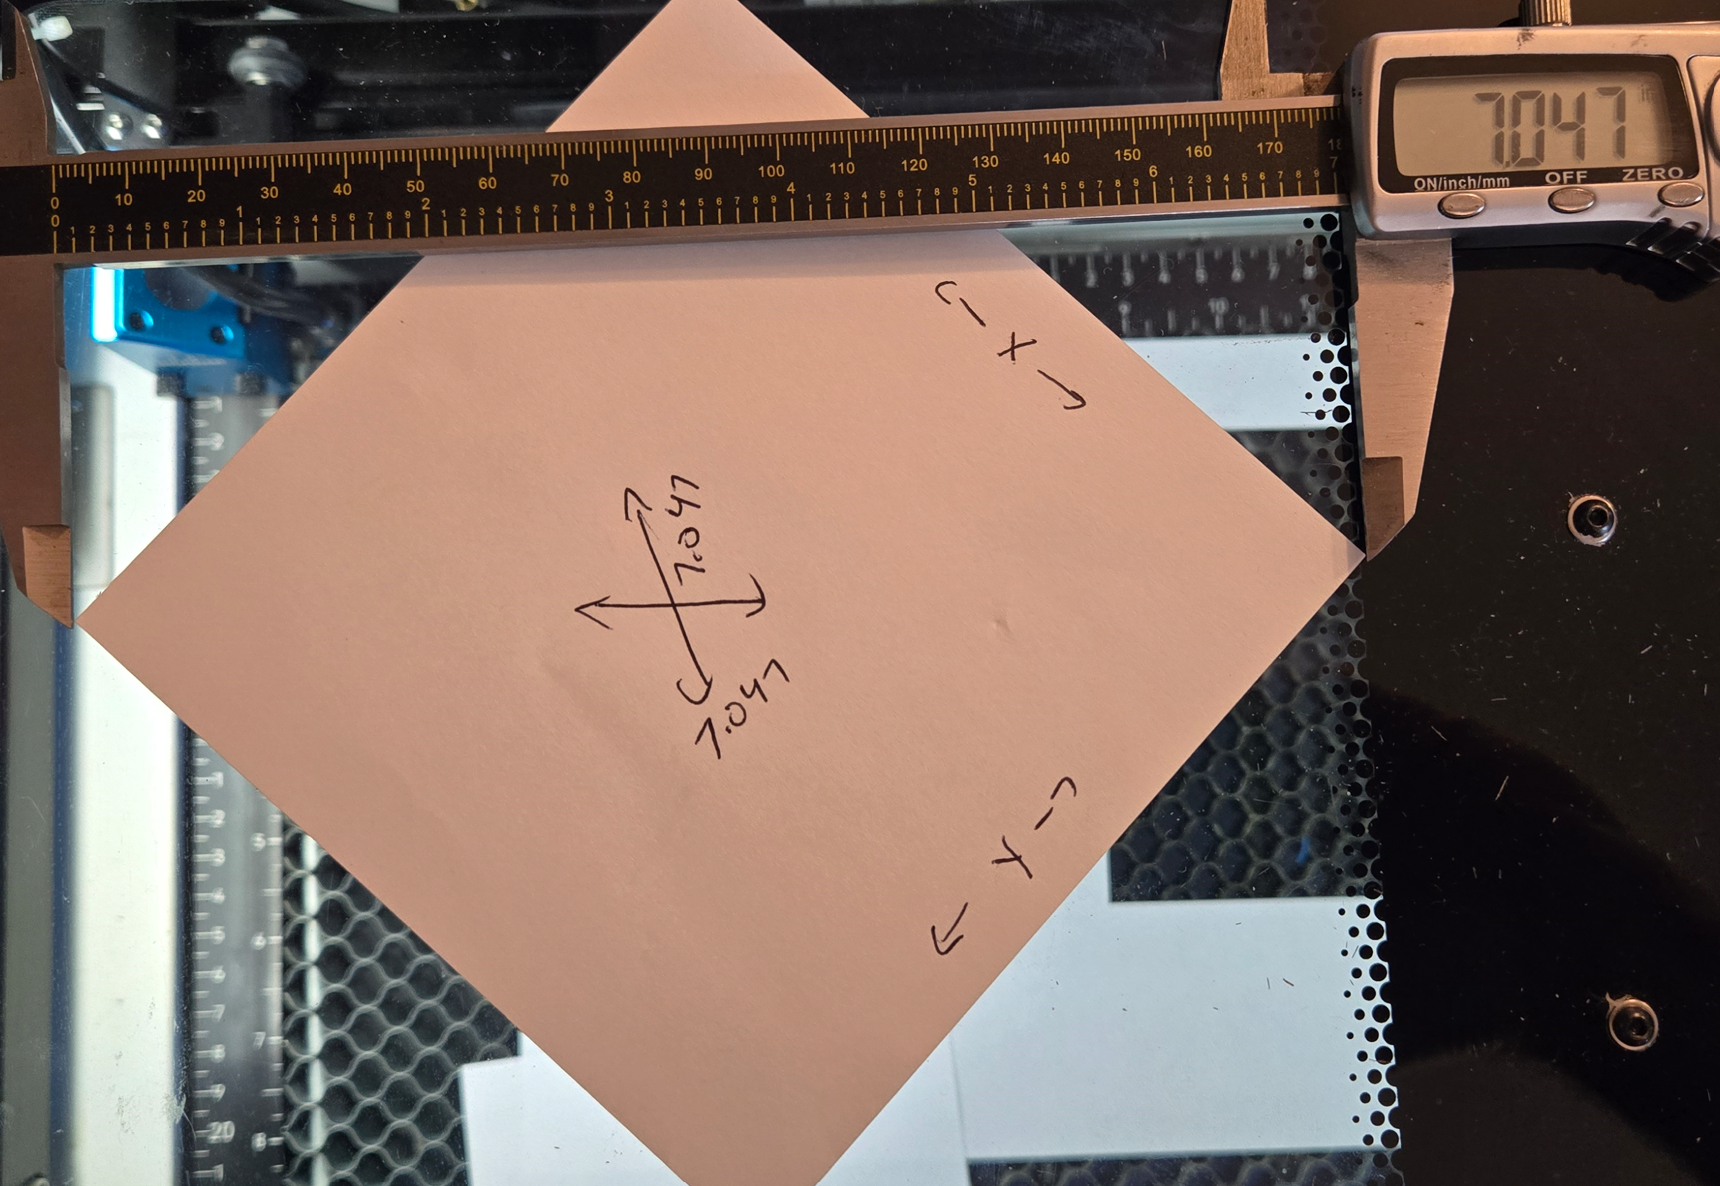 |
In the after cut, the diagonals measured 7.047" and you can see how the rotated cut out fills the pocket nicely. Adjustment is complete.
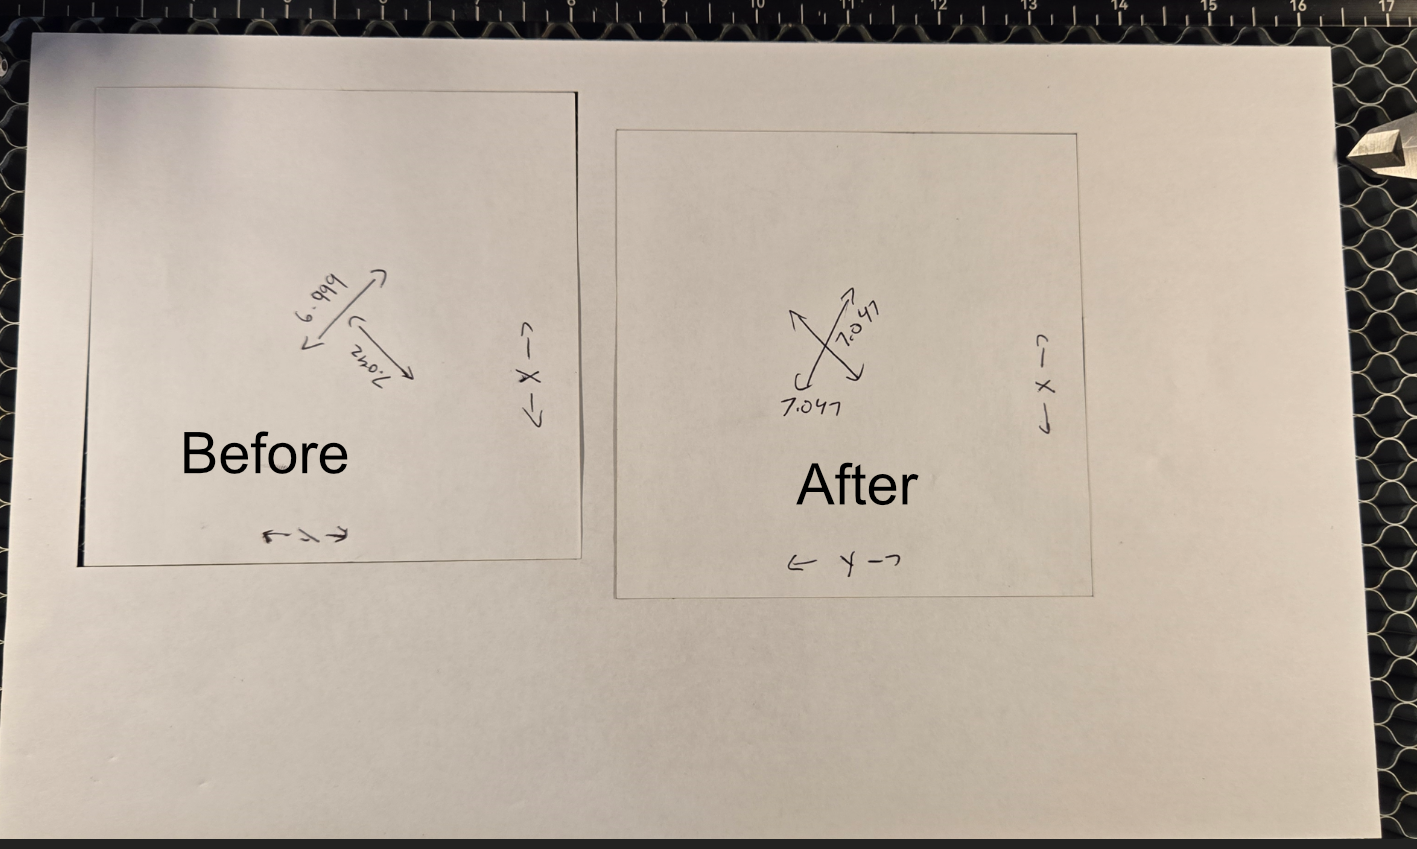
If your squares come out square then you have completed the task. Otherwise, re-adjust.
It would also be good to check your laser beam alignment and your Y axis endstop after you have adjusted the gantry.
Reference Articles
- Bolt Laser beam alignment
- Adjusting Y axis endstop
- Calibrating your Axes
Still stuck?
Fastest response times in the industry from our US-based support team.