
Preface: This article covers the steps you need to take to re-seat your gantry back onto the guide rails. Once you have it re-seated, there are tasks listed in the Additional Resources section of things to also check to return your machine to a healthy running state.
Quickstart Video
The quickstart video may not be all inclusive, for further details, please see the written instructions below in the Complete Guide section.
***coming soon***
Complete Guide
Warning: This work shall be performed with the machine in a safe state to where motion cannot occur. Unplug the machine from the power at a minimum.
The below guide will walk you through re-seating your guide rail.
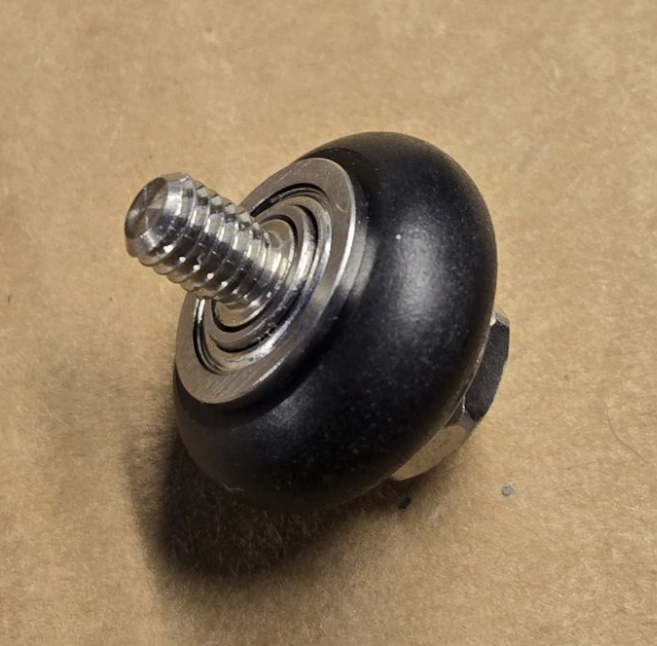
Ok so the likely scenario is a head crash resulting in the guide rail popping off the side rail. The net result will likely be some bearing damage. You will want to replace your bearings if they are scuffed.
| Good Bearing | Scuffed Bearing |
|---|---|
 |
 |
Replacement bearings can be ordered here.
Info: You will need to inspect all bearings prior to attempting to re-install the gantry. We do not recommend running with bad bearings as it can cause quality issues. If you attempt to reinstall with bad bearings, you can manually move the gantry with the power off and will likely feel the flat spots as the gantry moves.
Tools Needed
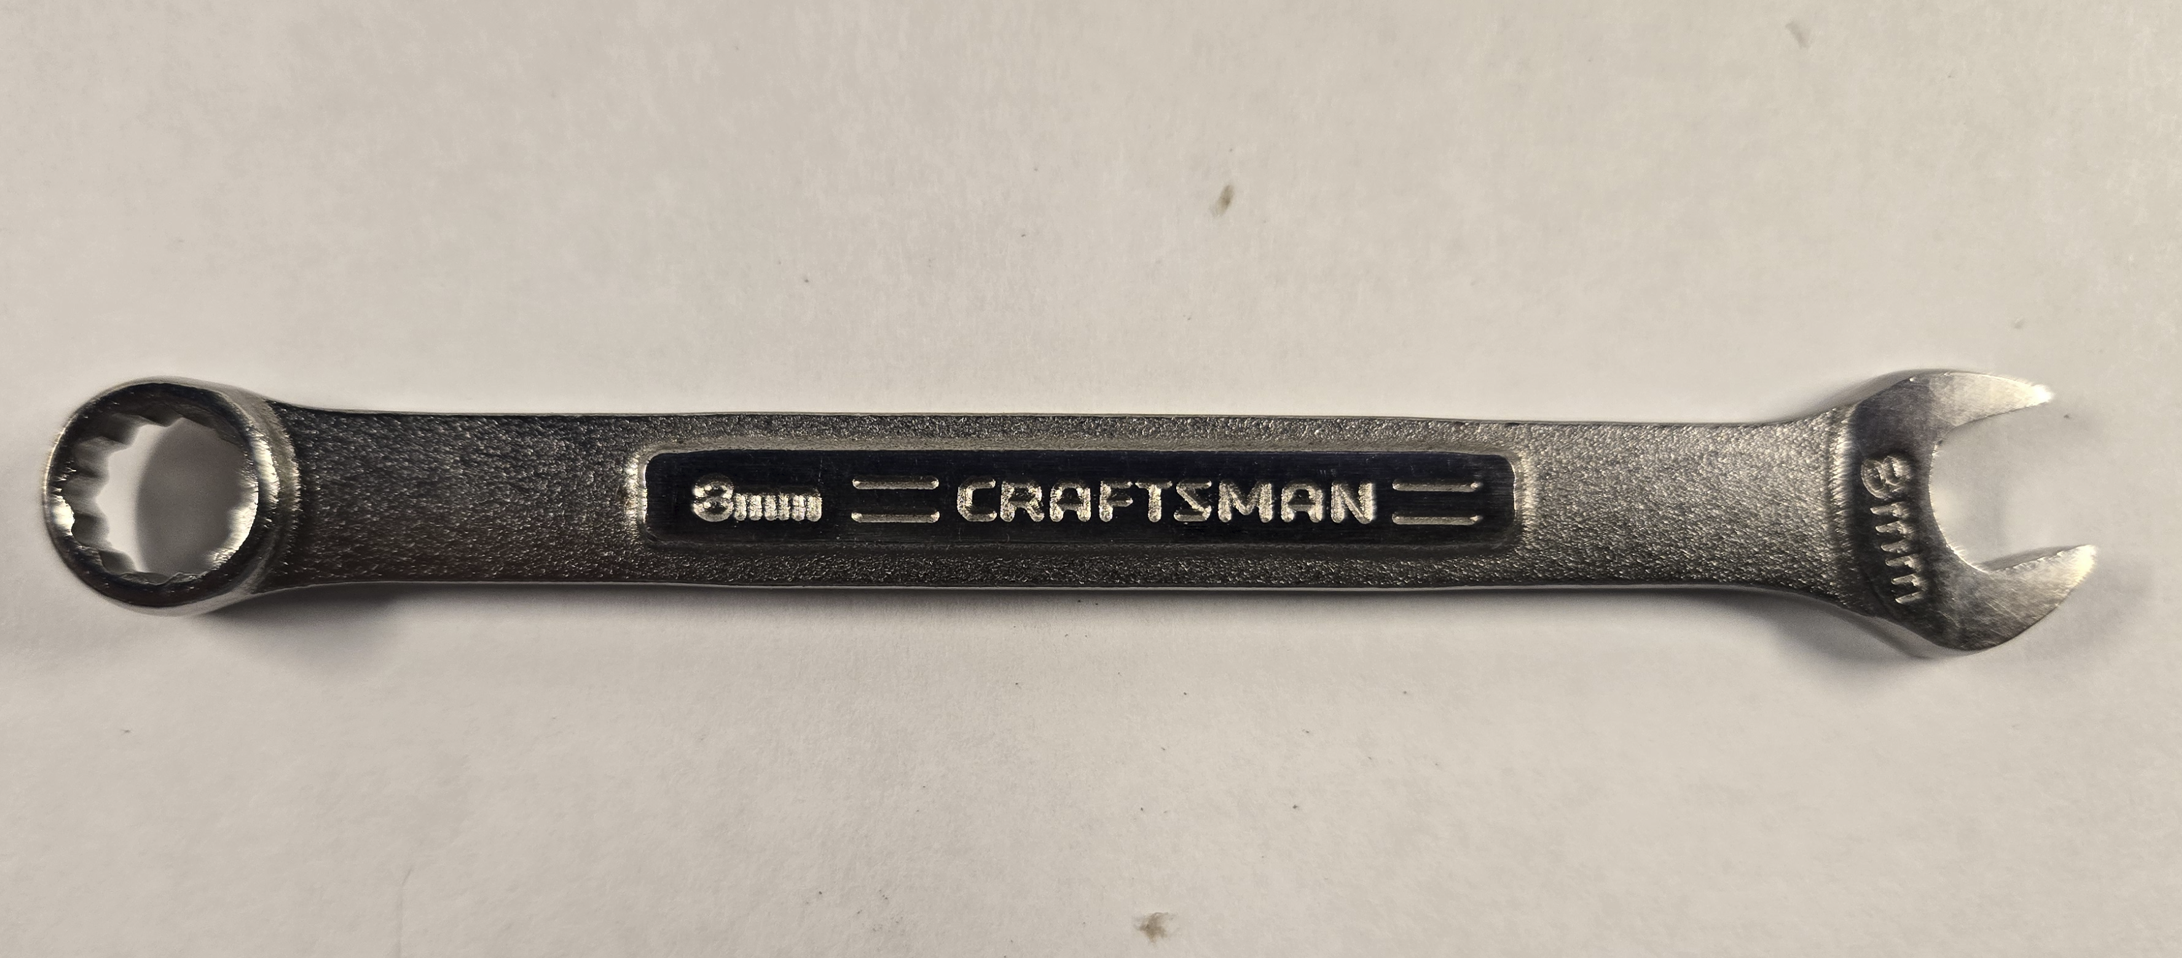
8mm wrench
1. Identify the bearings
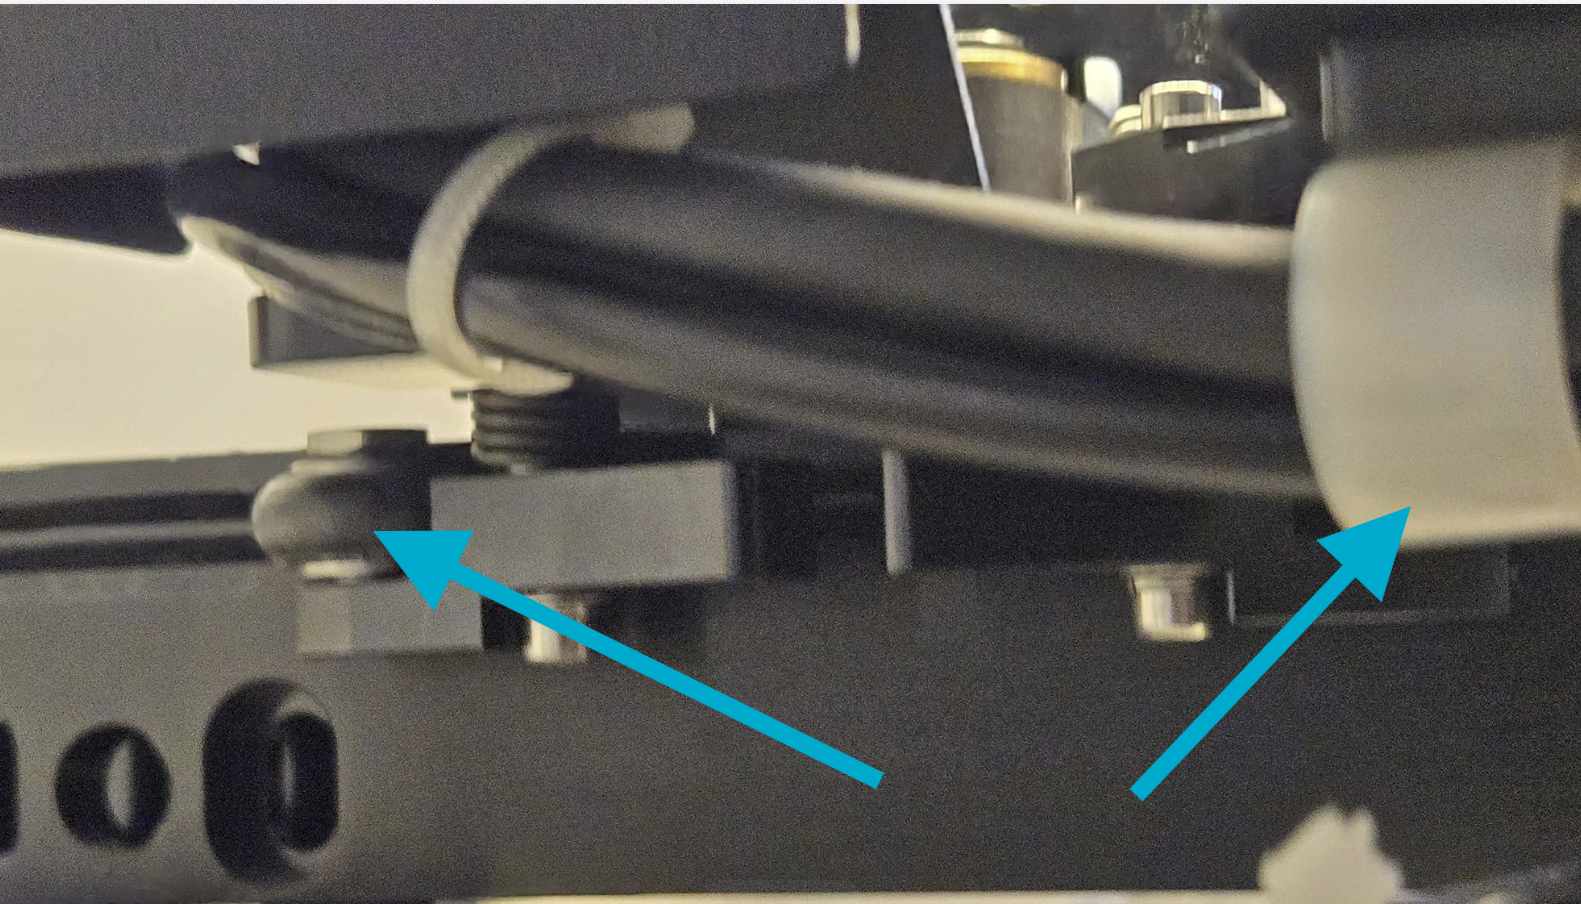
The gantry has eight total bearings. There are four on the left side trolley (pair of inboards and pair of outboards) and four on the right side trolley (pair of inboards and pair of outboards). The outboards on the left side are a little harder to get to due to the mirror mount and drag chain components. The inboard bearings are Fixed bearings where as the outboard bearings are on spring loaded arms.
| Left Side Inboard | Right Side Inboard |
|---|---|
 |
 |
| Left Side Outboard | Right Side Outboard |
|---|---|
 |
 |
Once you have identified the bearings (of course yours will be off the rails) you will need to inspect the bearings visually. If you find any that need to be replaced, please see this guide for replacement before proceeding. Some of the steps will be slightly different since the guide is written for gantries that are still on the rails but the procedure is the same.
2. Prep Gantry for re-seating
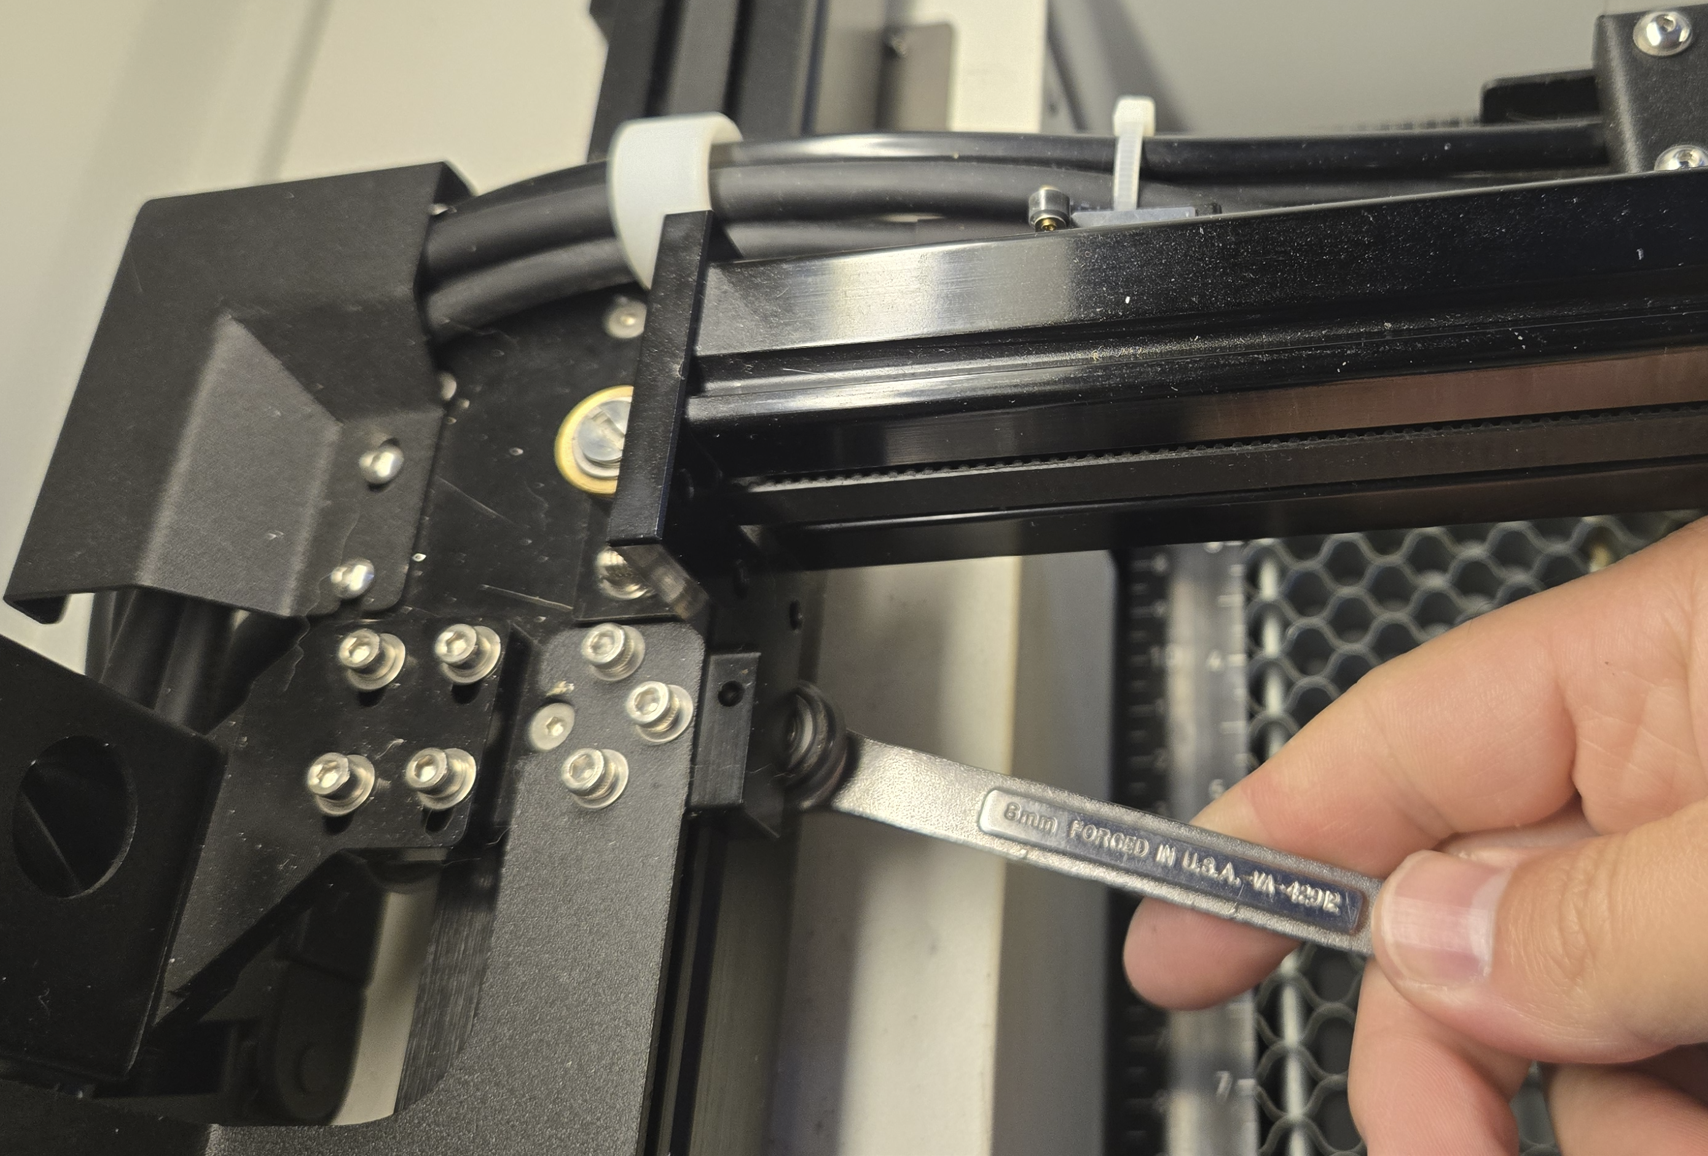
In order to re-seat the gantry, we will need to remove all 4 of the gantry inboard bearings. Set them aside for reinstall or replacement, they are all the same so you do not need to keep track of the position.
Use the 8mm wrench to remove the 4 Inboard bearings from the gantry (2 on the left trolley and 2 on the right trolley)
| Left Side | Right Side |
|---|---|
 |
 |
3. Place the gantry onto the rails
Now that you have removed the inboard bearings, you can reinstall the gantry. You will need to depress the lever arms so that you can gently place the gantry and then release the lever arms so that the bearings are in the slot of the rail. This will be the hardest part of the project. You will need to be gentle so that the new bearings are not scuffed and to prevent scratching the aluminum coating.
How to depress the lever arms:
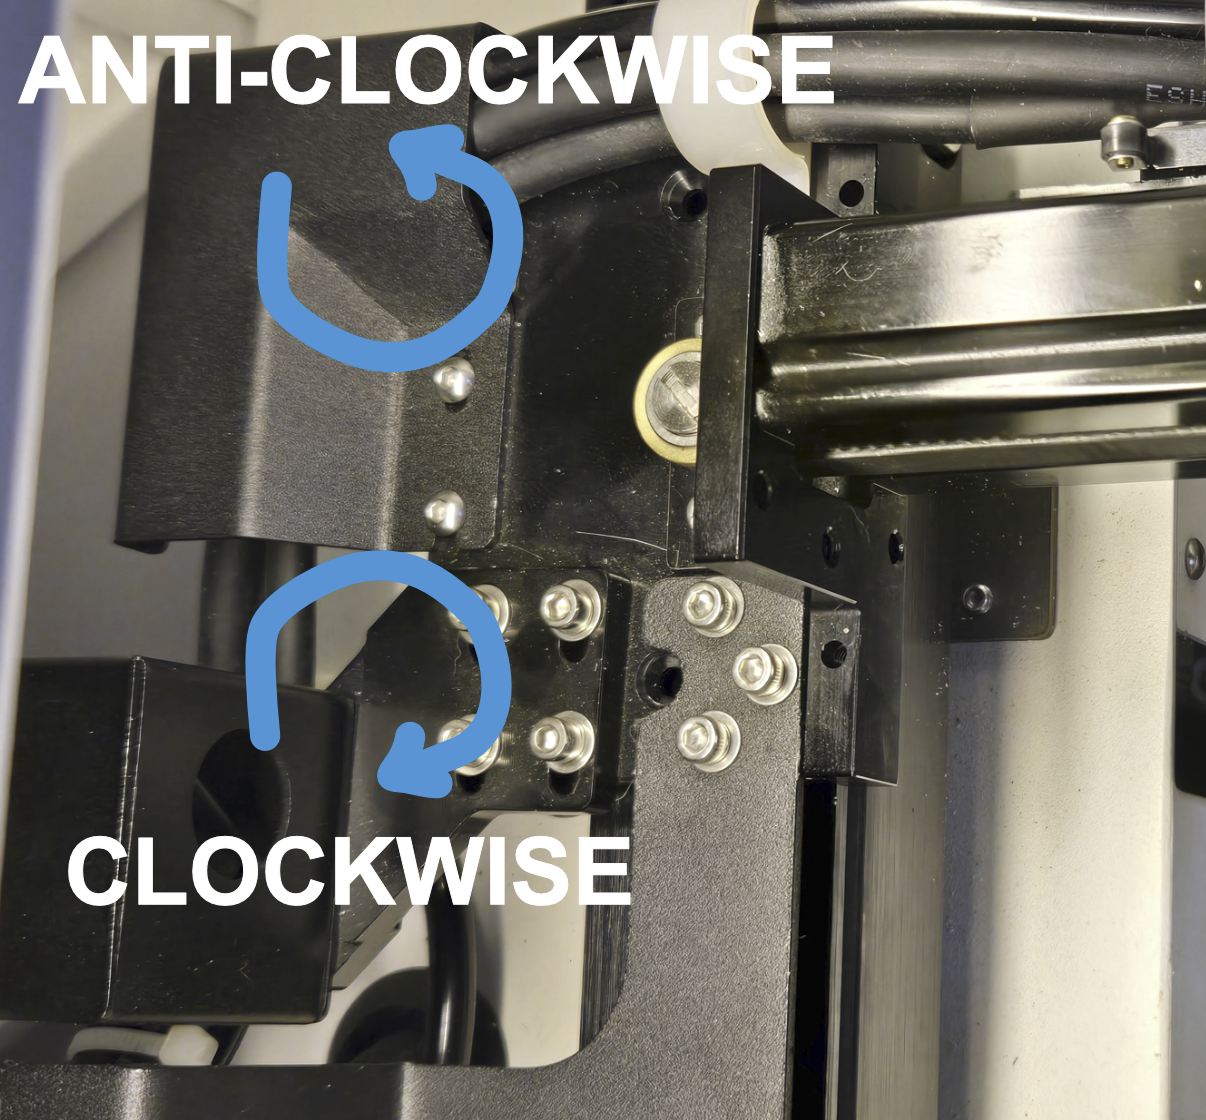
This shows how to press the lever arms so that the bearings are unloaded out of the channels in the side rails. When installing the gantry, using 2 fingers per side, 1 per lever arm, was most ideal (middle and ring finger).

Technique to depressing both sets of springs and lifting the gantry off the rails:
Open the right hand side door and reach through it for the right side.
For the left side, reach through the open lid, not left hand door.
You will be hugging the machine essentially. But be sure to depress all the spring arms so that you can easily place the gantry back onto the rails.

Need to keep in mind how the bearing lever arms should rotate from their resting position to be in their proper tensioned position without damaging the spring.
| Left Side | Right Side |
|---|---|
 |
 |
Use the 8mm wrench to install the bearings. When installing the bearings, have the bearing set in the rail groove so that the bolt will be able to thread into the trolley plate. Since the gantry is only on the spring loaded bearings at first, you can shift the gantry left and right to install the first side of bearings.
| Correct | Wrong |
|---|---|
 |
 |
Also, when installing the Y Axis bearings, stay between these areas on the rail, the hardware that protrudes can make it harder to install/turn the wrench.

4. Reset Machine to Home the Axes
Double check before powering back up that the Lever Arm for the Y Axis endstop is back in place, it may have shifted as the gantry was tilted around and worked on.
| Out Of Place | Much Better Position |
|---|---|
 |
 |
Power up the machine to allow it to home again. Do not try to run the machine without letting it home to the back left corner.
After you complete the bearing swap on the Y Gantry, it would be good to check that your gantry is square and your mirror alignment is good to go.
Additional Resources
- How to check and Adjust the X and Y Axis Endstops on a Thunder Laser Bolt Series Machine
- How to square your X and Y Axis gantry on a Thunder Laser Bolt Machine
- Thunder Bolt Series Laser Beam Mirror Alignment Guide
Still stuck?
No bots, no runaround. Talk to a U.S.-based laser tech who knows your Bolt inside out.